As Windows 11 is a relatively newer version of Windows, there are some issues that need to be fixed.
Many users have reported that the images do not change even after the Windows Spotlight feature is enabled on Windows 11.
Why does Windows Spotlight not change the images on Windows 11?
You must be frustrated after seeing that Windows Spotlight is not displaying the images properly and I agree that this is an annoying situation to be in.
That is why I have conducted thorough research and have written and tested the best methods to fix Windows Spotlight on Windows 11.
Read the full post to know how to fix Windows Spotlight on Windows 11.
How to Fix Windows Spotlight not Changing on Windows 11
There are many procedures that you can follow to fix the Windows Spotlight not changing images issue on Windows 11.
I have written the best methods that are available to the users now. All the ways mentioned in this post are simple so there is no reason to worry or doubt yourself.
Before you start following any of the procedures given below, go to the Settings>Privacy>Background apps and turn this option on, after which you then have to go to Settings>Personalization>Lockscreen and turn on Windows Spotlight.
After doing what was mentioned above, you can can start following the methods given below.
Do check our latest post on the Show Folder Size in Windows 11.
Here are some efficient methods to fix Windows Spotlight not changing on Windows 11 issue:
1. Restart Windows Spotlight
It is common knowledge that when you face any issue with an app or even hardware, restarting the app or device is a great and fast way to fix any minor issues. The same thing applies for Wiindows Spotlight.
It is extremely easy to restart Windows Spotlight on Windows 11. The steps on the process are straightforward so it is child’s play to follow this process.
Here are the steps to Restart Windows Spotlight to fix Windows Spotlight not changing:
- Go to Settings from the Start menu.
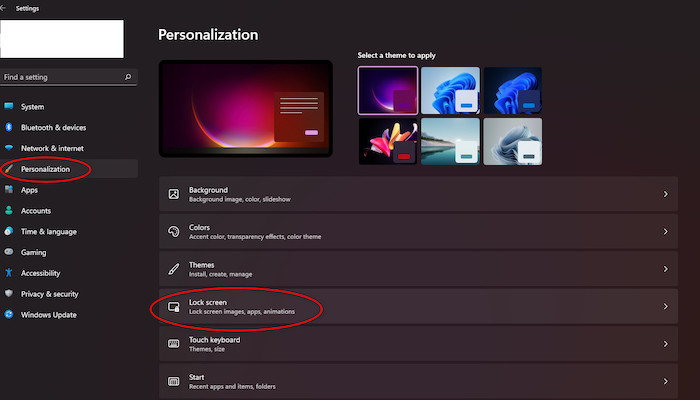
- Navigate to Personalization and click on the Lock screen option.
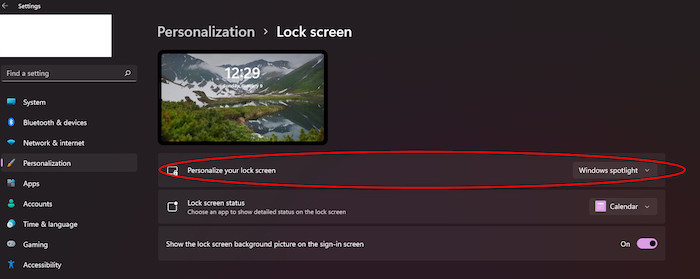
- Find the Personalize you lockscreen option and select Picture or Slideshow.
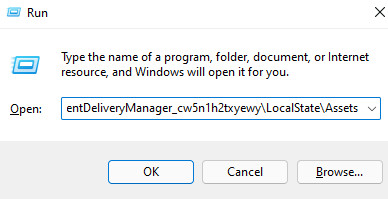
- Press the Windows and R keys at the same time on your keyboard. You will see the Run box pop up.
- Paste %USERPROFILE%/AppData\Local\Packages\Microsoft.Windows.ContentDeliveryManager_cw5n1h2txyewy\LocalState\Assets in the Run box and click on OK. You will be taken to a folder.
- Delete all the files in the folder.
- Open the Run box again by pressing the Windows and R keys together.
- Paste %USERPROFILE%/AppData\Local\Packages\Microsoft.Windows.ContentDeliveryManager_cw5n1h2txyewy\Settings and click on OK. You will be taken to a folder.
- Right click on the settings.dat file and click on Rename.
- Rename the settings.dat file to settings.dat.bak.
- Rename the roaming.lock file to roaming.lock.bak.
- Close the Window and restart you PC.
- Check whether Windwos Spotlight is running properly after your PC turns on.
Check our latest post on how PC won’t go to sleep mode in Windows 11.
2. Restart Windows Spotlight using Windows PowerShell
You can restart Windows Spotlight using a simple command line in Windows PowerShell. All you have to do is run Windows PowerShell and run a command line and Windows Spotlight will be fixed.
This process consists of a few simple steps. So do not waste any time and kindly follow the straightforward steps below.
Here are the steps to restart Windows Spotlight to fix Windows Spotlight not changing:
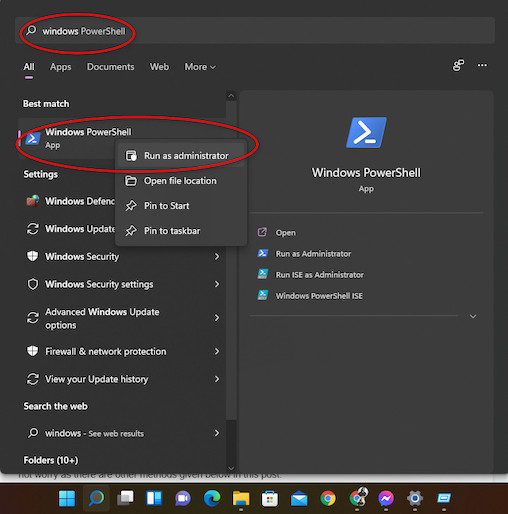
- Click on the Start button to open the Start menu.

- Search for Windows PowerShell and open it as an Administrator. Just Right-click on Windows PowerShell and click on Run as Administrator.
- Paste the following command line in the Windows PowerShell terminal: Get-AppxPackage -allusers *ContentDeliveryManager* | foreach {Add-AppxPackage “$($_.InstallLocation)\appxmanifest.xml” -DisableDevelopmentMode -register } and press the Enter key on your Keyboard.
- Wait for the process to finish and restart your PC.
- Check whether Windows Spotlight is running properly or not.
If you could follow the steps correctly, then Windows PowerShell must have been restarted and the problem must be fixed.
If, for some reason, this method did not fix the issue or it was too complex for you to follow, do not worry as there are other methods given below in this post.
Also, check out our separate post on how to disable SuperFetch in Windows 11.
I have mentioned at the start of this post that the Windows Spotlight might not be running properly because of some Windows Spotlight files being corrupted.
This method repairs the corrupted files for which the Windows Spotlight will get fixed and the images will change on the lock screen as it should.
This method is so easy that even a child can pull this off.
So do not worry; keep calm and go through the steps given below.
Here are the steps to Restart Related AppData to fix Windows Spotlight not changing:
- Press the Windows and I keys at the same time on your keyboard. You will be taken to the Settings menu.
- Click on Appearance.
- Select Lock screen from the right pane.
- Select the Picture option in the Personalize you lock screen section.
- Close the Settings Window.
- Press the Windows and R keys together on your keyboard. You will see the Run box pop up.
- Paste %USERPROFILE%/AppData\Local\Packages\Microsoft.Windows.ContentDeliveryManager_cw5n1h2txyewy\LocalState\Assets in the Run box.
- Click on OK. You will be taken to a folder.
- Select all the files in the folder and delete them.
- Press the Windows and R keys together again on your keyboard.
- Paste %USERPROFILE%/AppData\Local\Packages\Microsoft.Windows.ContentDeliveryManager_cw5n1h2txyewy\Settings in the box and click on OK.
- Right click on roaming.lock and click on Rename.
- Rename the file as roaming.lok.bak.
- Rename the settings.dat file to settings.bat.bak just like the previous steps.
- Close the Window and restart your PC.
- Check whether Windows Spotlight is working properly or not.
If this method did not fix the issue or you were not able to follow it properly, do not lose hope as other methods are given below in this post.
Quickly check out our latest fix for Windows Audio Device Graph Isolation High CPU.
4. Disable Metered Connection
If you have a metered internet connection then the images won’t be displayed properly. You have to change some settings to fix this problem.
Here are the steps to disable metered connection to fix windows Spotlight not changing:
- Go to Settings.
- Select Network and internet.
- Select your network, then scroll down to Metered connection and disable it.
- Restart your PC and check whether the problem got fixed or not.
Conclusion
Hopefully by now you were able to fix the Windows Spotlight not changing images issue on your Windows 11 device.
It is a fantastic feature that can be customized, so fixing it is a great outcome. I hope I was able to help you fix this problem and I wish you never face an issue like this again.
I wish you luck in whatever you do in the future.
Take care and stay safe!