It’s been 8 months since Microsoft launched Windows 11 officially. Almost one in every five Windows devices is running on Windows 11. To calculate in percentage, 19.6% of Windows devices are running on the latest version.
Like Windows 11, every new thing has some lackings, and it’s pretty normal. Users worldwide are facing numerous issues while using the latest OS from Microsoft.
But it’s not as stable as expected because many users face Windows 11 constant crashing issues. Even some are having a BSOD.
If you are in the same boat as others, don’t worry. I will make your fixing journey easy and sail the boat through effortless methods.
Just hop on, and let’s get started!
Why Does Windows 11 Keep Crashing?
You may face Windows 11 frequent crashing problems for lack of Windows updates, faulty RAM, backdated hardware drivers, etc. Sometimes Malware can cause this too. Windows might show BSOD (Blue Screen of Death) when system files get corrupted.
Using incompatible hardware might cause a Windows crash. That’s why you should use compatible hardware. Windows 11 offers better security features than its previous version. Before installing the new OS, consider minimum requirement factors.
Malware can corrupt system files, which is unsuitable for any OS. And these corrupted files can crash the entire system. Additionally, Windows can show you BSOD due to faulty RAM.
Including these, Windows can constantly crash for other reasons also. Let me show you how to fix this complication in your Windows 11.
Check our latest post: Is Windows 11 Still Buggy.
How to Fix Windows 11 Constantly Crashing Problem
At the time, important work is in the process; It is annoying and troublesome when Windows crashes. Fixing is a must to end this trouble. But determining which one to start with is difficult.
That’s why I have put together some working methods, and these methods will help you to fix the matter.
Here are the methods to fix crashes in Windows 11:
1. Update Windows
Microsoft’s Windows 11 is the newest addition to the Windows family. It officially launched after tons of beta testing.
Though there are some bugs left, and users are reporting them daily. The OS collapsing case is one of them. That’s why Microsoft offers frequent updates to Windows 11.
You should update your Windows to get rid of this annoying matter. Follow the steps to update and get the latest bug fixes.
Here are the steps to update Windows:
- Right-click on the Windows logo icon and go to the Settings option.
- Select Windows Update, which is at the bottom of the list.
- Click the Check for Updates button.
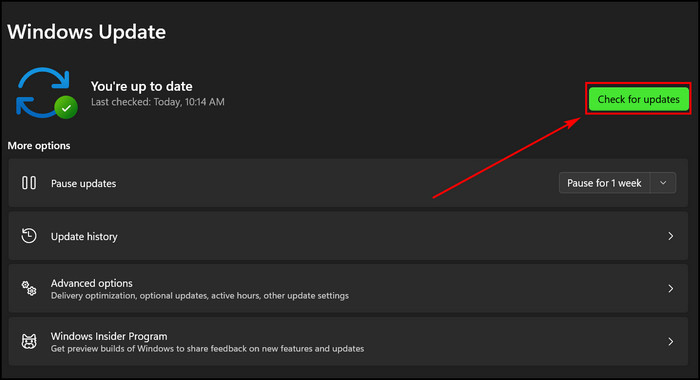
Windows will automatically check for updates. The system will download and install the updates automatically. Next, Windows will ask for a restart. After rebooting, check whether the issue is resolved or not.
If this method fails to solve the problem, go for the next procedure.
Also, check out our separate post on how to fix the Start button not working on Windows 11.
2. Check for Faulty Hardware
Faulty hardware can cause severe complications in your Windows machine. Users reported that the entire system stopped working due to faulty hardware. So, it will be wise to check for defective parts before applying the advanced methods.
Check attached accessories like docking stations, game controllers, USB devices, etc. Also, check your Bluetooth headphones and speakers. OS can collapse for any incompatible hardware.
The chances are high that Windows won’t show you any blue screen after disconnecting the faulty hardware.
3. Scan and Repair for Faulty Drivers
A faulty driver can cause lag and affects performance. Whenever you are facing frequent crashes in Windows 11, this might indicate that you are using faulty or outdated drivers.
You should check your system’s defective or outdated driver to eliminate the matter.
Here are the steps to update drivers:
- Go to the Device Manager by right-clicking on the Windows logo icon.
- Click on the device which you want to update the drivers.
- Right-click on the device and select Update Driver.
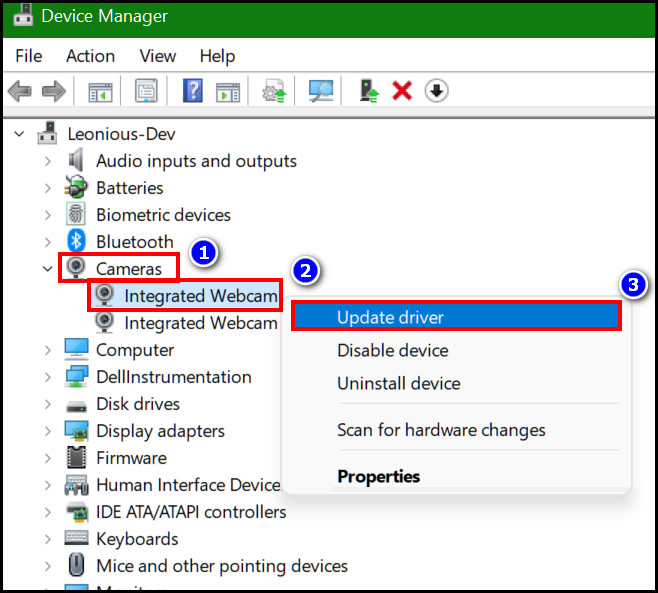
- Click Search automatically for drivers.
Windows will start searching for the latest drivers. After finding one, it will be downloaded and installed automatically. Do this for every other device which becomes faulty or outdated.
You may also like to read: Enable or Disable Startup Programs in Windows 11.
4. Check for Corrupted System Files
Your Windows can give you BSOD for faulty system files like corrupted drivers. While working on a project or watching movies, your Windows can show your PC ran into a problem and needs to restart without notice.
You must scan and repair the corrupted files to resolve this issue.
Here are the steps to scan for corrupted files:
- Go to the Search icon and type in CMD.
- Launch the CMD with Administrative Privileges.
- Type in sfc /scannow and hit the Enter button.

The scanning process will begin instantly, but it will take some time. After the process is completed, you may find no errors, fix some errors, could not fix some errors, or could not fix any errors. Take the next step according to the scanned result.
Follow our guide to update Drivers on Windows 11.
5. Repair With DISM Tool
Deployment Image Servicing and Management tool, in short DISM, is a command line tool used to service and prepare Windows images. With the help of the DISM tool, you can scan the Windows system health and repair it. Fixing the system’s health can solve the case.
Here are the steps to run the DISM tool in Windows 11:
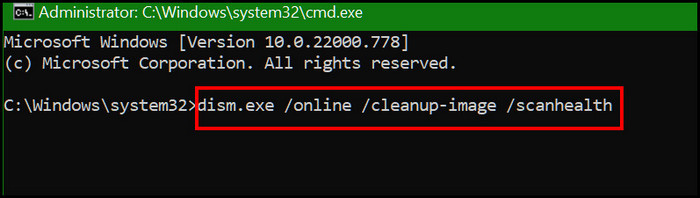
- Run CMD with the Administrative Privileges.
- Type in dism.exe /online /cleanup-image /scanhealth. This command will scan your system.
- Repair your system with this command line: dism.exe /online /cleanup-image /restorehealth.

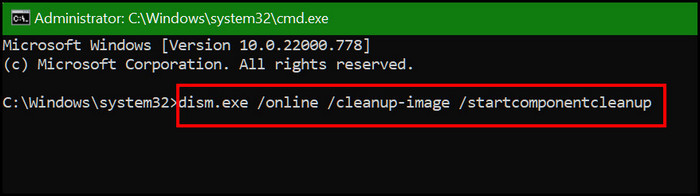
- Type in dism.exe /online /cleanup-image /startcomponentcleanup. Try this command line when the restore process raises errors. But this process could last up to two hours.
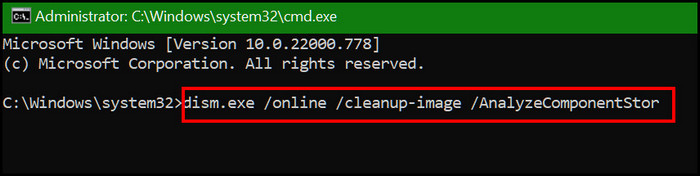
- Run this command line dism.exe /online /cleanup-image /AnalyzeComponentStore if you see Error: 0x800F081F during the process. First, reboot your PC and run the command line.
After all the process is completed, restart your PC and check whether the Windows crashed again or not.
6. Execute a Clean Boot
Sometimes apps get conflicted with each other and cause systems to crash. Running your system with a clean boot can solve the snag in Windows 11. So, you can perform a clean boot to avoid this type of issue.
Here are the steps to perform a clean boot:
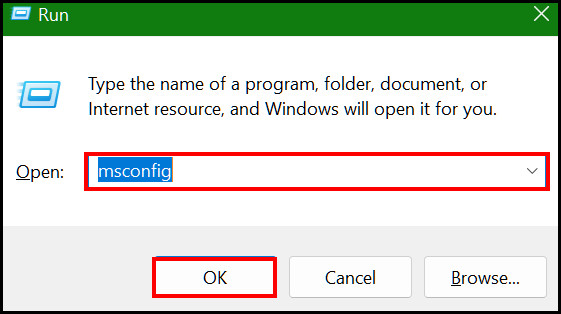
- Launch the RUN dialogue box and type in MSConfig. Hit the Enter button.
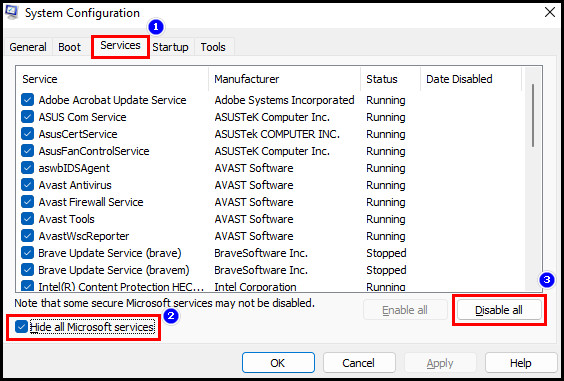
- Go to the Services tab and check the box labeled Hide all Microsoft services.
- Select all other services and click on the Disable button.
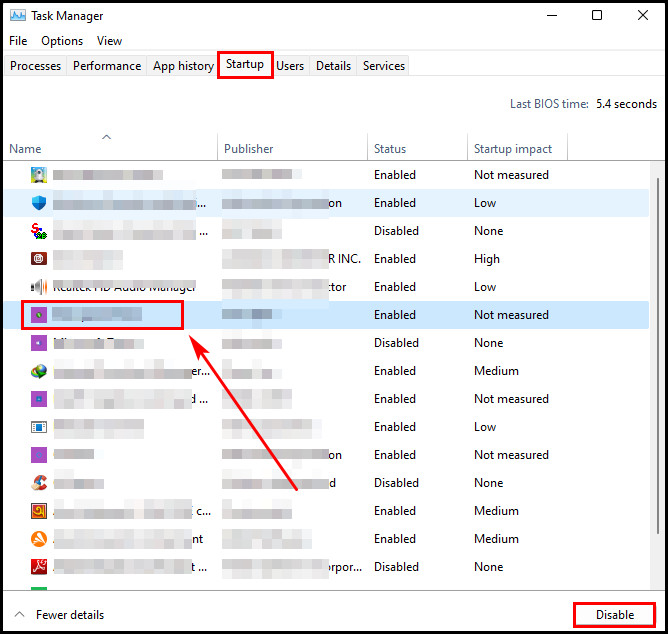
- Select the Startup tab and click on Open Task Manager.

- Go to the Startup tab in the Task Manager and Disable all the programs that might interfere.
- Restart your PC after that.
Still, facing the same trouble? Follow the next method to resolve the problem.
7. Check Crash Log
The crash log is a part of the Event-Viewer. This log records the status and behavior of the systems and apps. Even when your system crashes, the crash log records the error message.
So, consider troubleshooting a crash through the error log messages.
Here are the steps to check the crash log:
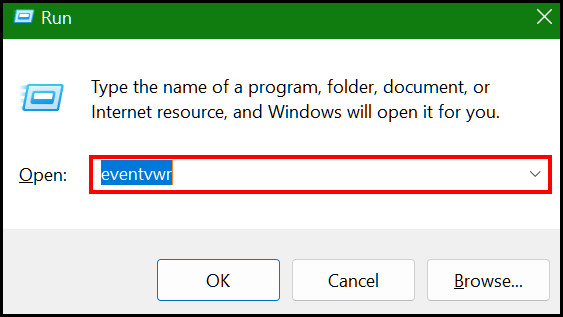
- Launch RUN dialogue box.
- Type in eventvwr and press OK.
- Click on the Windows Logs expand arrow button to open the folders.
- Click on the System Now, select the event according to the crash time. You will see the details in the bottom section.
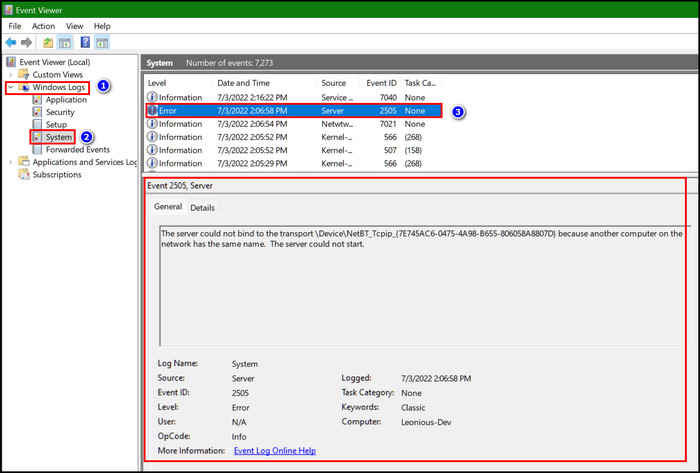
- Search the error message in Google and troubleshoot it.
The error log is the perfect way to find out the actual causes and troubleshoot according to the errors. Following the above steps, you can check why Windows 11 crashed and resolve the case.
8. Set Virtual Memory
RAM is crucial to running your entire system smoothly. But not having sufficient RAM in your system can slow down the PC performance and even cause Windows to stop working.
You can set virtual memory to speed up the system to solve this.
Here are the steps to set virtual memory in Windows 11:
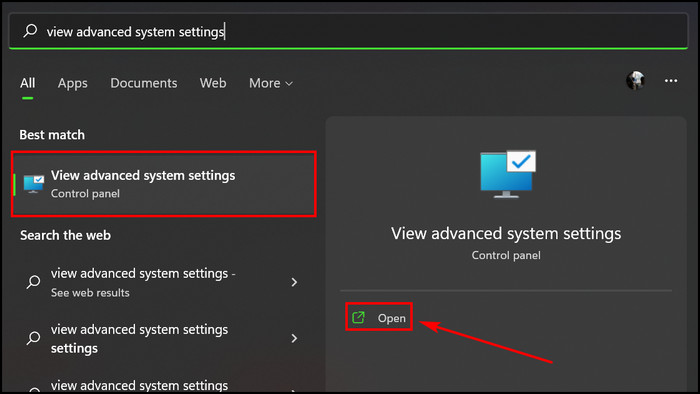
- Go to the Search option and type View advanced system settings. After that, select it.
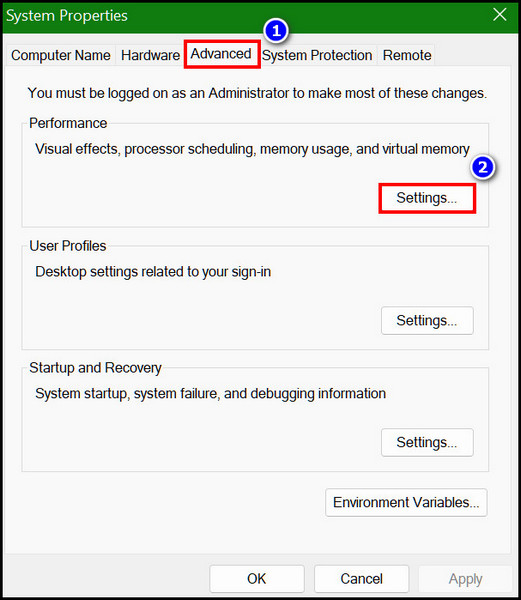
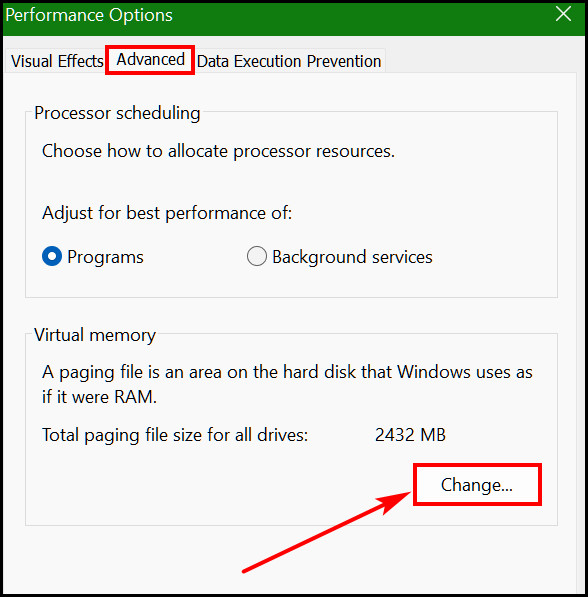
- Go to Advanced tab > Performance > Settings…
- Go to the Advanced tab > Virtual Memory > Change.
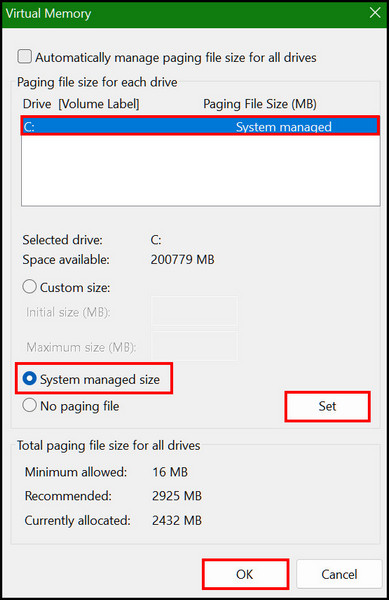
- Select the drive where you want to create the virtual memory and choose System managed size.
- Click on the Set button and click on OK.
- Restart the PC.
You can also choose the custom size by inputting the initial and maximum sizes in MB.
Microsoft recommends the virtual memory should be 1.5 to 3 times depending on the actual size of the physical memory. After inputting the initial and maximum size, click the Set > OK button to save the changes.
Pro Tip: Checking and replacing the faulty RAM can solve the problem. You can use MemTest86 or MemTest86+ to find out the fault in the RAM. It is a brilliant app to find out any faults in the RAM.
FAQs
Should I upgrade to Windows 11 now?
You should go for Windows 11 now. It has a slick new interface, improved security, and updated apps and that’s why you should upgrade to Windows 11.
Windows 10 or 11, which one is better at gaming?
Both Windows 10 and 11 are well optimized for gaming. Microsoft offers Game Mode in both of them. But as Windows 11 has improved performance and efficiency, gamers across the globe are choosing it over Windows 10.
Does Windows 11 freeze frequently?
Using a low graphics card to handle high graphics intensive works can cause Windows 11 to freeze randomly. You can lower the display resolution or upgrade to a better GPU to fix this freezing.
Wrapping Up
I have shown you all the 100% working methods to solve Windows 11 frequent crashes. Try all the techniques and find out which works best for you.
Microsoft developer teams are trying their best to solve this matter through various updates. Always keep your OS up to date to fix all the bugs.
Ask me for further assistance in the comment section. Best of luck!