Are you wondering about deleted or damaged files or folders on your Windows 11 computer? And want to restore those deleted or damaged files on your Windows 11 system?
You’ve come to the right place if you’re looking for the latest step-by-step guide to restoring deleted or damaged files or folders from file history on your Windows 11 computer.
This post will show you some tested and effective methods to restore you deleted or damaged files or folders from file history on your Windows 11 system.
Keep reading and precisely follow the instructions to restore the files.
So, let’s get started on the main topics.
Why Do You Need To Restore Files?
If your important files or folders are deleted or damaged, you need to restore your important files or folders. It does not matter you delete your files or folders accidentally or intentionally, and you can restore your files or folders from file history on your Windows 11 system.
File history is an essential tool on Windows 11 system to backup files or folders. It allows you to search through your backed-up data, comparing different versions of your files and folders to your current ones.
The File History is a built-in Windows backup tool for backing up all folders and files in a user’s home directory. This tool helps you regularly backup your Documents, Music, Pictures, Videos, Contacts, and Desktop files and folders.
Files or folders are in the user home directory; these files are only backed up into File history. You can add files or folders from other locations to one of these folders if you want them backed up.
After backing up your files and folders, you need to know how you restore files or folders on your Windows 11 system when you accidentally delete or damage your files. I will show you how you restore your files or folders in the next section.
Check out our separate post: Enable or Disable File History on Windows 11
How to Restore Files from File History on Windows 11
When your original files are deleted or corrupted on your computer, you can restore them using the backup versions made by File History if your Windows 11 computer has activated the tool.
Read this section and follow the steps carefully to restore the files and folders using the file history tool on your Windows 11 computer.
Here are the steps to restore files from file history on Windows 11:
1. Use Control Panel
You can restore your deleted or damaged files or folders on your Windows 11 computer using the control panel.
Follow these steps to restore files from file history using the control panel:
- Click on the Windows Search icon on the left side Windows 11 taskbar to open the Search window.

- Type the control panel into the search bar.
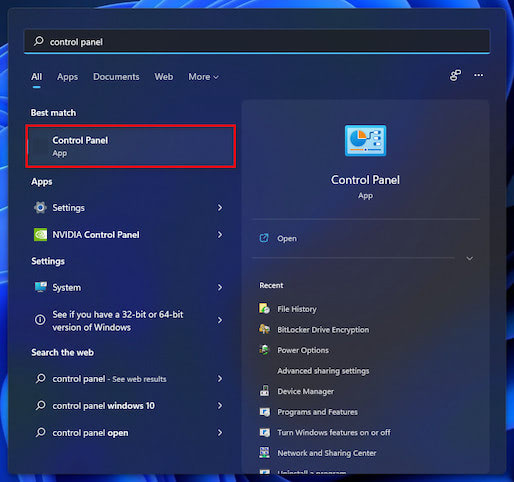
- Press the Enter button to open the Control Panel and ensure your control panel window is viewed by Category.
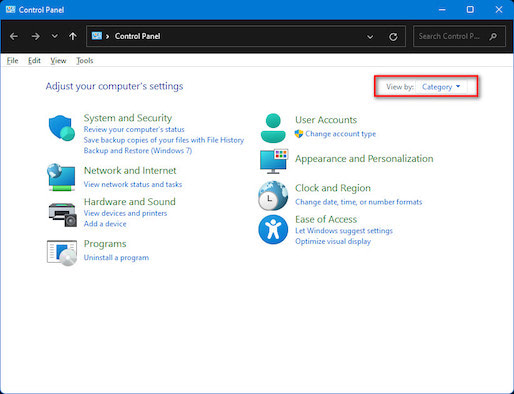
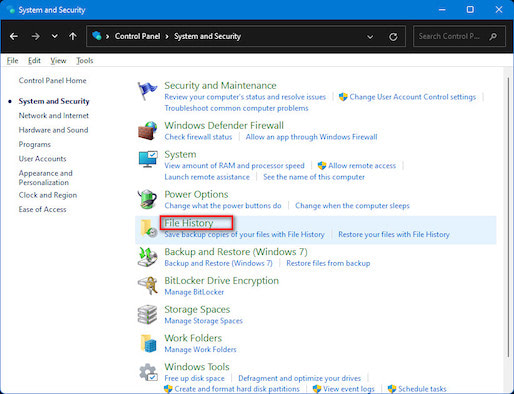
- Click on System and Security category.
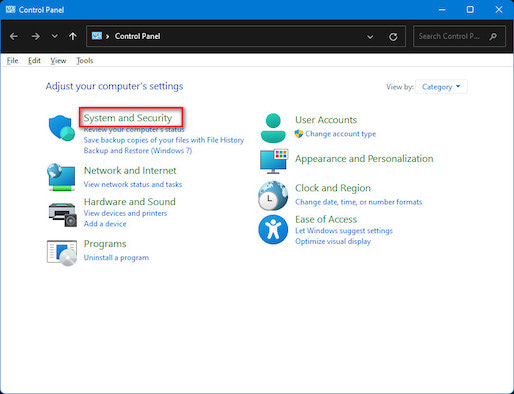
- Select the File History section on the right-side panel.
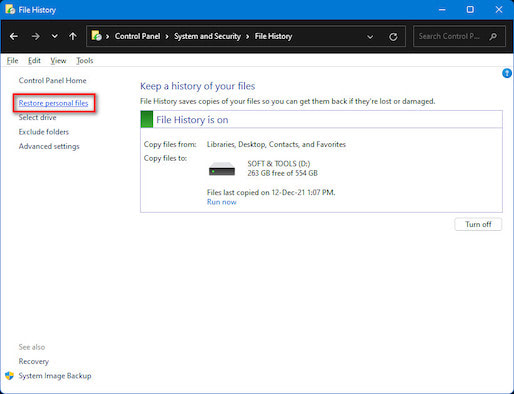
- Click on Restore personal files to open the File History Home window.
- Click on the Next version button for the latest version of files and folders and click on the Previous version button for the previous version of files and folders at the bottom of the window. Or,
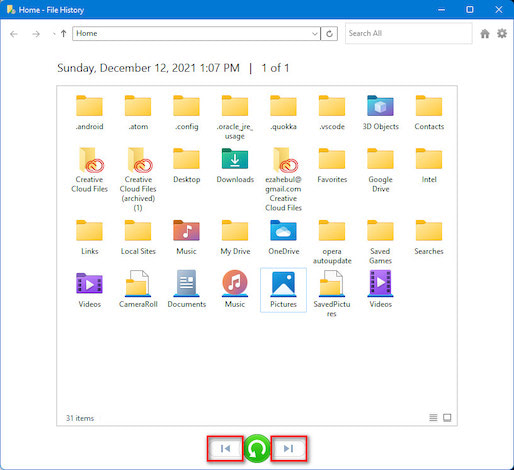
- Press Ctrl + Right Arrow for the latest version of files and press Ctrl + Left Arrow for the previous version of files to shortcut.
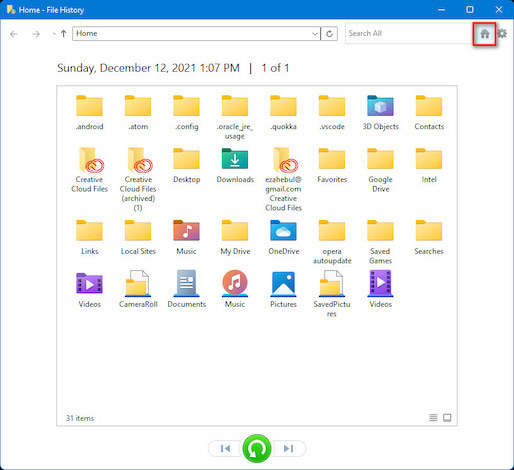
- Click on the Home button at the top-right side corner of the screen to open the most recent version of your files and folders.
- Select the correct version files or folders you want to restore. Or,
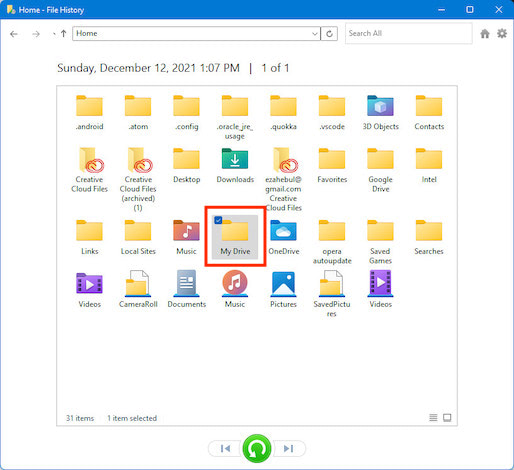
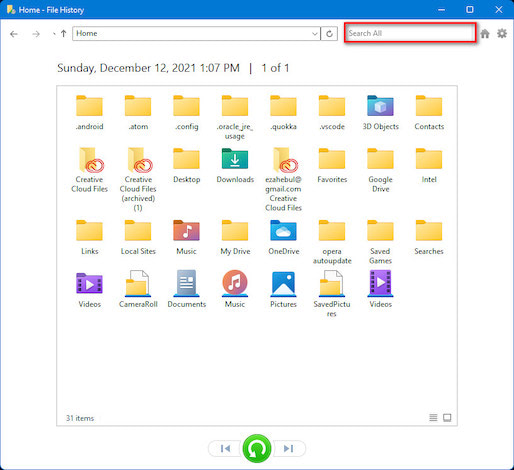
- Enter the name of files or folders in the search box you are looking for and select the files or folders.
After selecting the files or folders, you need to select the location to restore your files or folders. In File history, you can restore your files and folders to the original location or your selected location. Follow the steps to select your location to restore your files or folders.
Also, check out the easiest way to fix blue screen on Windows 11.
Restore To Original Locations
Follow the steps below to select the original location:
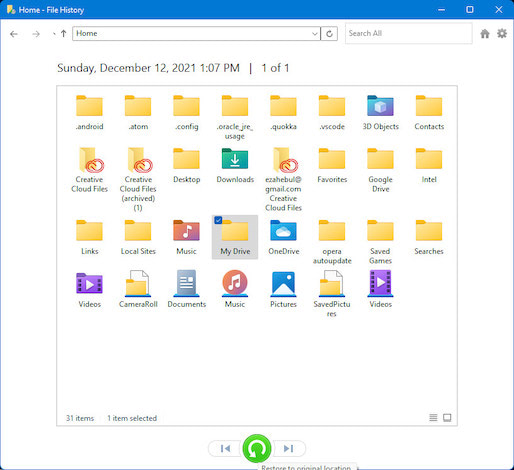
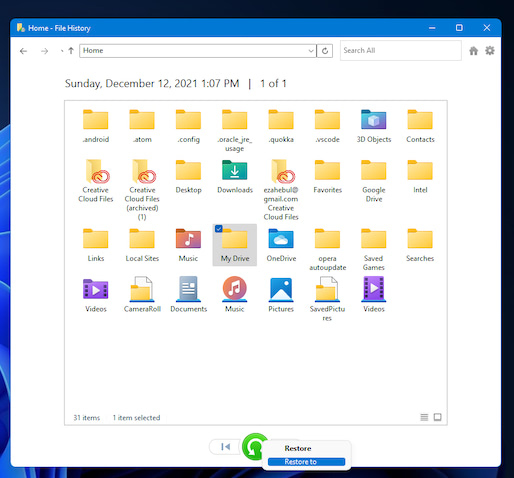
- Click on the green Restore to original location button at the bottom of the File History Home window to restore the files or folders into the original location. Or,
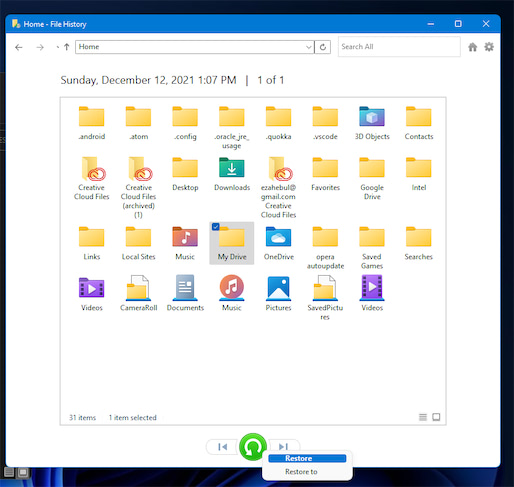
- Right-click on the green button at the bottom of the File History Home window and select Restore. Or,
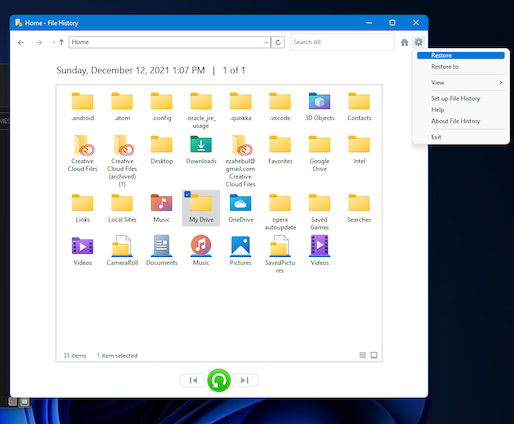
- Click on the Gear icon at the top-right side corner of the screen to open the Options menu context and select Restore to restore the files and folders into original locations.
- Select Replace the file in the destination if the Replace or Skip Files pop-up window is open.
Also related: Show Folder Size in Windows 11.
Restore To Specific Locations
Follow the steps below to select the specific location:
- Right-click on the green button at the bottom of the File History Home window and select Restore to. Or,
- Click on the Gear icon at the top-right side corner of the screen to open the Options menu context and select Restore to.
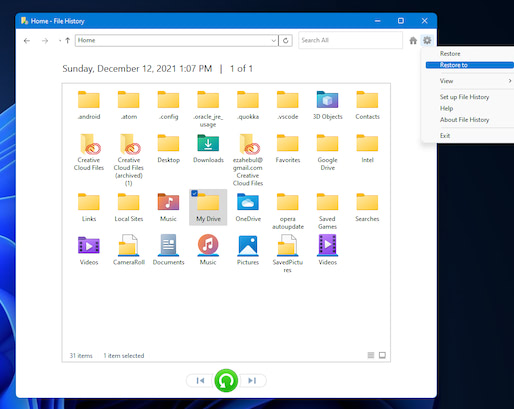
- Select your specific drive or folder to restore your files and folders.
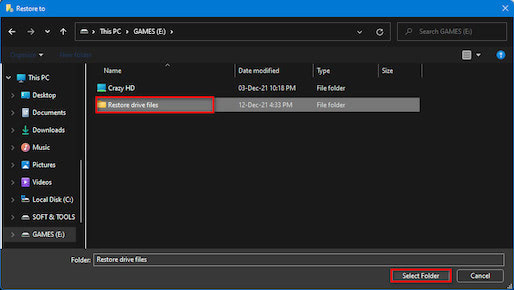
- Select Replace the files in the destination if the Replace or Skip Files pop-up window is open.
Here’s a complete guide on how to enable Telnet on Windows 11.
2. Use Previous Versions Tab on Properties
Using the previous versions tab on the files or folders properties window, you can also restore your deleted or damaged files or folders on your Windows 11 computer.
Follow the steps below to restore files from file history using the files or folders properties window:
- Select the files or folders that you want to restore.
- Press Alt + Enter button on your keyboard to open the Properties window shortcut. Or,
- Right-click on the files or folders and select the Properties window.
- Click on the Previous Versions tab.
- Select your previous version files or folders under the File versions list.
- Click on the down arrow icon at the bottom right side of the window.
- Select Restore to restore files or folders into the original file location. Or,
- If you want to restore files or folders to a specific file location, select Restore To and set your specific folder to restore your files and folders.
- Click on Apply button to restore the files or folders.
- Select Replace the file in the destination if the Replace or Skip Files pop-up window opens when you restore the files or folders into the original location.
- Select Replace the files in the destination if the Replace or Skip Files pop-up window opens when you restore the files or folders into the specific location.
- Click on the Ok button to close the window.
Quickly check out our latest fix for Bluetooth Toggle Missing On Windows 11.
Final Thoughts
File history is a vital tool on Windows 11 system to backup files or folders, and it allows you to restore deleted or damaged files. The File History is a built-in Windows backup tool that helps you back up all folders and files in your home directory.
Here I describe, the necessity of restoring your files and folders and two effective methods to restore your files and folders using the File History tool. I give a clear concept about the File History tool in this post.
I hope you found this post to be helpful and informative. Please feel free to share this article with your friends, family, or colleague who may need to restore files or folders on their Windows 11 system.