Are you wondering about losing or damaging your important files or folders and want to protect those essential files or folders on your Windows 11 system?
You’ve come to the right place if you’re looking for the latest step-by-step tested guide to protect and back up your important files or folders using File History on your Windows 11 computer.
As a tech specialist, I will show you some tested and effective methods to protect your essential files or folders by enabling the File History tool. I will also show how you disable the File History on your Windows 11 computer.
Keep reading and precisely follow the instructions to back up the files or folders using File History.
So, let’s get started to see the method to enable or disable the File History.
Follow our guide to Fix Windows 11 File History Element Not Found Error
Why Do You Need To Enable Files History?
To back up your essential files or folders, you need to enable the File History tool on your Windows 11 computer. It allows you to restore your backed-up data and compare different versions of your files and folders to the current versions.
The File History is a powerful Windows tool that backs up all folders and files in a user’s home directory. This program allows you to regularly back up your documents, music, pictures, videos, contacts, and desktop files and folders.
Files or folders are only backed up in File history and are located in the user’s home directory. You can add files or folders from other locations to one of these folders if you want to backup them.
If you have important files or folders and want to prevent losing or damaging them, you need to backup all of the files or folders. You must first choose where your backups will save before you can use File History to back up your files. You can save it to a network drive or an externally linked drive like a USB drive.
It makes no difference whether you accidentally lose, damage, or destroy your files or directories accidentally. On your Windows 11 computer, you can automatically backup your files and folders by enabling the File History function and recovering your files or folders from file history.
To back up your files and folders, you need to know how you enable the File History on your Windows 11 system to prevent losing or damaging your essential files and folders.
Check out our separate post: Delete Windows 11 File Explorer Address Bar History
How to Enable File History on Windows 11
File History is a powerful tool to backup your files and folders. This tool works like a charm. If you accidentally remove or lose your essential files, you can restore them using the File History tool.
By default, the File History tool is turned off. You must enable the File History tool if you want to back up your home directory files and folders. You can select both internal and external drives to back up your files. To be on the safe side, choose an external USB drive.
This section will show you how you enable File History to back up your files or folders quickly and continuously.
Here are the steps to enable the File History on Windows 11 system:
1. Use Control Panel
Turn on the File History to back up your files and folders; the control panel is one of the best practical methods. You can enable the File History tool on your Windows 11 system using the control panel.
Follow these steps to enable the File History using the control panel:
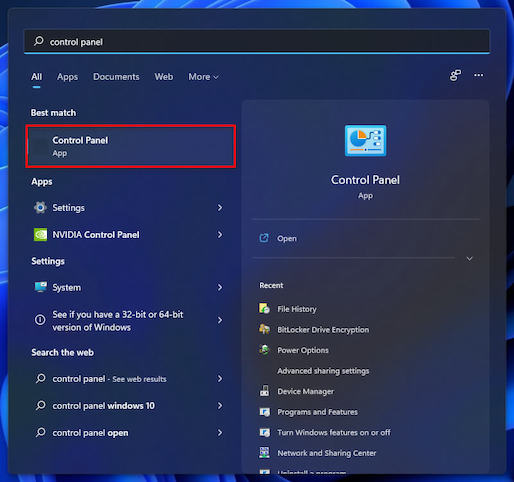
- Click on the Windows Search icon and type the control panel into the search bar.

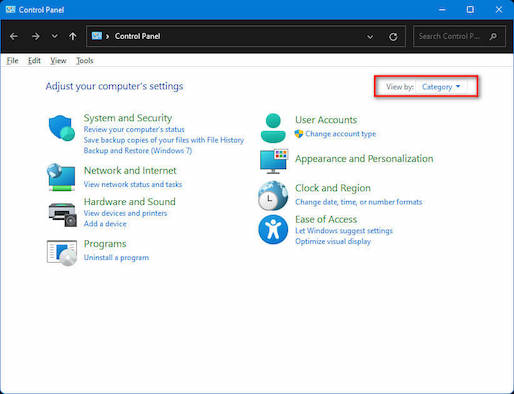
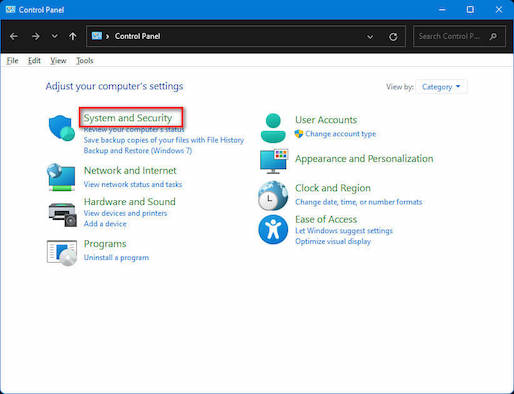
- Press the Enter button to open the Control Panel and ensure your control panel window is viewed by Category.

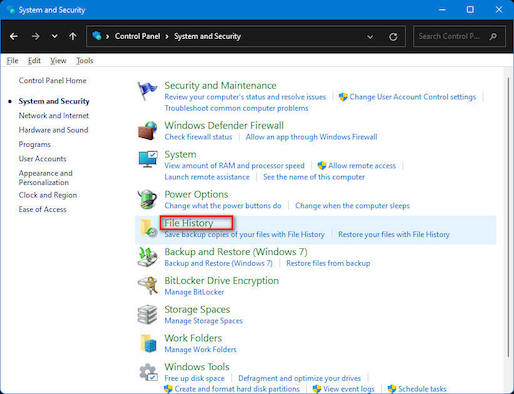
- Click on System and Security category.

- Select the File History option on the right-side panel to open the File History window.
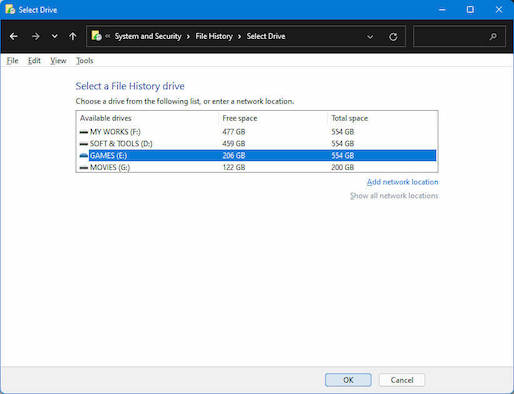
- Click on Select drive on the left side menu.
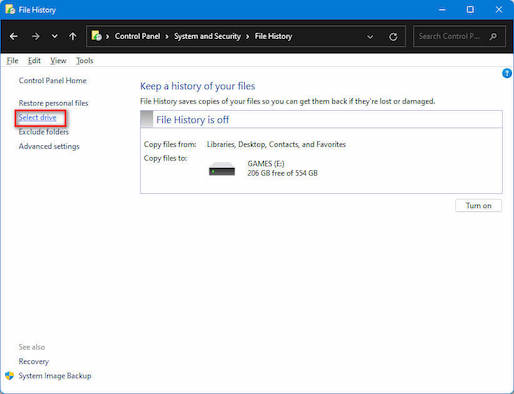
- Choose a drive from the drive list, enter a network location, and click the Ok button.
- Click on the Turn on button to enable the File History tool.
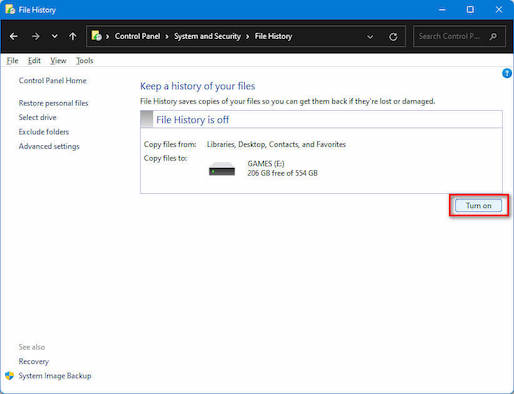
- Wait for some time to finish the process to enable the File History.
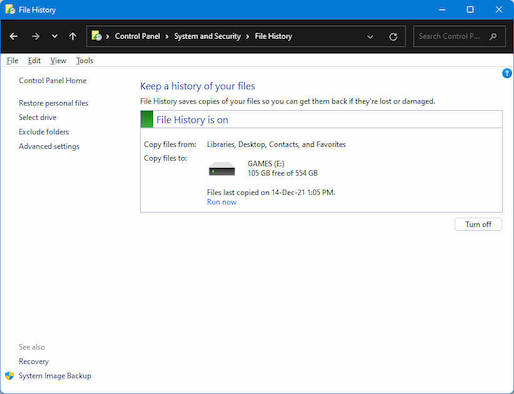
After enabling the File History tool, your system will begin backing up your current File modifications history. Your system automatically saves updated files to the “file history” folder on the specified hard drive.
You may check our latest post: Show Folder Size in Windows 11.
2. Use Local Group Policy Editor
Another way to turn on the File History is the local group policy editor. You can easily enable the File History tool on your Windows 11 system using the local group policy editor.
Follow the steps below to enable the File History using the local group policy editor:
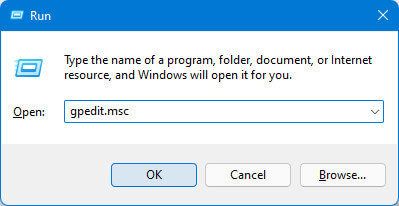
- Press Windows Key + R on your keyboard to open Windows Run program.
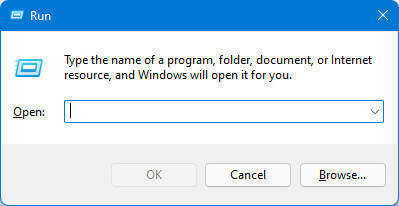
- Type gpedit.msc on the Run window.

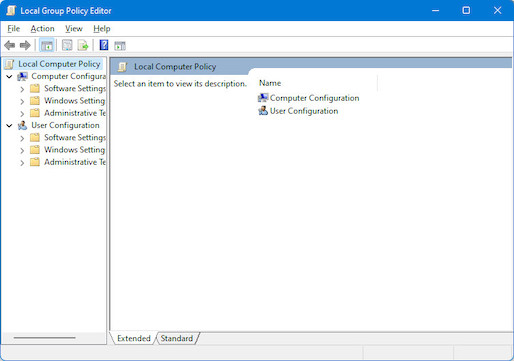
- Press the Enter button or click on the Ok button to open Group Policy Editor.
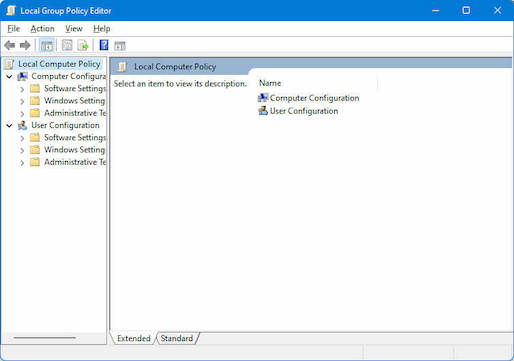
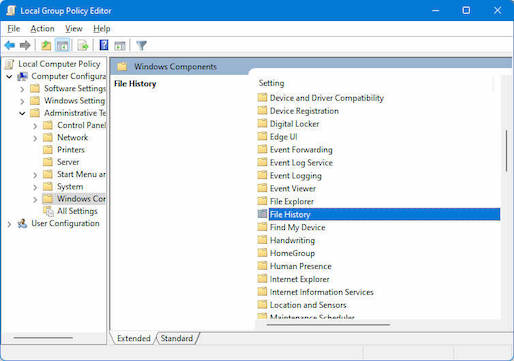
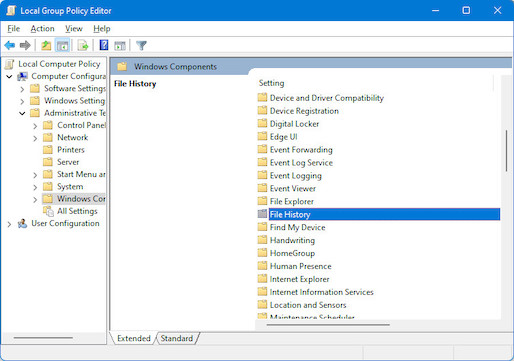
- Navigate to Computer Configuration\ Administrative Templates\ Windows Components\File History.
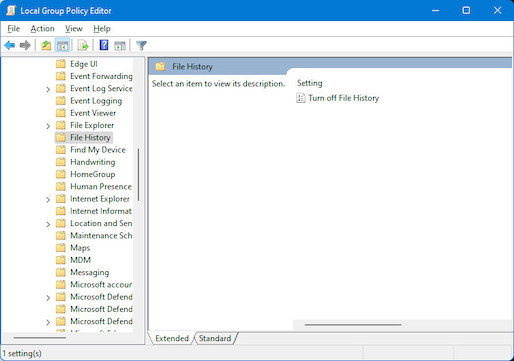
- Click on the File History on the left side panel to open the File History Setting.
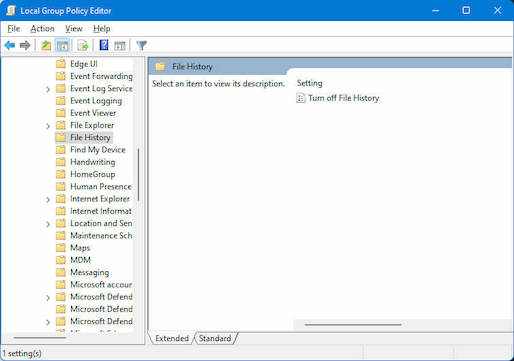
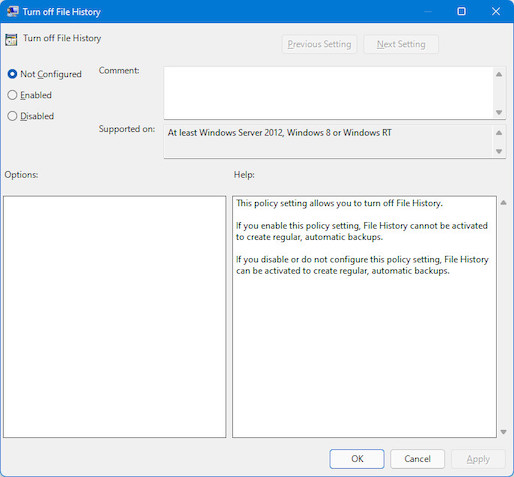
- Double click on the Turn off File History to edit or change the setting.
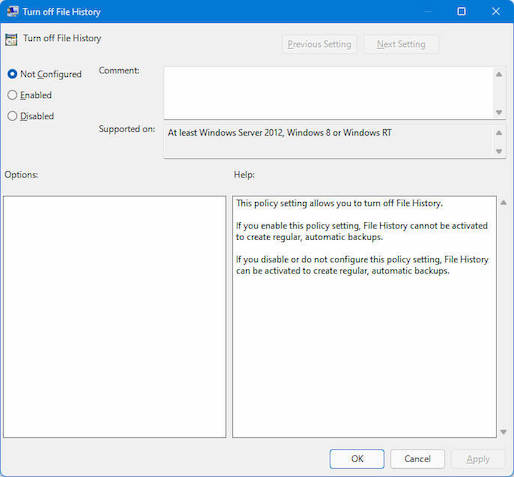
- Select Not Configured and click on the Apply button to activate the File History tool.
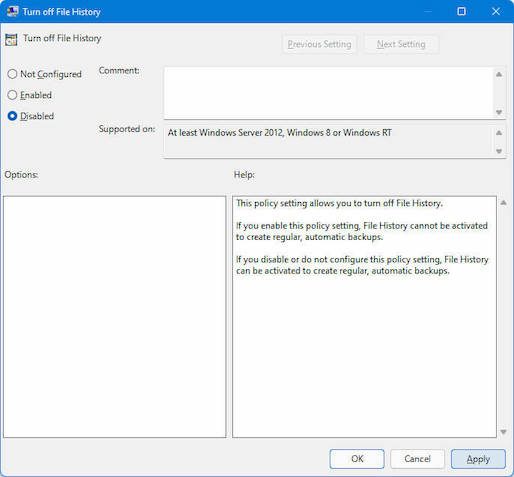
- Click on the Ok button to close the window.
Facing error 0x80004005, you can quickly fix unexpected Zip file error on Windows from our detailed guide.
How to Disable File History on Windows 11
You can disable the File History tool at any time if you need. The process of disabling the File History is the same as enabling the File History.
Here are the steps to disable the File History on Windows 11 system:
1. Use Control Panel
Turn off the File History to back up your files and folders; the control panel is one of the best practical methods.
Follow these steps to disable the File History using the control panel:
- Click on the Windows Search icon and type the control panel into the search bar.
- Press the Enter button to open the Control Panel and ensure your control panel window is viewed by Category.
- Click on System and Security category.
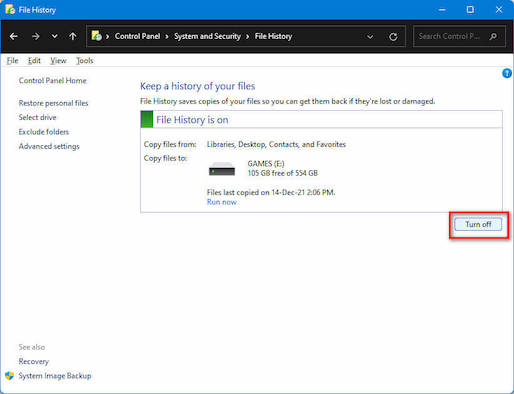
- Select the File History option on the right-side panel to open the File History window.

- Click on the Turn off button to disable the File History tool.
- Wait for some time to finish the process to disable the File History.
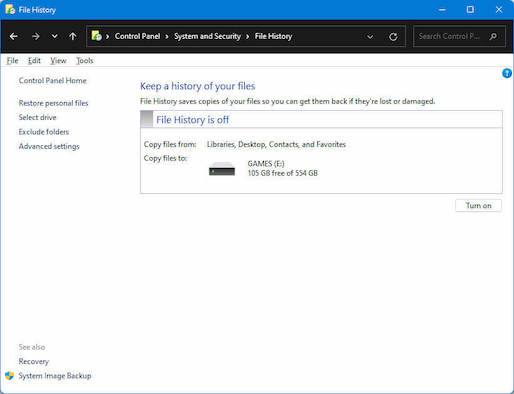
After disabling the File History tool, your system will stop backing up your current File modifications history.
Here’s a complete guide to turn off Touchpad Clicks on Windows 11.
2. Use Local Group Policy Editor
Another way you can easily disable the File History tool on your Windows 11 system is by using the local group policy editor.
Follow the steps below to disable the File History using the local group policy editor:
- Press Windows Key + R on your keyboard to open Windows Run program.
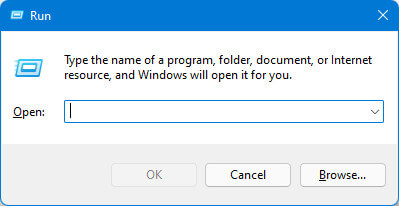
- Type gpedit.msc on the Run window.
- Press the Enter button or click on the Ok button to open Group Policy Editor.
- Navigate to Computer Configuration\ Administrative Templates\ Windows Components\File History.
- Click on the File History on the left side panel to open the File History Setting.
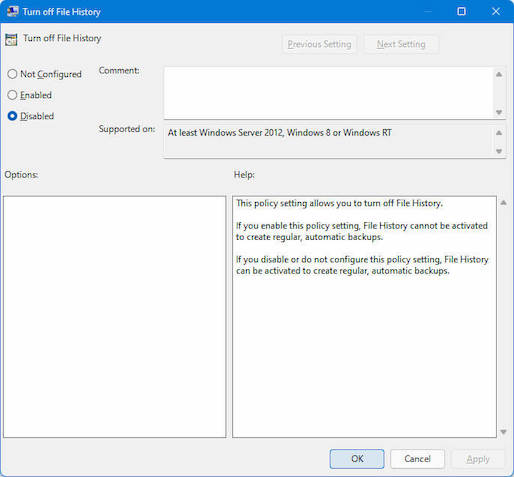
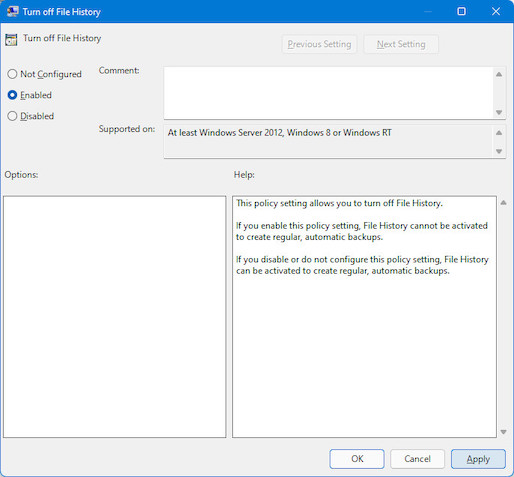
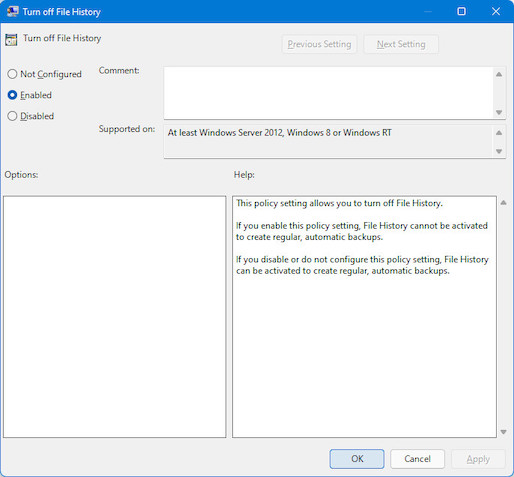
- Double click on the Turn off File History to edit or change the setting.
- Select Enabled and click on the Apply button to disable the File History tool.
- After disabling the File History tool, you can see the File History is off message showing on the control panel File History window.
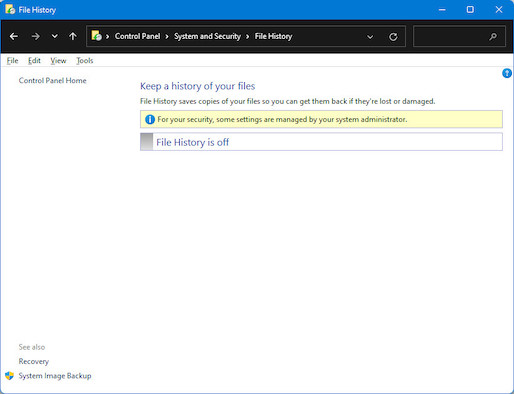
- Click on the Ok button to close the window.
Final Thoughts
File history is an essential tool in Windows 11 to back up files and folders and restore lost or corrupted items. The File History is a built-in Windows backup utility that allows you to back up all of your home directory’s folders and data.
This article discusses the importance of File History and two practical approaches for enabling the File History feature. I also go over two possible ways to disable the File History tool in this post.
I hope you found this post to be helpful and informative. Please feel free to share this article with your friends who may need to enable or disable the File History on Windows 11 system.