Snap layout is a new feature introduced on Windows 11. It allows you to rearrange your opened apps in a multitasking arrangement without dragging and resizing the app windows.
If you maybe missed some news and want a quick refresher on snap layouts, this piece is for you. Here I have covered everything about it, plus how you can use it on your computer in this article.
So, without wasting any time, let’s start.
What are Snap Layouts in Windows 11?
You may have already seen snap layouts without even noticing it. Just move your mouse cursor to the maximize button on any app. You will see some grids pop up in a floating window. As soon as you move the mouse away, it disappears. 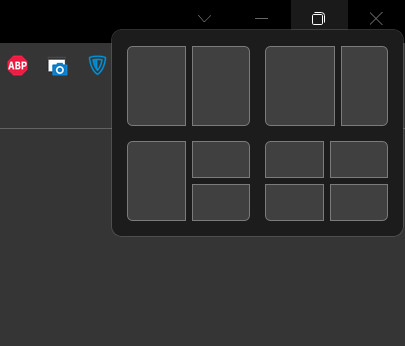 That is basically snap layouts in action. The boxes you saw are the different arrangements in which you can keep your opened apps. After you choose a position for a certain app, the snap will ask you how you want the other apps there.
Remember the days when you needed to drag the Windows to resize them and fit more apps on your screen? With Snap layouts, Windows 11 does that work for you. All you need is to select the order of the positioning, and the rest is done automatically.
The ease with which I can multitask is the reason why I use snap layouts on a daily basis.
For my work, I use multiple Chrome windows and Telegram simultaneously. Instead of switching between them, I can snap side by side. This helps me to put all the focus on my work, instead of switching between apps.
How to use Different Snap Layouts in Windows 11
To snap different apps, first choose which apps you need to resize in the different parts of your screen.
Let’s say I want to keep Chrome, Firefox, and Telegram open and multitask between them. Then I have to bring Chrome to the front first.
After that, move the mouse cursor to Chrome’s Maximize button. That is when Snap Window shows up. All the different possible arrangements of apps are shown here.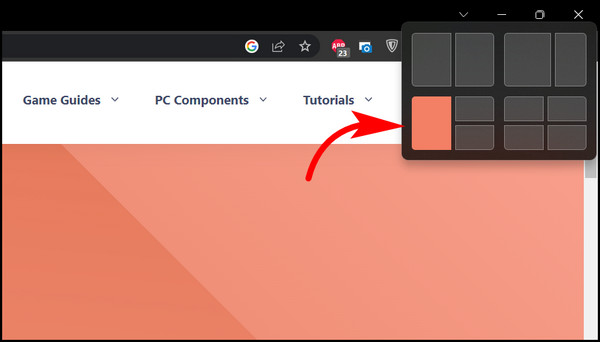
To put Chrome in a particular section of the screen, click any sections shown in the Snap Window grid. After clicking there, Chrome will snap to resize automatically on that part.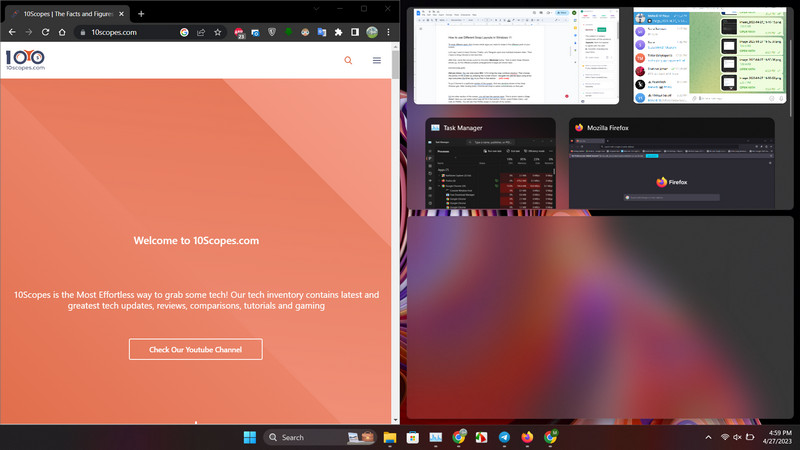
On the other section of the screen, you will see the opened apps. This is what’s called a Snap Assist. Here you can select which app will fit in that section. Since I want Firefox there, I will click on Firefox. You will see that Firefox snaps to that part of my screen.
Similar to the earlier step, you will see other opened apps in the last section of the snap layout. As I want Telegram there, clicking on its app icon will snap it in the last section.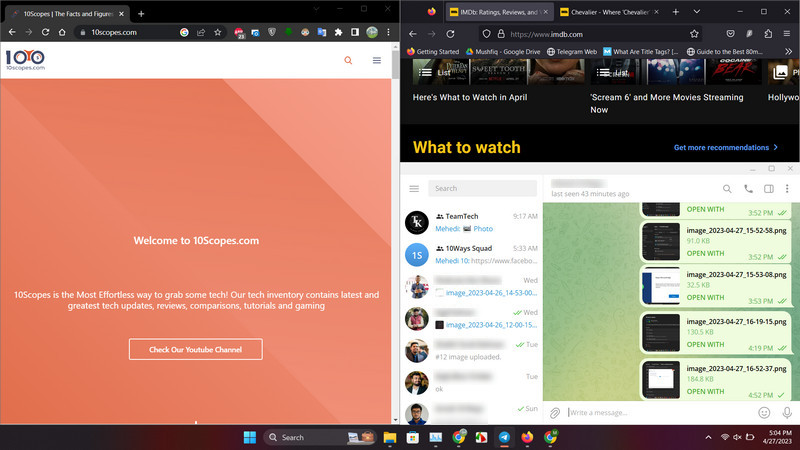
Finally, this is how my workflow will look with three different opened apps. You can open up to four apps at a time using the snap layout.
Switch between Snap Windows and Other Opened Apps
The apps on a snap are placed together, known as Snap Groups. You can switch between this group and other applications you want.
Snap Groups will also appear in Task Switcher. Press Alt + Tab, and they will appear as a single opened app.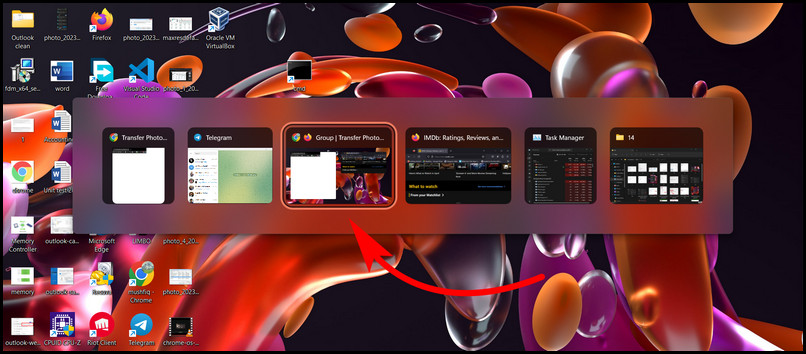
Also, when hovering the cursor over any apps placed in a group, you will see them grouped together. Clicking on it will bring all of them on the screen at once.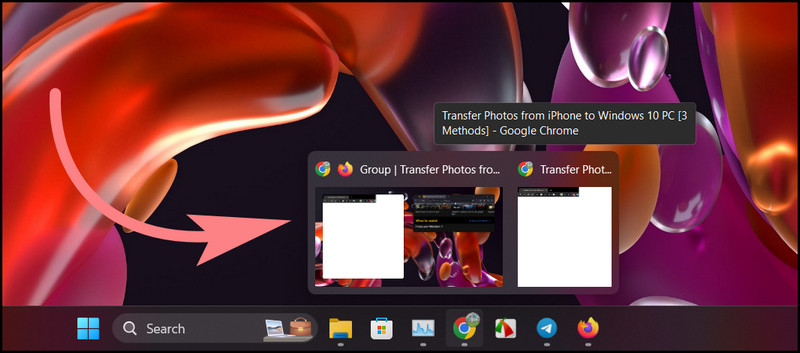
How to Customize Snap Layouts
You can change the behavior of snap windows by choosing different presets that Microsoft has put in Windows 11 Settings.
To view this, open Windows 11 Settings and navigate to System > Multitask > Snap Windows. If the options are not there, then you need to expand Snap Windows by clicking the arrow next to it.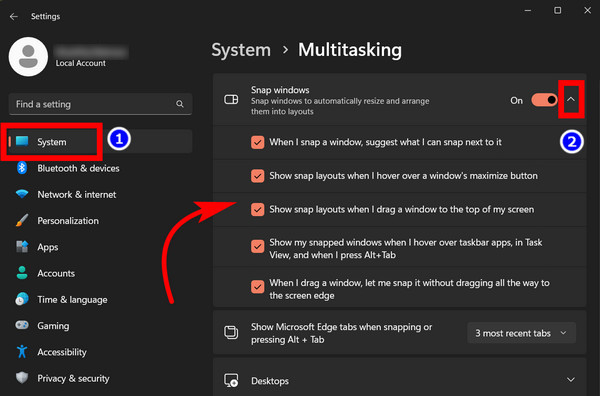
Here are the things that you can do:
- You can disable the snap layout popping out every time you hover over the Maximize icon.
- You do not need to drag an app to the very end of the screen to put it in a snap. Windows recognizes as you drag an app, bringing up the snap options.
- You can enable or disable the snap windows to appear as a group in Task Switcher.
- You can choose if Snap Assist appears when you resize an app window.
- Snap Layout can appear or disappear when you drag an app to the top of your screen.
All these can be switched on and off by removing the checkbox near their respective options.
Turn Off Snap Layouts on Windows 11
The same option inside Windows 11 Settings also allows you to disable the snap windows. If you do not like using it, just turn the toggle off next to Snap Windows. Now even if you hover your mouse or drag any app to the top, it will not appear.
Frequently Asked Question
Does Windows 11 have snap?
Yes, Windows 11 comes with a snap feature that let’s you set multiple apps on your screen by resizing them. This happens automatically, and you just need to select how the apps will be placed using the snap window.
Is Snap Layout available for Windows 10?
No, snap layout is only available for Windows 11. It is not available on Windows 10.
Final Words
At first, I was hesitant to use this feature. But as I got the hang of it, I felt that Snap Windows is one of the most underrated features of Windows 11 that no one talks about. You can set your workspace for multitasking in the blink of an eye. And that is where its magic lies.
So, how do you feel about this feature?
Do let us know in the comments.
Until then, it’s time to say goodbye.