Are you facing an error code 0x80070490 when you try to add a new Gmail account or any other email service account to your Mail App on Windows 11?.
If yes, you are not alone sailing in the same boat. There are lots of users who have received the same error. Even I’m also facing this error on my Windows 11 Mail App.
After some research and testing the solutions, I find out some practical solutions that work for me.
This post will show you some proven and effective methods to solve the Mail App error within a few minutes.
So, how do I fix error code 0x80070490?
Let’s dive right in and see what options you have for resolving this issue.
Why does the Error Code 0x80070490 show?
The error code 0x80070490 shows maybe for your system privacy issue settings or the Mail and Calendar app settings issues. The error can also show for the Mail and Calendar app technical issues. For example, bugs or glitches may create the error.
You may receive an error when you add a new Gmail account or any other email service account to your Mail and Calendar app on Windows 11. The error shows the message: Something went wrong. We couldn’t find your settings. Error code: 0x80070490.
To fix the error code 0x80070490, you can check your system privacy settings, update the Mail and Calendar app, reset the Mail and Calendar app or uninstall and reinstall the Mail and Calendar app and follow some other methods.
You may also like Windows 11 Missing Operating System Error.
How to Fix Error Code 0x80070490 on Windows 11
The error code 0x80070490 is a common issue for Windows 11 users. The error message shows when the users try to add any email service account on their Windows 11 Mail and Calendar app.
But don’t worry. If you are looking for the ultimate solution to solve the error, you are in the right place then.
So, Sit tight and follow the instructions carefully to fix the error.
Here are the steps to fix the error code 0x80070490 on Windows 11 quickly:
1. Check Email Privacy Settings
Checking your email privacy settings is the first method to solve the error. It can be possible, your system’s email privacy settings might be restricting apps from accessing your new email account.
So, check your email privacy settings to ensure your system is not restrict your email apps to fix your error.
Follow the steps to fix the error by checking the email privacy settings:
- Press Windows Key + I on your keyboard to open the Windows System Settings App.
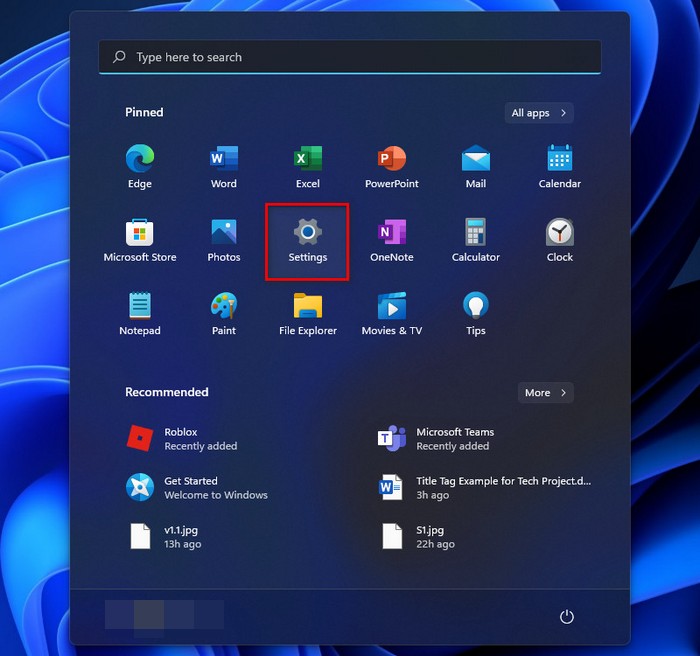
- Click on the Windows icon on your taskbar, and then click on the Settings icon under the pinned apps to open Windows Settings.
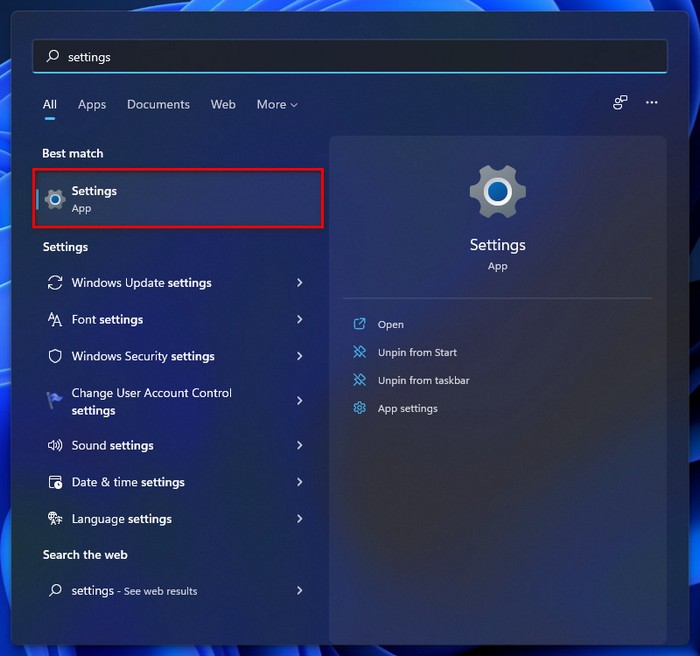
- Type settings on the windows search bar and hit the Enter button to open Windows Settings.
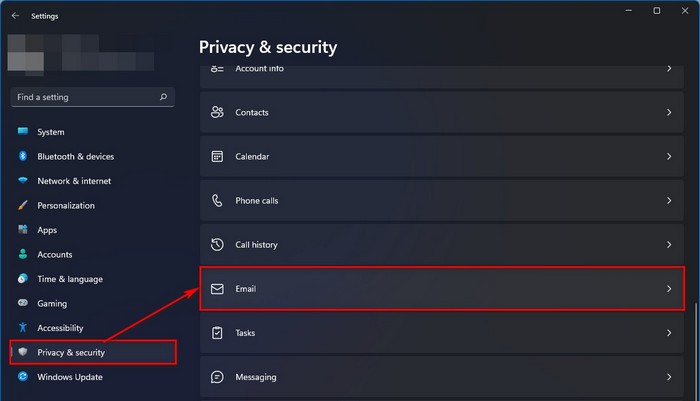
- Select the Privacy & security tab option from the side left settings menu panel.
- Scroll down and click on the Email section on the right side of the screen.
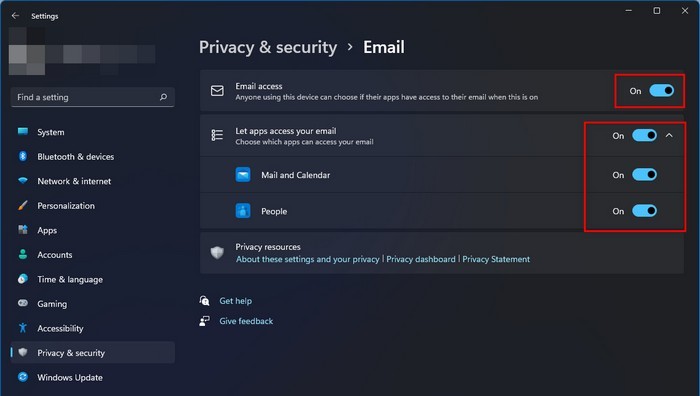
- Make sure to toggle on the button to access your email under the Email access section.
- Make sure to toggle on all the buttons to allow all apps to access your email under the Let apps access your email section.
- To see if your issue has been resolved, restart your Mail app and try adding your email account again. If this isn’t the case, reboot your computer.
Check out our expert-recommended guide on How To Enable Telnet On Windows 11.
2. Check Mail & Calendar App Permissions
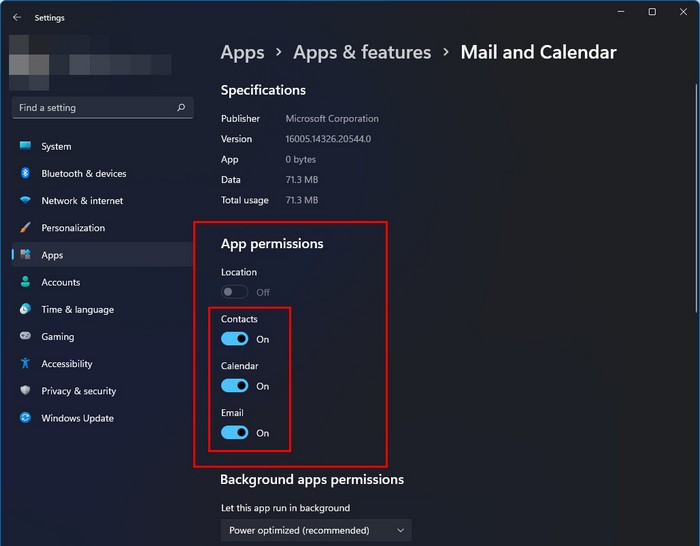
Many users claimed that email, calendar, or contacts app permission is disabled somehow on their Email and Calendar app. By allowing all the apps permissions, they can fix the error successfully.
So, follow the steps below to fix the error by checking the Email and Calendar app permissions:
- Press Windows Key + I on your keyboard to open the Windows System Settings App.
- Click on the Windows icon on your taskbar, and then click on the Settings icon under the pinned apps to open Windows Settings.
- Select the Apps tab option from the left side settings menu panel.
- Click on the Apps & features option at the top of the right side screen.
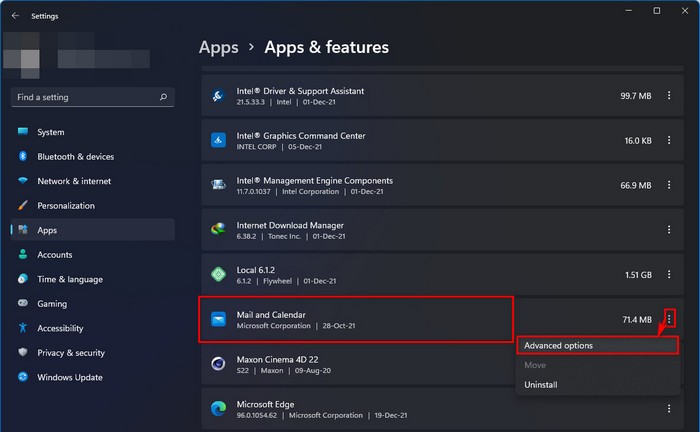
- Scroll down and find the Mail and Calendar app.

- Click on the Mail and Calendar three-dot menu and select the Advanced options.
- Toggle all the buttons to allow permissions for all the apps under the App permissions section if permissions are disabled.
After resetting the app, restart your Mail app and add your email account again to see if your issue has been resolved. If not, try to update your apps on Microsoft Store and try again.
Follow our guide on How to Boot to Safe Mode in Windows 11.
3. Reset the App
You can try to repair and reset the app to fix the error. Sometimes, resetting apps can solve technical errors or issues. So, you can try this method to solve your problem.
Follow the steps below to fix the error by repairing and resetting the apps:
- Press Windows Key + I on your keyboard to open the Windows System Settings App.
- Click on the Windows icon on your taskbar, and then click on the Settings icon under the pinned apps to open Windows Settings.
- Select the Apps tab option from the left side settings menu panel.
- Click on the Apps & features option at the top of the right side screen.
- Scroll down and find the Mail and Calendar app.
- Click on the Mail and Calendar three-dot menu and select the Advanced options.
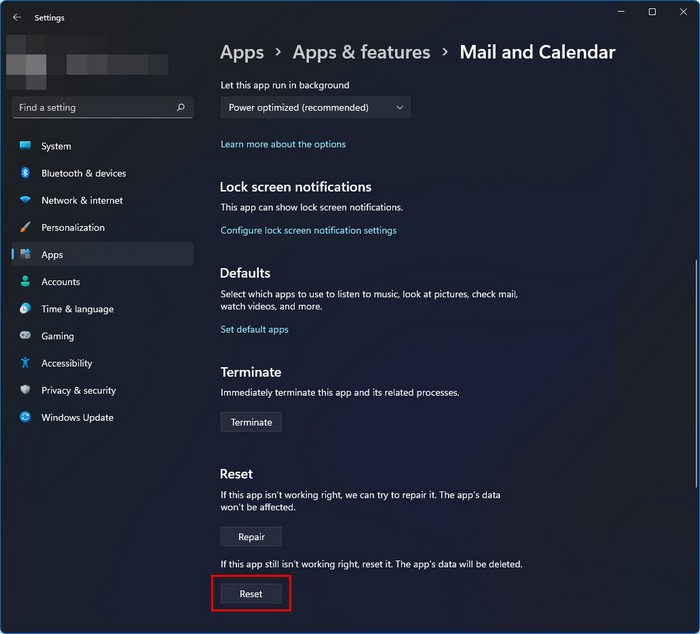
- Scroll down and find the Reset section.
- Click on the Repair button to try to repair first. The app’s data won’t be affected. Now, check to restart your app and try to log in to see whether your problem is solved.
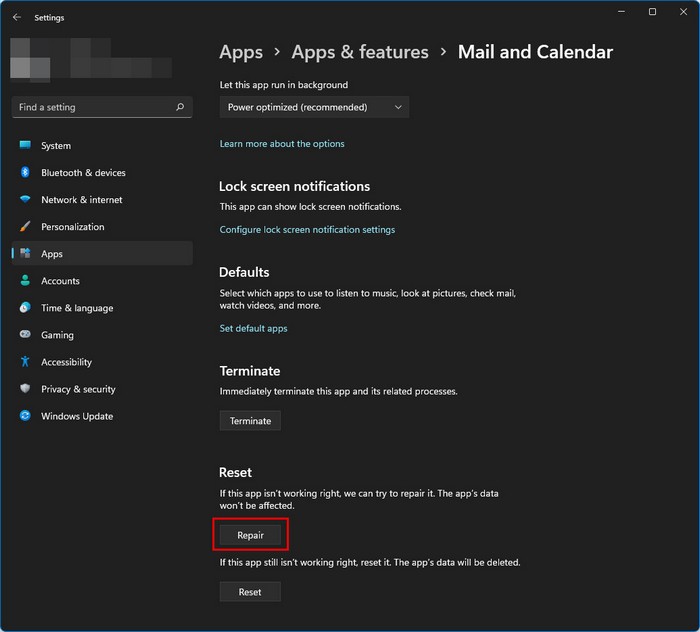
- Click on the Reset button to reset the app if the app still isn’t working. Note: The app’s data will remove permanently.
- To see if your issue has been resolved, restart your Mail app and try adding your email account again.
4. Run System File Checker (SFC)
Executing a command in the Command Prompt to run the SFC tool to scan and restore the corrupted system files is another way to fix the error on your Windows 11 system.
Follow the steps below to fix the error on your Windows 11 system using the Command Prompt:
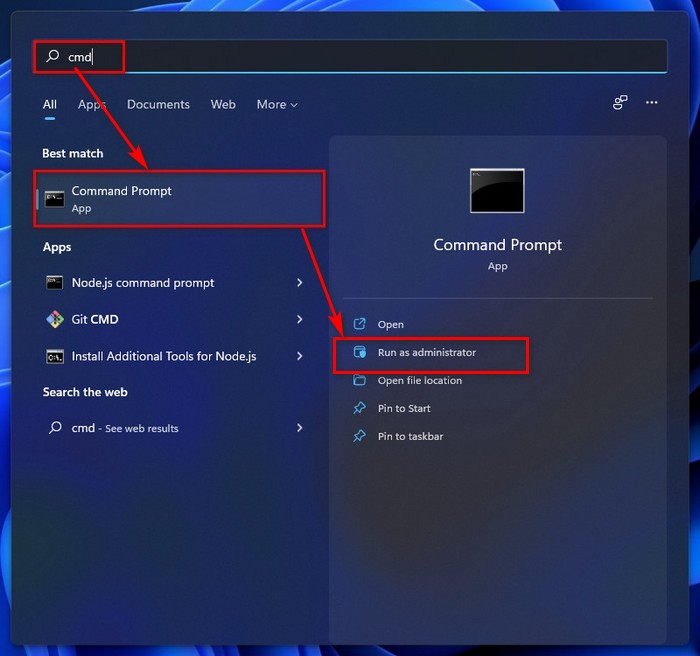
- Click on the Windows Search icon at the left side of the taskbar to open the Windows Search panel.
- Type cmd and click on Run as administrator to open the Command Prompt with admin privileges.
- Type the sfc /scannow command. Hit the Enter button to run the SFC tool to scan and restore the corrupted system files.
- Wait until the process is complete.
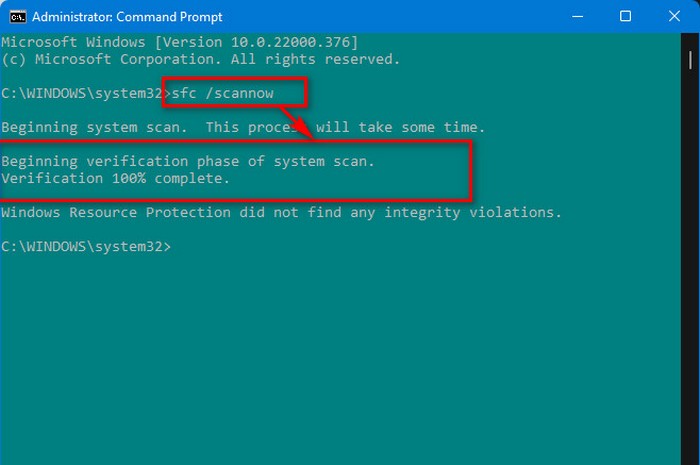
- Restart your computer after the successful SFC scan and attempt to add your email account again to see whether your error is solved.
You may check out how to disable SuperFetch on Windows 11.
5. Run DISM
Another option to fix the error on your Windows 11 PC is to run the Deployment Image Servicing and Management (DISM) tool in the Command Prompt.
Follow the steps below to fix the error on your Windows 11 system using the Command Prompt:
- Press Win + S key on your keyboard to open the Windows Search panel.
- Type cmd and click on Run as administrator to open the Command Prompt with admin privileges.
- Type the DISM.exe /Online /Cleanup-image /Scanhealth command and hit the Enter button, and wait until the process is complete.
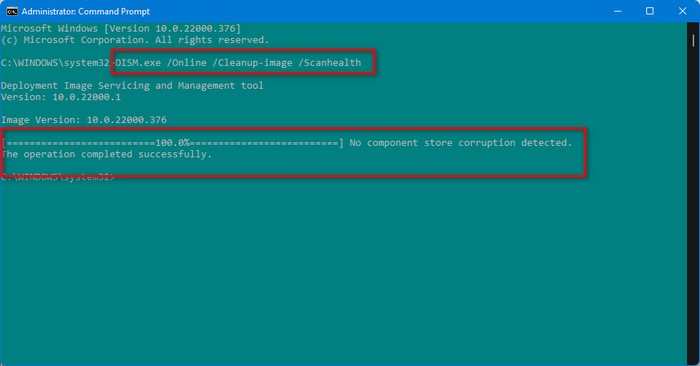
- After completing the first process, enter DISM.exe /Online /Cleanup-image /Restorehealth command and press the Enter button, and wait until the process is complete.
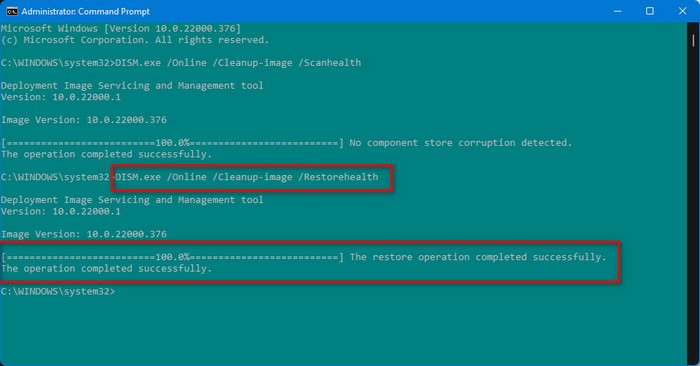
- Restart your computer after completing the process, and try again to add your email account to see whether your error is solved.
6. Reinstall the App
To resolve the issue, you can reinstall the app. Errors can sometimes resolve by reinstalling the app. So, to address your problem, you can try this way.
Follow these steps to fix the error by reinstalling the apps:
- Press Windows Key + I on your keyboard to open the Windows System Settings App.
- Click on the Windows icon on your taskbar, and then click on the Settings icon under the pinned apps to open Windows Settings.
- Select the Apps tab option from the left side settings menu panel.
- Click on the Apps & features option at the top of the right side screen.
- Scroll down and find the Mail and Calendar app.
- Click on the Mail and Calendar three-dot menu and select the Advanced options.
- Scroll down and find the Uninstall section.
- Click on the Uninstall button and confirm again to click on the Uninstall button to delete or remove the app.
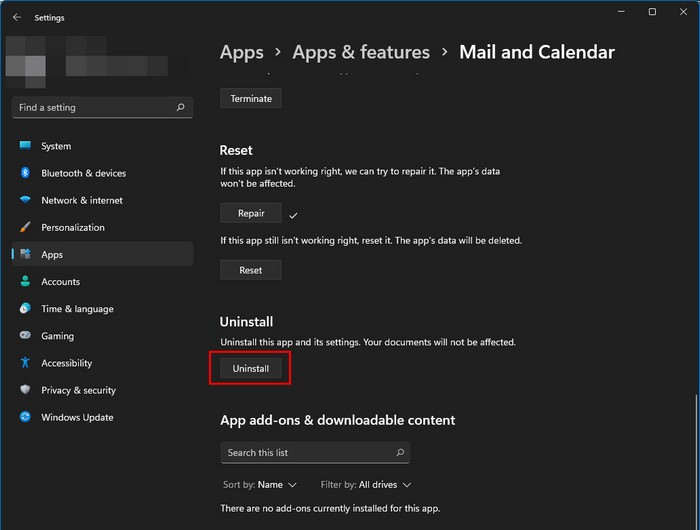
- Reinstall the app and try adding your email account again.
Final Thoughts
The error code 0x80070490 may indicate a problem with your system’s privacy settings, as well as the Mail and Calendar apps permission settings. The message may also appear due to technical issues with the Mail and Calendar apps.
In this post, I describe the main reason for showing the error when adding an email account. I also describe six proven methods to fix your error within five minutes.
So, apply all of the methods one by one until your problem is solved successfully, and let me know which methods solved your problem. I hope this post is helpful for you.


hey, thank you so much, the reinstalling finally helped!