Installing Windows 11 can be a headache for some people, but it doesn’t have to be if you use the official installation assistant provided by Microsoft. Keep reading to find out how to make use of it.
What is a Windows 11 installation assistant?
As a tech enthusiast, I have already used this application to install Windows on both my desktop and laptop, so don’t worry, I will explain everything step-by-step. All you have to do is just read without any distractions.
So, grab some drinks and start reading. I also suggest not skipping any parts if you don’t want to be confused later.
What are the Ways to Install Windows 11?
The ways to install Windows 11 include using the installation assistant, creating a Windows 11 installation USB flash drive, or using a pre-built Windows 11 installation CD. You can also install Windows by mounting a Windows iso and using the setup inside.
I know the list of options to choose for installing Windows 11 can be overwhelming, but you only need to use the one that’s most suitable for you.
All the methods except the installation CD involve downloading a Windows 11 pre-built ISO file. This needs to be done manually if you plan to flash to a USB drive or install Windows from the ISO itself.
On the other hand, the Windows 11 installation assistant takes care of everything, including downloading the ISO file automatically.
The only place I recommend you to download Windows ISOs is from the official Microsoft website because several third-party websites contain modified Windows ISOs that can contain viruses and malware.
Some ISOs online are also modified to remove all the Windows bloatware and reduce the installation size to reduce overall RAM usage and increase Windows performance.
However, using these might cause problems with specific Windows features, and you might also lose some features completely. If you want to avoid using Windows ISOs altogether, your best bet is to use the Windows 11 installation assistant or a Windows CD.
You can find a Windows CD in any computer shop, but the installation process using that might be a little complicated for you. If you don’t do it right, you might end up deleting all your files when you upgrade.
There is no risk of that if you use the installation assistant instead, so let’s find out how to actually use that software.
Follow our guide to Fix cFosSpeed Driver Preventing Windows 11 Installation.
How to Use Windows 11 Installation Assistant?
I will discuss the step-by-step process to use this tool now, but before that, you need to make sure the PC you want to install Windows 11 on is running Windows 10 and has the necessary specifications to run Windows 11.
If the specifications don’t match, the installation assistant won’t work.
Here are the steps to use the Windows 11 installation assistant:
- Visit the Google homepage from any browser on your PC.
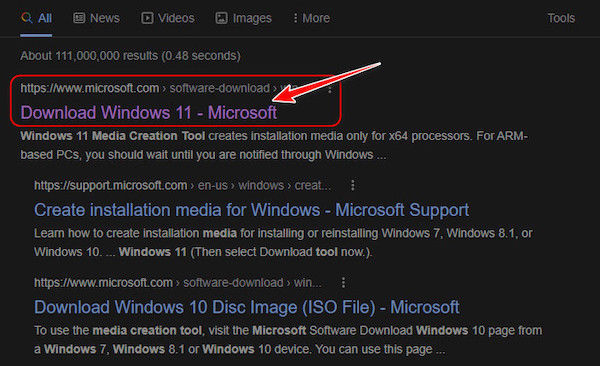
- Type ‘Windows 11 Installation Tool’ on the Google search bar and click on the Google Search button.
- Once the search results appear, click on the one from Microsoft.
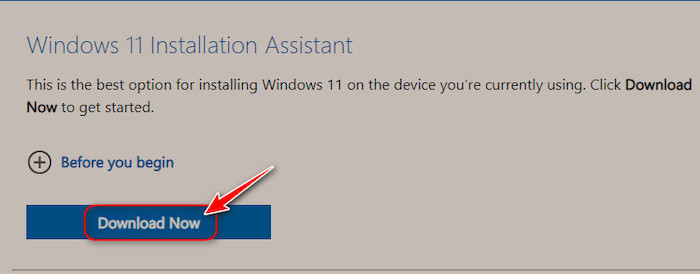
- Look for the Windows 11 installation assistant section and click on the Download Now button below that.
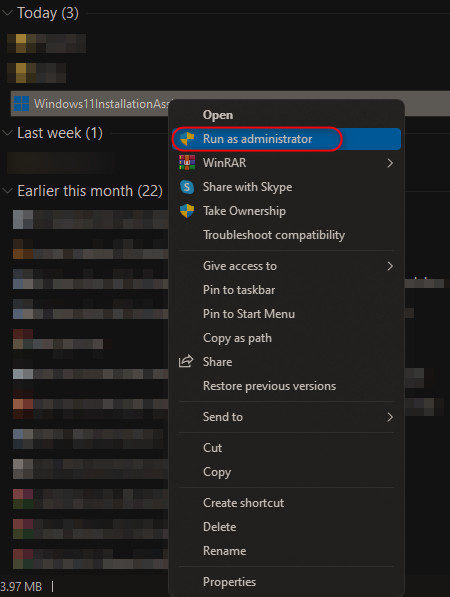
- Open the folder where you downloaded the file, right-click on the file named ‘Windows11InstallationAssistant.exe’ and click on Open File.
- The tool will check if your system supports minimum Windows 11 requirements, and if it’s not compatible, you should see a message stating that.
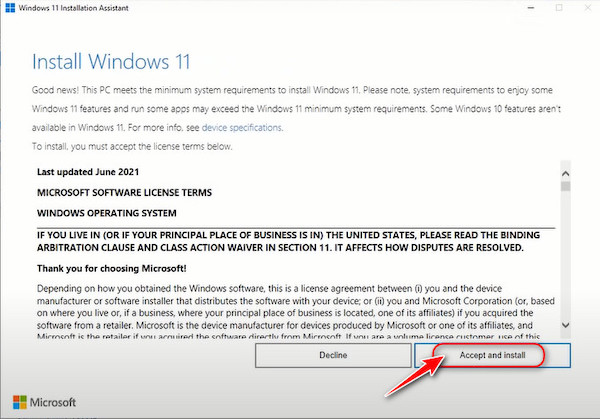
- If your system is compatible, terms and agreement text will appear. Verify that your PC is connected to the internet and click the Accept and Install button.
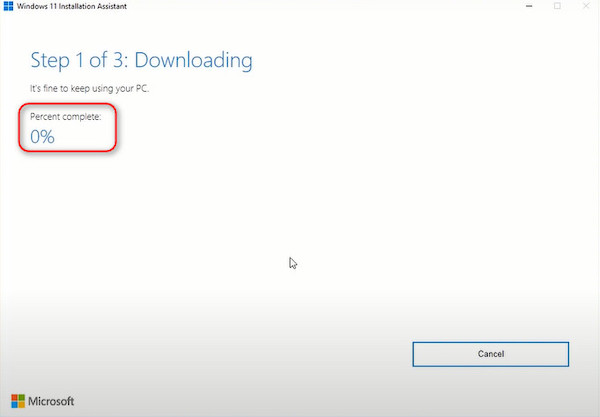
- The program will immediately start downloading the latest Windows 11 iso file from official Windows servers. This iso file is only accessible to the program, so if you want to use it, you need to download it from the Microsoft website.
- Once the download reaches a hundred percent, the program will offer you to choose between rebooting now or after thirty minutes. Check if your laptop has more than 90 percent battery, and click on the ‘Restart Now’ button if you want to upgrade right away.
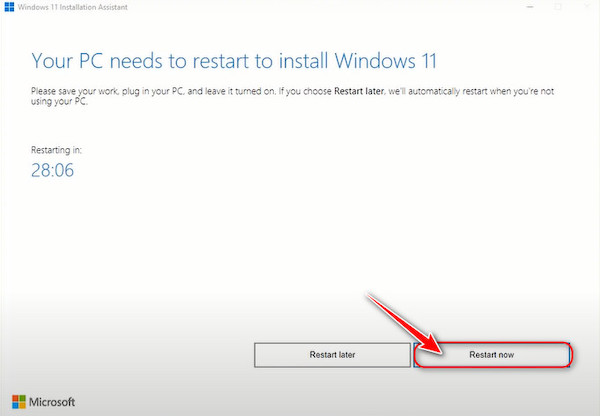
- The installation process will begin after that, so make sure not to turn off your computer or disconnect the power supply by any means. The computer will repeatedly restart to install Windows.

- Once the installation is completed, you will need to sign in normally using your credentials if you have any and start discovering all the new features. Notice that none of your personal files, apps and settings were removed.
Check out the easiest way to Fix When Windows 11 Won’t Install.
How to Make a Bootable USB Drive for Windows 11
You can make a bootable USB drive for Windows 11 using a third-party tool like Rufus or balenaEtcher, and both tools require you to download and use an ISO file to create the bootable USB flash drive.
Before creating a bootable disk, some critical points to consider are ensuring the ISO you downloaded is reliable and does not contain any viruses. The best way to do this is to download it from the official website.
You also need to have a minimum of 8GB flash drive connected to your PC.
Here are the steps to make a bootable USB drive for Windows 11 using Rufus:
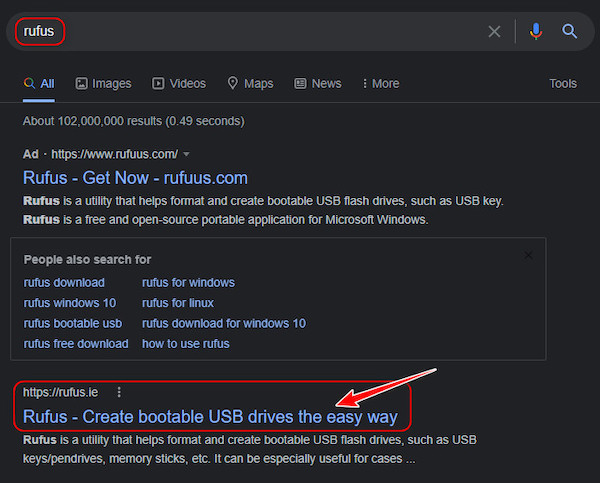
- Launch your browser and go to google.com.
- Search for Rufus and click on the first result below all the sponsored results.
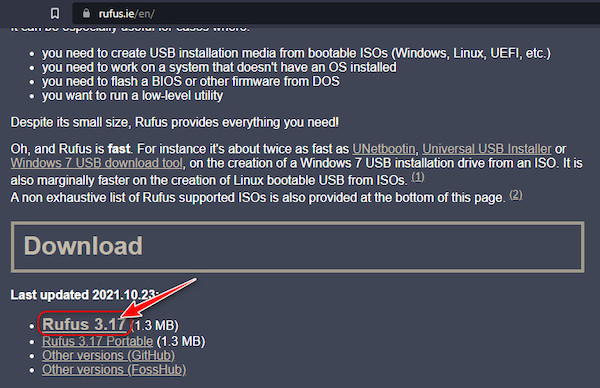
- Scroll down until you get to the Download section and click on the latest version of Rufus to download it.
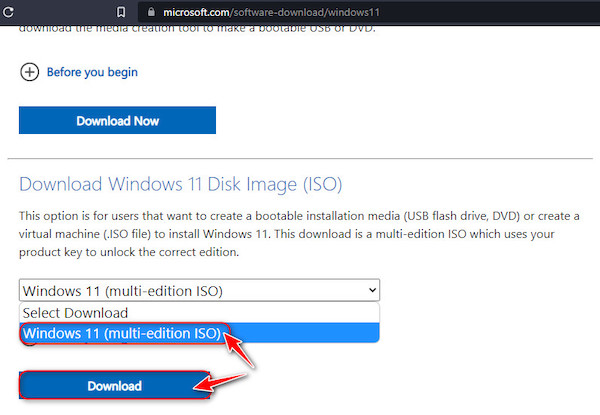
- When that finishes downloading, go back to Google, search for windows 11 iso, and click on the first result from Microsoft.
- Scroll to the Windows 11 Disk Image section, click on the Select Download drop-down menu, and select Windows 11. Then, click on the Download button.
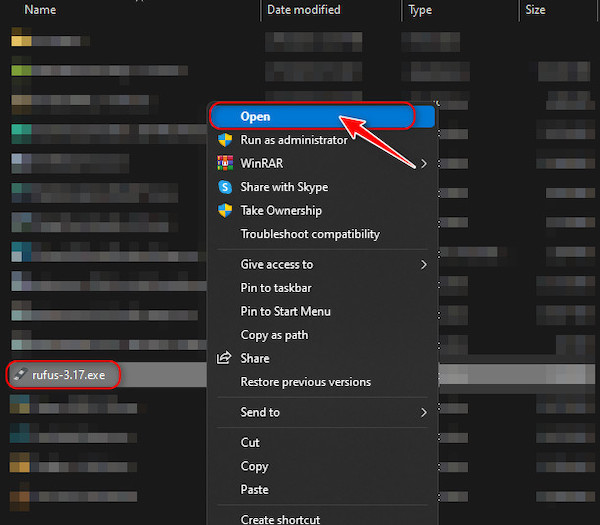
- Go to the downloads folder once both files have finished downloading. Launch the Rufus exe file.
- Go to Start, search for System Information and click on the first result.
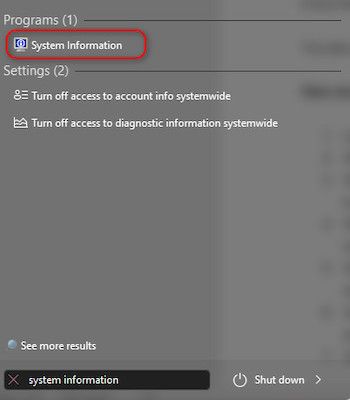
- Note what the text next to BIOS mode says on a piece of paper.

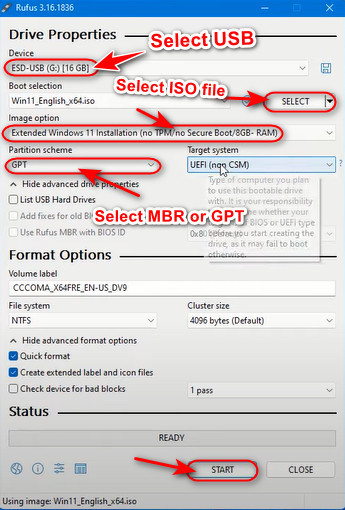
- Switch to Rufus and select your USB drive first. Then, click on Select and choose the ISO file you downloaded earlier. After that, if the BIOS mode was legacy, click on MBR under Partition scheme. Otherwise, select GPT and click on Start.
- After the flashing process is completed, you have successfully created a bootable USB drive for installing Windows 11.
FAQ
Should I install Windows 11 using an installation assistant?
Yes, you should install Windows 11 using installation assistant since it keeps all your music, videos, documents, apps, and settings intact while upgrading Windows if you are already on Windows 10.
How long does the Windows 11 installation assistant take?
The Windows 11 installation assistant takes around 20 minutes to download the required files, and once that’s done, it takes an additional 40 to 60 minutes for the installation process to complete.
Does Windows 11 installation assistant delete everything?
No, the Windows 11 installation assistant doesn’t delete everything. All your files and settings will remain untouched during the installation. However, if you use other methods for installing Windows 11, you might lose files.
Is Windows 11 upgradation free?
Yes, Windows 11 upgrade is free for all users who are running the latest build of Windows 10. Also, your Windows must be activated for the free upgrade. Otherwise, you will need to enter a product key while upgrading.
Final Thoughts
Despite there being a multitude of options for installing Windows, the logical and risk-free method to install Windows is to use official tools provided by Microsoft themselves, which are the Windows 11 installation assistant and Windows 11 media creation tool.
Other tools might cause compatibility issues or errors during installation, and depending on the circumstances, you might also end up unexpectedly losing access to the Windows you already have installed.
I hope this article was helpful, and do check out our other article on media creation tools if you are interested.