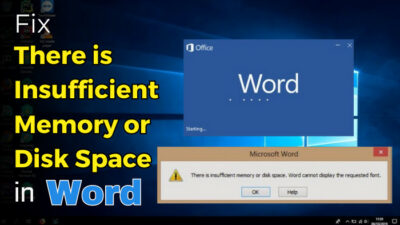
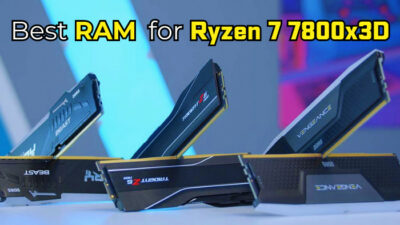
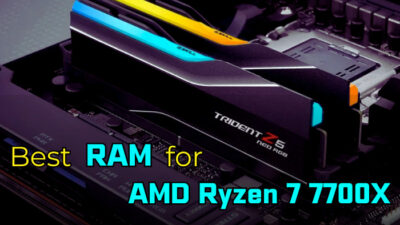
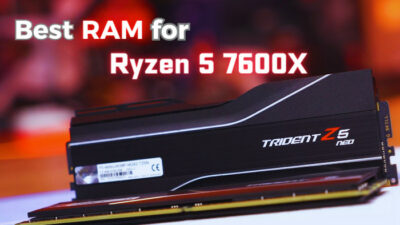
How to Check RAM on Windows 11 [Step by Step Guide]

Written By Steven Arends

You want to know your computer’s RAM details, but you are worried about how you can do it.

If you are looking for an ultimate step-by-step guide to check your system RAM details, you are in the right place then.

Today, In this post, I will teach you some tested and effective methods to know your RAM size, speed, and type in your Windows 11 computer.

So, how do I check my RAM details?

You can check your RAM details by using the Windows System Settings, Task Manager memory tab, or System Information window. You can also check your available RAM details by executing a simple command into Windows Command Prompt or Windows PowerShell.

check-ram-on-windows-11

Keep reading the whole post and follow the instructions carefully.

So, till the end, stay with me to know the RAM details on your Windows 11 system.

Why do you need to know the RAM details?

When you want to install a new OS in your system, you need to know the total amount of RAM because the OS installation depends on the RAM size of your computer. Every OS version requires minimum sizes of RAM to install on the system perfectly.

For example, Windows 11 OS needs 4 GB of RAM to install on your computer. If your computer has 4 GB of RAM, you can install Windows 11. But, if you don’t, you can’t. For this reason, you need to ensure the RAM size to install the OS correctly and run perfectly on your computer.

Also, Nowadays, most modern games need higher RAM or temporary memory to install and play smoothly on your system. If your system doesn’t meet game requirements, you can’t run the game on your system.

Don’t forget to check out some of the best 3200 MHz RAMs for a faster gaming experience.

One of the essential needs is the amount of RAM available. Before installing the games, you need to know your system’s RAM size to play the games smoothly.

Many high-configuration software needs more RAM to install your system successfully and use it smoothly. Without meeting system requirements, your system cannot install the software.

So, RAM size is essential for any software. To install the software successfully on your system, you need to know your system’s RAM size.

Even if you want to upgrade RAM on your Windows computer, you need to know your RAM’s RAM frequency, size, and CAS latency. When you want to upgrade your RAM, understanding the speed and kinds of your existing RAM is essential.

How to Check RAM on Windows 11

RAM stands for Random Access Memory, and it is a vital component of the computer. The RAM evaluates your system’s performance. 

To install the OS, install and play the games, install the various software or upgrade your computer system, you need to check the RAM size, types, speed on your Windows computer. Without ensuring your RAM’s size, speed, and kinds, you may face many problems.

Check out two separate posts if you have confusion about which RAM slot and which RAM channel to use.

In the following section, I will show you some tested and effective methods to check your RAM details on your Windows 11 computer.

Here are the steps to check your RAM details on your Windows 11 computer:

1. Use System Settings

The About section of the Settings app is one of the simplest methods to check your system’s total RAM. 

Simply follow the steps outlined below to check your system RAM details using the system settings:

  • Press Windows Key + I on your keyboard to open the Windows System Settings App.
  • Click on the Windows icon on your taskbar, and then click on the Settings icon under the pinned apps to open Windows Settings.

windows-11-settings-open

  • Type settings on the windows search bar and hit the Enter button to open Windows Settings.

win-11-settings-search

  • Select the System tab option from the side left settings menu panel.

win-11-system-about

  • Scroll down and click on the About section at the bottom of the right side of the screen panel.
  • The total installed amount of RAM is shown on the active windows under the Device specifications.

windows-11-ram

2. Use Task Manager

Another way to check your RAM details is using the task manager. Using the task manager, you can see your RAM size, speed, and types in one place.

Follow these steps to check your RAM details on your Windows 11 computer using the Task Manager:

  • Press Ctrl + Alt + Esc key on your keyboard to open the Task Manager shortcut.

task-manager-shortcut

  • Right-click on the Windows Start icon on the left-side corner taskbar or press the Win + X key on your keyboard to open the WinX menu.

windows-start-icon-on-the-left-side-corner-taskbar

  • Click on the Task Manager to open the Task Manager.
  • Click on the More details button to expand the Task Manager window if needed.

more-details-button-to-expand-the-task-manager

  • Select the Performance tab at the top of the window to view all the critical hardware live performance status.
  • Select the Memory tab section at the left side of the screen to view details of the memory performance.
  • In the memory tab, you can see the total amount of RAM at the top of the right-side corner.
  • At the bottom of the window, you can see the RAM speed, form factor, how many slots are used, and more.

total-amount-of-ram

3. Use System Information

You can use System Information to check your Windows 11 system RAM details. Using the system information window to check the RAM details is another easy and effective method.

Follow the steps below to check the RAM details on your Windows 11 system using the Windows System Information:

  • Press Windows Key or click on the Windows search bar and type system information.

windows-search-bar-and-type-system-information

  • Right-click on the search result and press the Enter button to open the System Information.
  • Select System Summary on the left-side panel.

installed-physical-memory-item

  • Find out the Installed Physical Memory item and other memory items to see more Memory details. Image no: 3.4

4. Use Command Prompt

Executing a command in the Command Prompt is another way to check all available details of the RAM on your Windows 11 system.

Follow the steps below to check the RAM details on your Windows 11 system using the Command Prompt:

  • Click on the Windows Search icon at the left side of the taskbar to open the Windows Search panel.

command-prompt-with-admin-privileges

  • Type cmd and click on Run as administrator to open the Command Prompt with admin privileges.
  • Enter wmic memorychip list full command.
  • Hit the Enter button to show all the Memory details in the Command Prompt window.

memorychip-list-full-command

5. Use PowerShell

Another option for checking all available RAM details on your Windows 11 system is to run a PowerShell command.

Using the PowerShell to check the RAM details on your Windows 11 system, follow the steps below:

  • Click on the Windows Search icon at the left side of the taskbar to open the Windows Search panel.
  • Type powershell and click on Run as administrator to open the PowerShell with admin privileges.

windows-11-powershell-run-as-administrator

  • Enter Get-CimInstance -ClassName Win32_PhysicalMemory or Get-CimInstance -ClassName Win32_PhysicalMemory command.
  • Hit the Enter button to show all the Memory details in Command Prompt window.

memory-details-in-power-shell-window

If you are looking for RAM to increase your gaming computer’s performance, check out some of the best 4000 MHz RAMs for a faster gaming experience.

Final Thoughts

Random Access Memory, or RAM, is a critical component of any computer. The RAM assesses the performance of your computer. You must verify the RAM amount, kinds, and speed on your Windows computer before installing the OS, games, or softwares or upgrading your computer system.

In this post, I describe the necessity of checking the RAM details on your Windows computer and five proven methods to check your RAM details quickly on your Windows 11 system computer.

I hope you found this helpful article. If you found this post useful, please like it, leave a comment, share it with your friends, and check out other posts if you’re interested in learning more about similar topics.

About The Author
Steven Arends is a computer science graduate and tech enthusiast with over 10 years of experience in the field. He has a vast collection of computer hardware and loves exploring the latest advancements. As a contributing author to 10Scopes, Steven shares his expertise to make the world of technology more accessible and easier to understand for all readers.

Leave a Comment