Are you having any WIndows 11 audio issues like your sound cuts off frequently at random intervals or your sound is crackling when playing games? If so, you are right where you are supposed to be.
You must be wondering:
Why does my PC audio keep cutting out?
The time has come for you to say goodbye to all your Windows 11 sound issues because I have covered all the working methods to fix them in this article. As a tech enthusiast myself, I faced a similar issue weeks ago but managed to fix them using one of the methods listed here.
So, pour some coffee and start reading this article to eliminate all your audio glitching troubles, just as I did.
How To Fix Sound Keeps Cutting Out Windows 11?
Before you start reading about the fixes, I suggest you try out some basic troubleshooting steps before getting into the ‘real’ fixes.
These steps include increasing the audio volume or checking the audio cable for loose connections if connected to an external speaker. If you are using an external speaker, you could also try connecting to another speaker to see if that fixes the problem.
Here are the steps to fix the sound keeps cutting out Windows 11?
1. Run The Built-In Audio Troubleshooter
This falls under one of the basic fixes, but I have noticed that many people often forget that this exists or don’t even know about this handy tool. Despite the fact that Microsoft built this tool, it can only eradicate minimal and fundamental problems.
Also, check out our separate post: how to Fix Sound Cracking Issue on Windows 11.
Here are the steps to run the built-in audio troubleshooter:
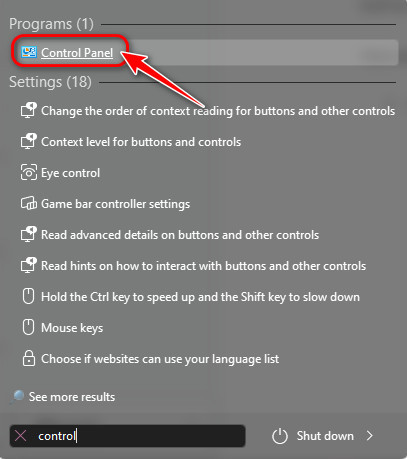
- Click on your Start Menu and launch the Control Panel after searching for it.
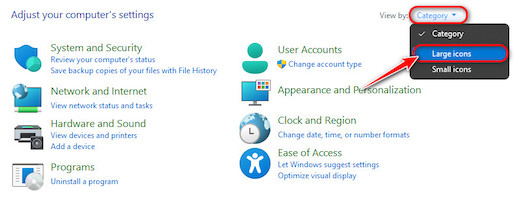
- Change the Control Panel view by clicking on the drop-down menu next to ‘View by’ and choosing ‘Large icons’ from the list.
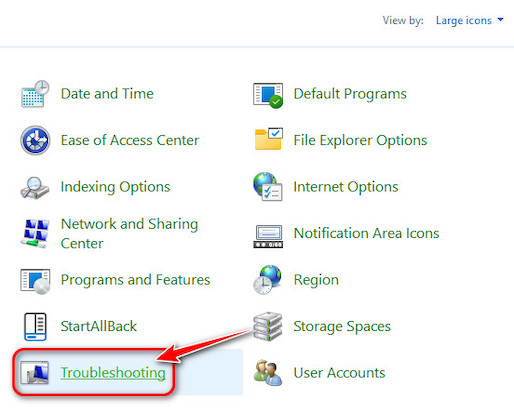
- Locate the Troubleshooting option and click on it.
- Next, click on the option that says ‘Hardware and Sound’.
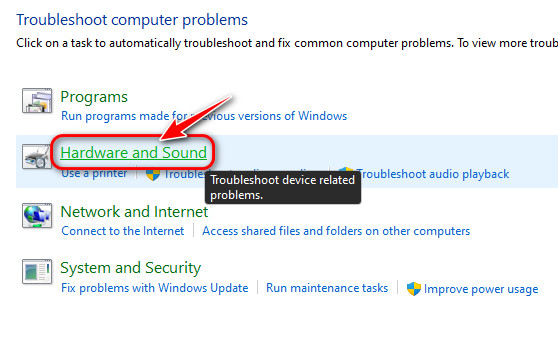
- On the next page, select the Playing Audio option.
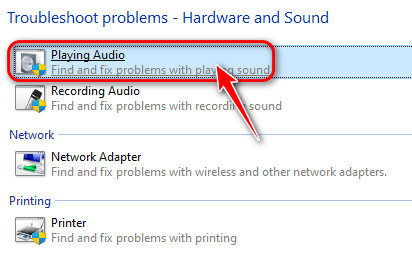
- Follow the instructions on the troubleshooter to automatically identify and fix problems.
Don’t lose hope if this doesn’t work since you have plenty more methods to go through.
2. Ensure Your Audio Drivers Are Updated
You are bound to face audio issues like crackling, whether you are on Windows 11 or not if you keep using out-of-date drivers. I prefer updating these with third-party software like IOBit Driver Booster, but you might not have access to this program.
That’s why I will explain how to make sure your drivers are up-to-date without using external applications.
Here are the steps to ensure your audio drivers are updated:
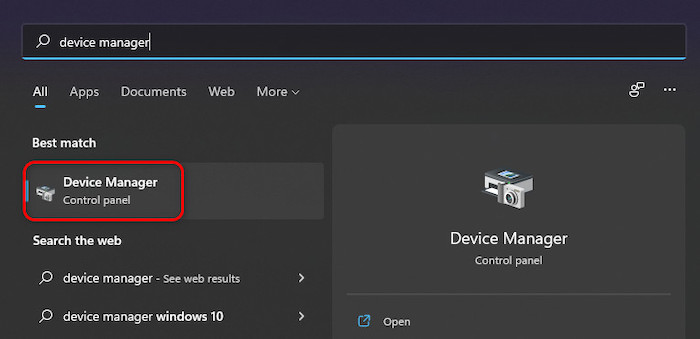
- Go to your Start menu and search for Device Manager. Click on the first result.
- Double-click ‘Sound, Video and Game Controllers’ to expand it and then right-click on your audio driver. If you don’t know which to choose, select the Realtek High Definition Audio and then select ‘Update Driver’.
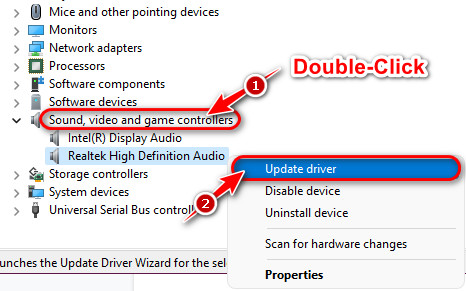
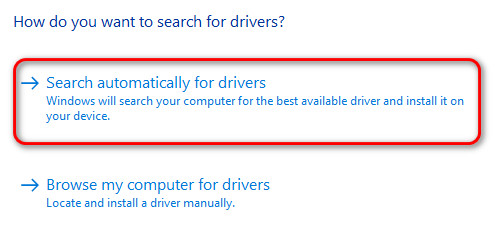
- On the next window, select ‘Search Automatically For Drivers’ and follow the instructions to ensure you are using the latest drivers.
Also, check our exclusive tutorial on how to Fix Blue Screen on Windows 11.
3. Turn Off All Sound Enhancements
Sound enhancements can be both a blessing and a curse at the same time. I remember using an application called Boom3D to enjoy a surround sound effect, but the problem with that is it occupies extra RAM and CPU usage.
What that means is you might periodically experience stutters with your audio when any sort of audio enhancements are enabled. I will show you how to disable the built-in Windows enhancements that interfere with the audio.
Here are the steps to turn off sound enhancements:
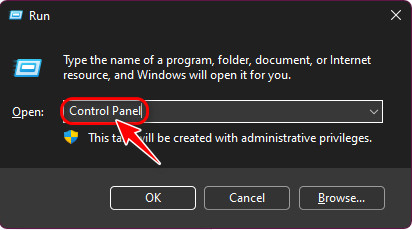
- Press the Windows and R keys simultaneously to launch the Run window. Type in Control Panel and press enter.
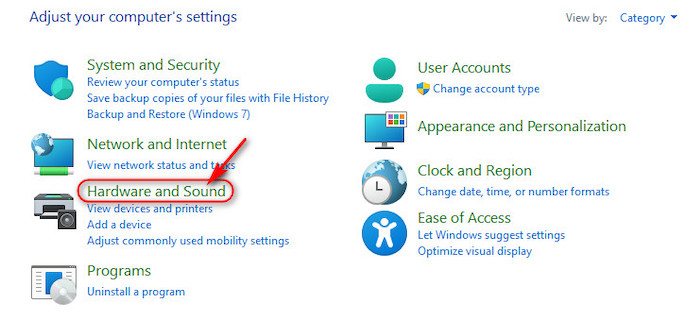
- Switch to the Category View from the top right corner and click on Hardware and Sound.
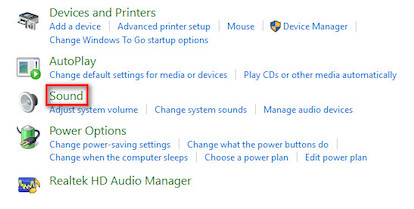
- Click on Sound on the next page.
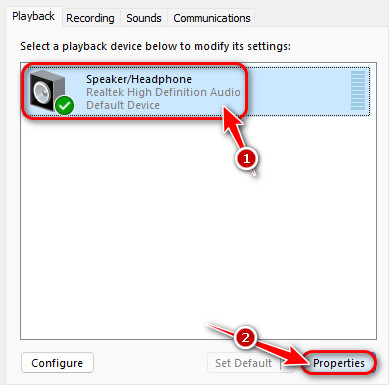
- Select ‘Speakers’ or ‘Speaker/Headphone’ and click on Properties on the bottom right corner of the new window.
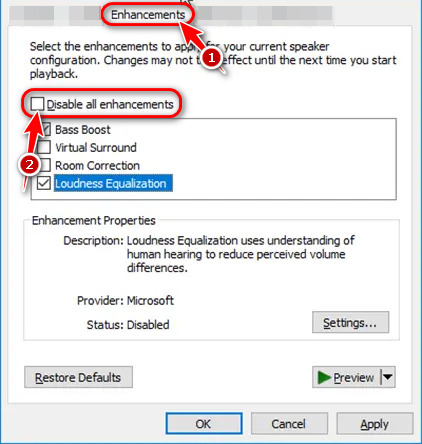
- Switch to the ‘Enhancements’ tab and tick the ‘Disable all enhancements’ option.
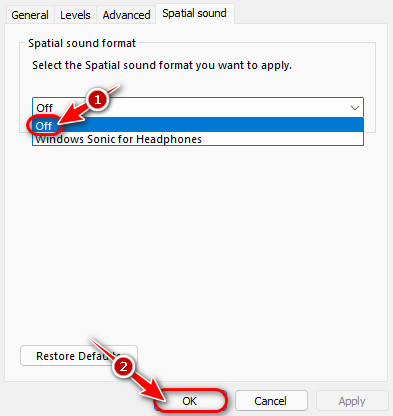
- Switch to the ‘Spatial sound’ tab and click on the drop-down menu to expand it. Select the Off option and then click on the OK button.
Do check our latest post on the Show Folder Size in Windows 11.
4. Check Speaker Configuration
Some of the people I know, including my friends, were telling me about how their speakers were producing sound with limited dynamic range in their HP laptops. Basically, the audio didn’t sound right.
I figured out what their issue was, and I suggest you check your speaker configuration as well.
Here are the steps to check speaker configuration:
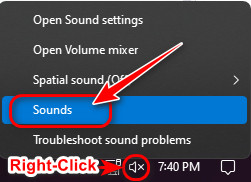
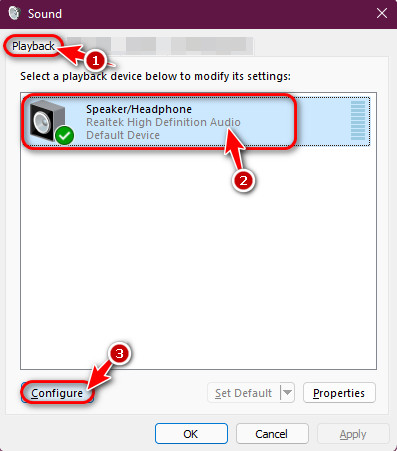
- Locate the audio icon on the bottom right corner of your Windows taskbar and do a right-click on it. Select Sounds from the menu.
- Switch to the Playback tab, select ‘Speaker’ or ‘Speaker/Headphone’, and click on the Configure button on the bottom left corner.
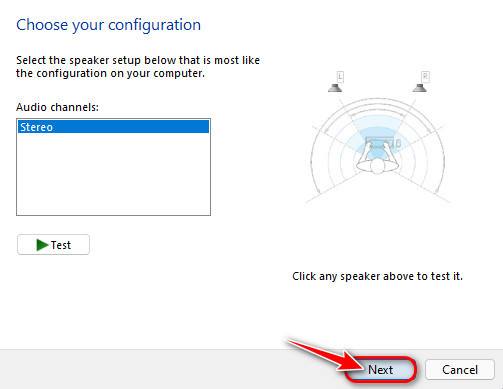
- Leave everything exactly as it is on the new window and click on the Next button.
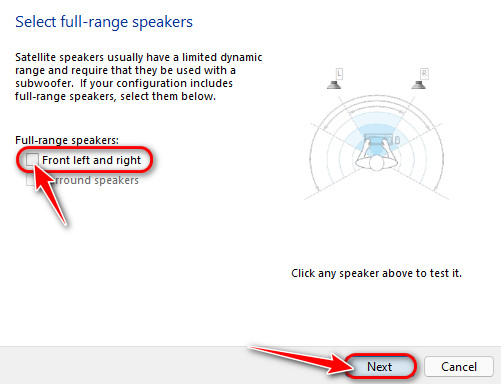
- Here, under the ‘Full-range speakers’ make sure the ‘Front left and right’ option is unchecked. Then, click on Next.
- Click on Finish on the last window to save the configuration.
Quickly check out our latest fix for Bluetooth Toggle Missing On Windows 11.
5. Change Windows Audio Services Startup Type
Most of you reading this should have already solved the problem from the previous methods, but for the rare few who were unlucky, the issue is probably with a service called Windows audio.
As the name suggests, it overlooks all the audio being processed by Windows, and all versions of Windows have it.
Here are the steps to change Windows audio services startup type:
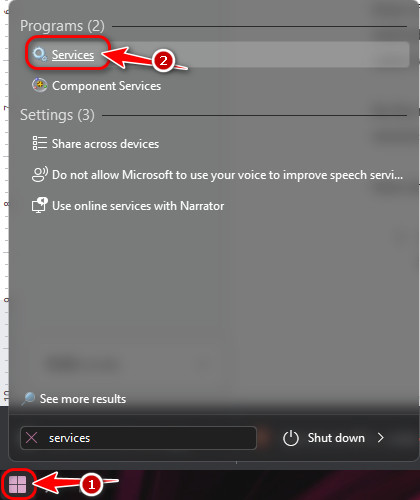
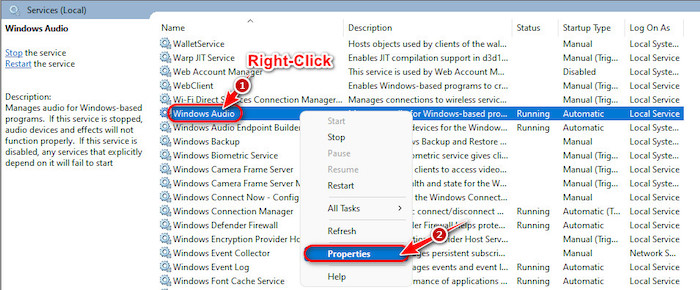
- Click on the Windows icon on your taskbar to launch the Start menu and search for Services. Click on the first result.
- Click on any service on the right pane of the window and press the ‘W’ key on your keyboard. Scroll down a little bit to find the Windows Audio service.
- Right-click on Windows Audio and select Properties.
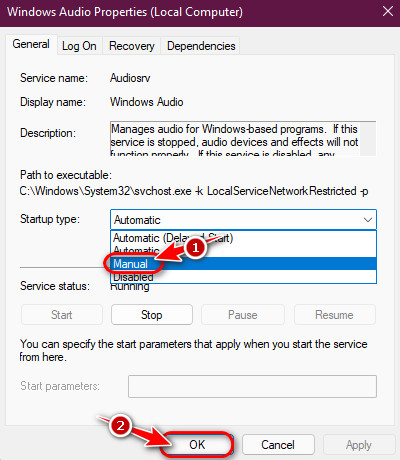
- Expand the drop-down menu next to Startup type and choose Manual on the new window. Then, click on OK to confirm the changes.
FAQ
How do I reset sound drivers Windows 11?
You can reset sound drivers in Windows 11 by opening the Device Manager and right-clicking on your driver after expanding Sound, video, and game controllers and selecting Disable device. After a reboot, perform the same steps but choose the Enable device option.
Why is the sound system sound not working?
Your system sound is not working because the setting for the sound card is toggled off in BIOS. You can go to BIOS by rebooting and pressing Esc repeatedly until you see a menu. Otherwise, the worst-case scenario is your sound card is damaged.
Why does my HDMI sound cut out?
Your HDMI sound cuts out because the cables connected to either your laptop or the TV aren’t fully connected. Push them in gently until they are firmly in place. If there is nothing wrong with the cables, try updating the HDMI audio drivers from Windows.
Final Thoughts
You don’t need to tell me how frustrating it must feel to face glitching or crackling audio problems right when you are in the middle of your gaming session or a movie. Regardless, I hope you managed to solve your issue by following one of the simplest methods I talked about.
If you ever find yourself in a situation like this again, you know where to find us.