Is your computer storage filling up gradually and performance getting slower than before?
Are you worried about cleaning up the storage space and looking for the best method to find the most extensive unused files on your storage?
Don’t worry. You have come to the right place, then.
This post will show you the most effective and practical methods to quickly find the most extensive files on your storage on Windows 11 computer.
How do you find the most extensive files on Windows 11?
Still not clear? Do you want me to explain?
Keep reading the whole post and precisely follow the instructions.
Check out our separate post: Fix Error 0x80004005: Unexpected Zip File Error on Windows
Why Do You Need To Find The Most Extensive Files?
You need to find the most comprehensive files to free up your storage space. When your system is running for a long time, your storage is filled daily by the different sizes of system files, and filling up storage files causes a slower approach.
Storage space is one of the most important aspects of any system, and it contains your essential files, folders, and other essential documents. Managing your most extensive files is a fantastic approach to clearing up storage space, and it helps to speed up your system.
If you no longer need the most comprehensive files, you can relocate them to another drive, remove or delete them permanently.
How to Find the Largest Files on Windows 11
The process of finding the most extensive files is so easy. You can find large files on your Windows 11 system based on file types, dates, and other criteria.
There are proven and effective ways to sort out the most extensive files. After sorting the largest files, you can move them to another external drive or delete them permanently to free up your storage space.
This section will describe all possible effective methods to find the most comprehensive files on your Windows 11 system. So, read and follow this section’s instructions carefully.
Here are the steps to find the most extensive files on your Windows 11 system:
1. Use the File Explorer
Finding the most extensive files on your Windows 11 computer, using File Explorer is one of the best methods.
File Explorer is the most effective tool for efficiently managing and organizing your storage files and folders. Using File Explorer, you can find files and folders within a few clicks.
Here are the steps to find the most extensive files on Windows 11 system using File Explorer:
- Press Windows Key + E on your keyboard to open the File Explorer.
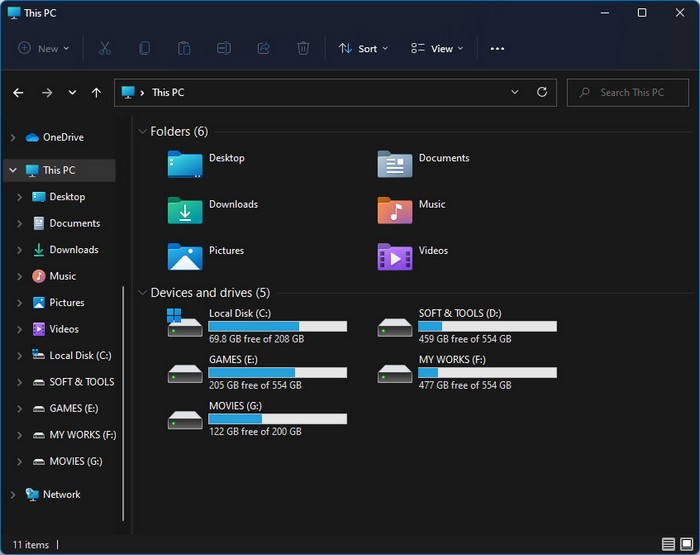
- Click on the File Explorer icon on the taskbar to open the File Explorer.
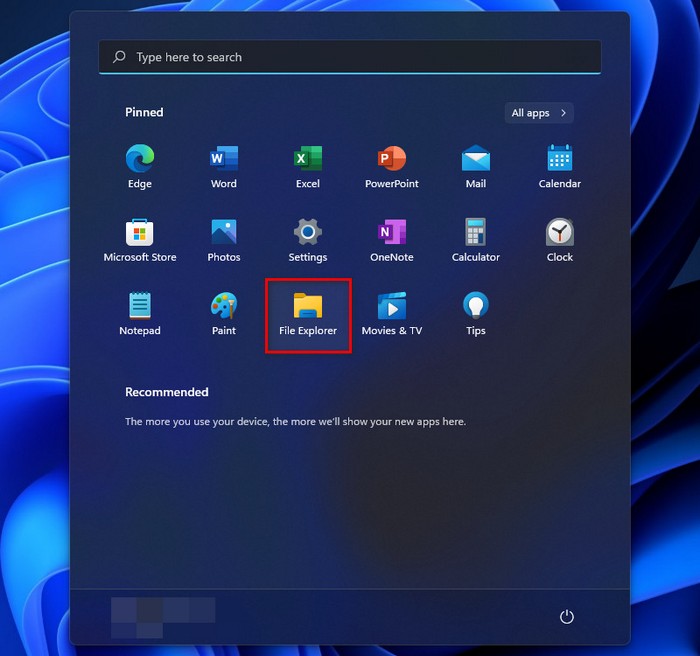
- Press the Windows Key or click on the Start icon on the left side corner of the taskbar and click on the File Explorer icon under the pinned apps to open the File Explorer.
![]()
- Click on the View at the top of the window menu bar.
- Go to the Show and click on the Hidden items if not marked.

- Select the specific folder or drive to find the most extensive files into your selected folder or drive. Or,
- Select This PC to find the most comprehensive files on the entire storage by search.
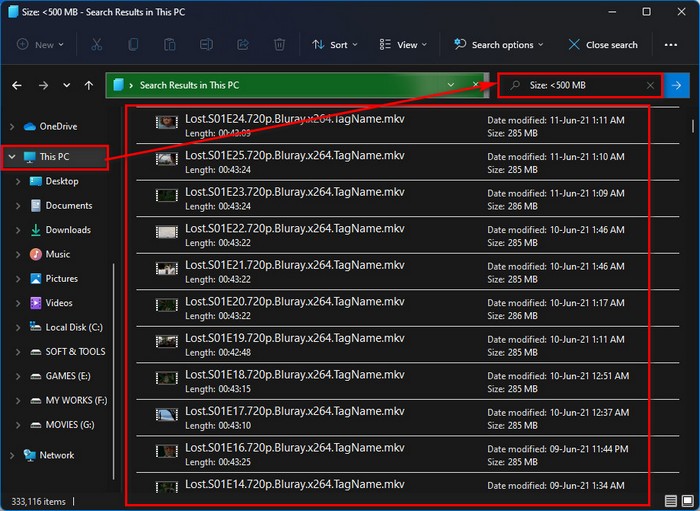
- Click on the Search bar at the top right-side corner of the window and type any given syntax, and press the Enter button to find the files on your computer.
Follow our guide on how to Restore Files from File History on Windows 11
Syntax – Size: <xyz MB or, Size: <xyz GB
Size: <xyz MB or <xyz GB syntax means Windows File Explorer searches the file less than your given specific file size. Replace the xyz with any file size that you want to find out.
For example, if you enter Size: <500 MB, File Explorer searches and shows the search results of the files less than 500 MB.
Another example, if you enter Size: <3 GB, you search the files less than 3 GB.
Syntax – Size: >xyz MB or, Size: >xyz GB
Size: >xyz MB or, Size: >xyz GB syntax means Windows File Explorer searches the file larger than your specific file size. Replace the xyz with any file size that you want to find out.
For example, if you type Size: >100 MB, File Explorer searches and shows the search results of the files greater than 100 MB.
Another example, if you enter Size: >10 GB, you search the files larger than 10 GB.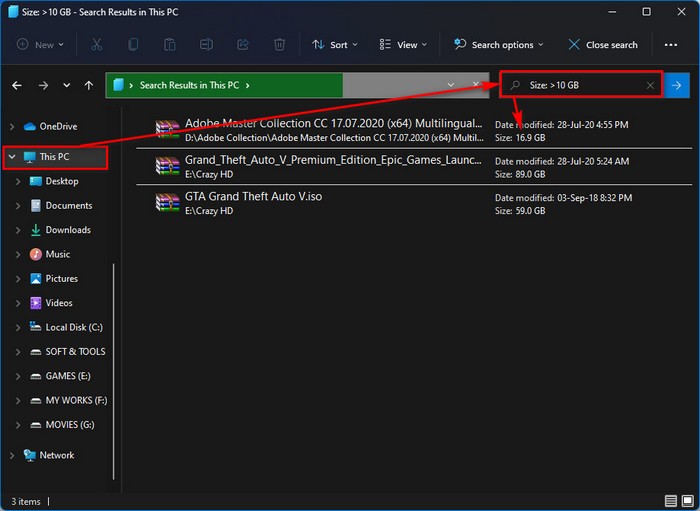
Syntax – File_Name Size: <xyz GB, File_Name Size: >xyz GB
File_Name Size: <xyz GB, File_Name Size: >xyz GB syntax means Windows File Explorer searches the specific name of files less than or greater than your given file size.
You may also like to read: Mount, Burn, Create & Unmount ISO File in Windows 11
Replace the File_Name with any file name and xyz with any amount of file size that you want to find out.
For example, if you enter Person_of_Interest Size: <1 GB, File Explorer searches and shows the search results only the video files name with Person_of_Interest Size and less than 1 GB.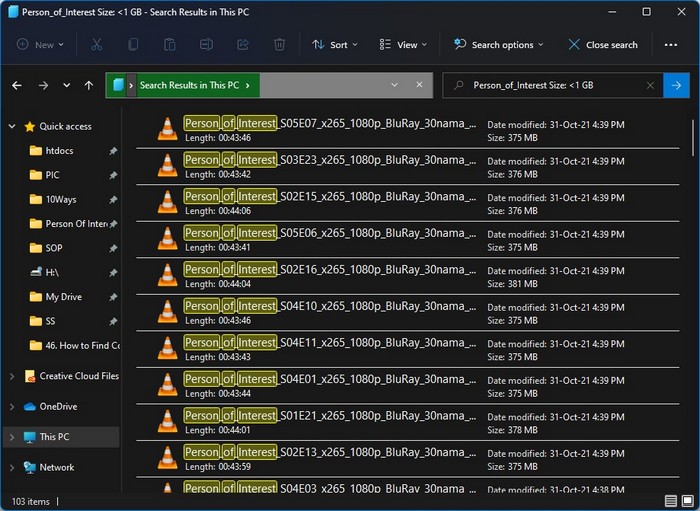
Another example, if you enter Game.of.Thrones Size: >1 GB, File Explorer searches and shows the search results only the video files name with Game.of.Thrones and larger than 1 GB.
If you wish to find files in the File Explorer without the size range that means a specific size range, use the following syntaxes in your search box:
Syntax – Size: < Range, Size: > Range.
Check out the easiest way to Fix Windows 11 File History Element Not Found Error
When you enter any Size: < Range or, Size: > Range syntaxes, just replace the file Range with the following command.
- Empty: 0 KB
- Tiny: 0 to 16 KB
- Small: 16 KB to 1 MB
- Medium: 1 MB to 128 MB
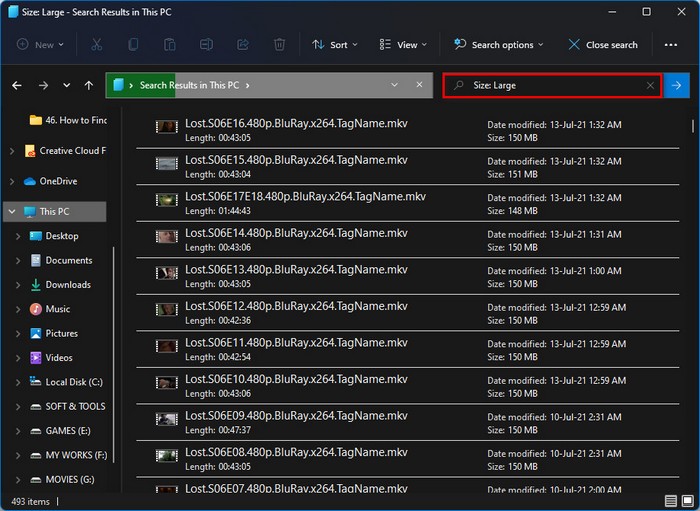
- Large: 128 MB to 1 GB
- Huge: 1 GB to 4 GB
- Gigantic: Greater than (>) 4 GB
For example, if you enter Size: Gigantic, File Explorer searches and shows the search results only the files greater than 4 GB.
Another example, if you enter Size: Large, File Explorer searches only the files sizes between 128 MB to 4 GB.
Note: You can also find the files by using the types, dates, different parameters (AND, OR, NOT, <, or >), parentheses, etc.
2. Use Command Prompt
Command Prompt is another effective and tested method to find the largest files size that you want on your Windows 11 computer. Execute a command on Command Prompt that finds the specific size files like a charm.
Follow the steps below to find the most extensive files on your Windows 11 system using the Command Prompt:
- Press Windows Key + E on your keyboard to open the File Explorer.
- Click on the File Explorer icon on the taskbar to open the File Explorer.
- Press the Windows Key or click on the Start icon on the left side corner of the taskbar and click on the File Explorer icon under the pinned apps to open the File Explorer.
- Select the specific folder or drive to find the most extensive files into your selected folder or drive.

- Select This PC to find the most comprehensive files on the entire storage by search.
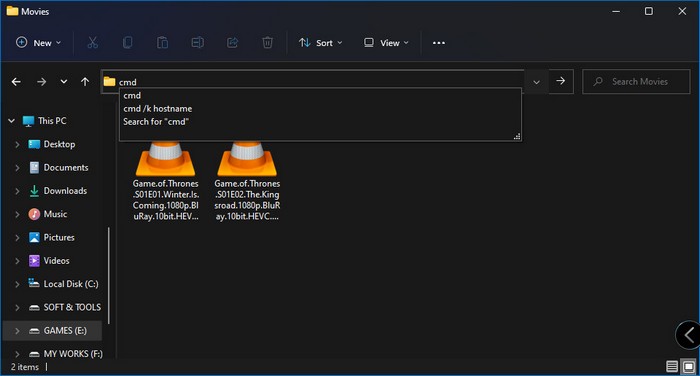
- Click on the address bar under the menu window.
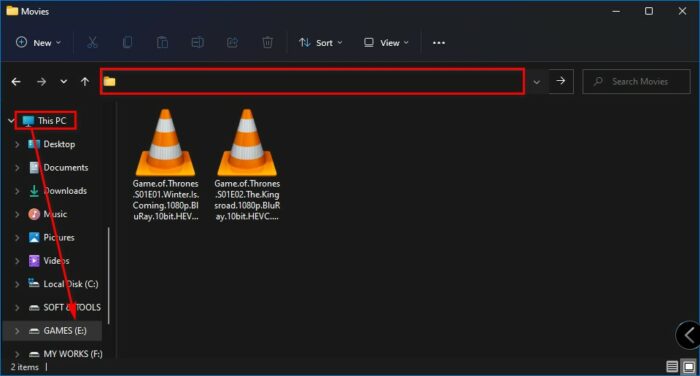
- Type cmd and press the Enter button to open the Command Prompt window.
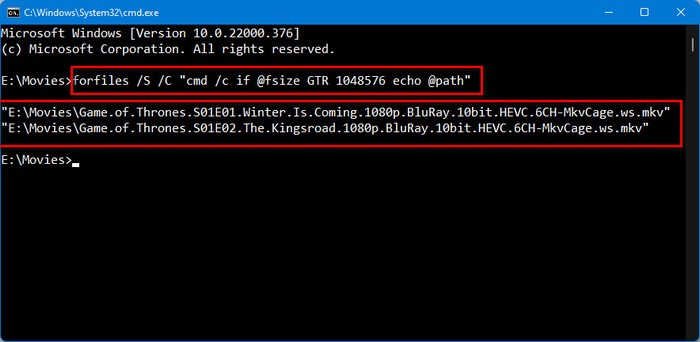
- Type forfiles /S /C “cmd /c if @fsize GTR 1048576 echo @path” command and hit the Enter button if you want to show you all the files larger than 1 GB on the Command Prompt window.
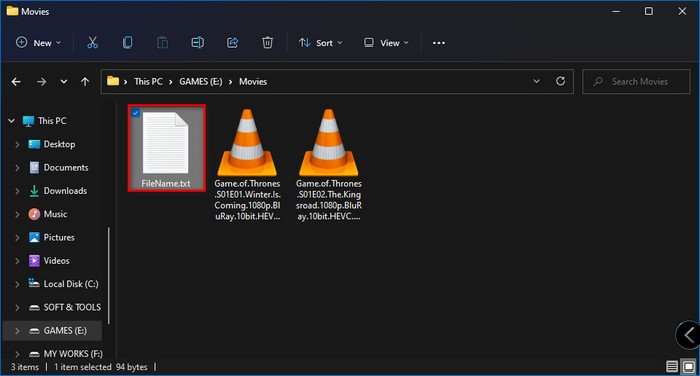
- Type forfiles /S /C “cmd /c if @fsize GTR 1048576 echo @path > FileName.txt” command and hit the Enter button to show all the files path and details that are larger than 1 GB into a text file.
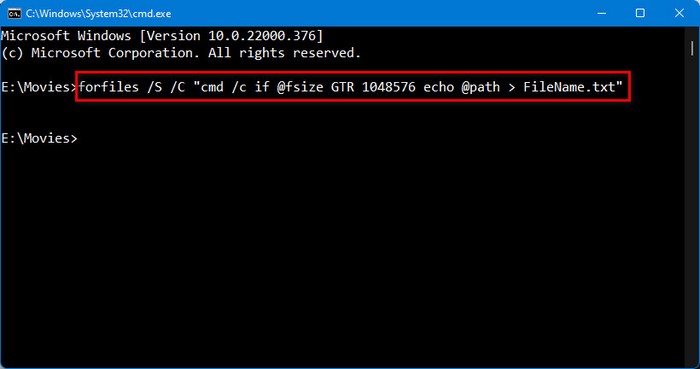
- The text file is automatically created with your given name in the location you set to find the files.
Note: If you want to find the minimum larger files, for example, 2 GB, 5 GB, or 10 GB the replace the file size on 1048576.
The file size should be in bytes formats. So, 2147483648 for 2 GB, 5368709120 for 5 GB, and 10737418240 for 10 GB.
For example, enter forfiles /S /C “cmd /c if @fsize GTR 10737418240 echo @path” command for if you want to show all the files paths that are larger than 10 GB.
If you want to change the ext file name whatever you want, replace the file name on FileName. Don’t forget to add the file extension.
3. Use Third-Party Tools
The last method of this section to find the most extensive files is using free or paid third-party tools or softwares. You can see a visual picture of your PC’s disk utilization using third-party programs.
The third-party tools effectively find the size of the most extensive file you specified on your Windows 11 computer. It helps to identify large sections of files that are eating up a lot of space on your hard disk a lot easier.
To find the most extensive files on your computer, you can use SpaceSniffer, WinDirStat, TreeSize, JDisReport, and other third-party tools. Some of these space analyzer tools are free, and some are paid, and you can choose the specific tools based on your preference.
Read more on how to Password Protect a File or Folder in Windows 11
Final Thoughts
Storage space is one of the most important aspects of any system, and it contains your essential files, folders, and other essential documents. Managing your most extensive files is a fantastic approach to clearing up storage space, and it helps to speed up your system.
Here, I discuss the importance of freeing up your system storage space and the three effective methods to find the most extensive methods on the Windows 11 system.
I hope this post is helpful for you. If you find this post useful, do like, comment your opinion about it, share it with your friends, and see other posts if you want to know other related topics.