Working on something while finding your system disk is not selectable or displays a red X next to it? Or any of your tasks fails to run, showing The backup cannot be completed due to corruption?
Meanwhile, you may be trying to tear your hair apart in anger, thinking how this problem pops up out of nowhere on earth.
Well, don’t worry. This problem is well known to a tech guy like me, but maybe not to you. Whether you are a tech wizard or not, read till the end and solve your problem very quickly.
So, why do you need to run the check disk from BIOS?
I will guide you through all the steps on how to run check disk from BIOS and stuff like that. So hop in, let’s take a ride, shall we?
How to Run Check Disk from BIOS
BIOS offers tons of stuff to do, change, and modify but doesn’t offer a disk check directly. Some may offer an advantage to erase the drive, wiping out the data.
But though you can’t run check disk from BIOS directly, you can still perform this operation by going to the Command Prompt when booting up your PC, i.e., from BIOS. For this, you have to:
- Save what you are working on. Then restart your PC. If your PC is turned off, turn it on.
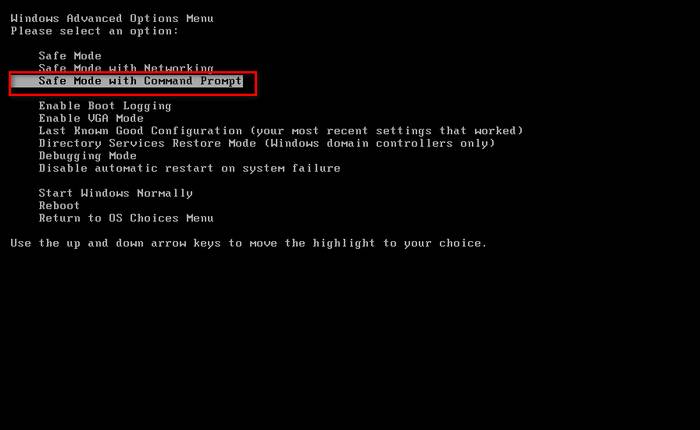
- Press the F8 key while your PC boots up. Thus, the Advanced Boot Options will appear. If you can’t find it in your BIOS, make sure you got it.
- Select Safe Mode with Command Prompt. Selecting this will enable your PC to load up a list of drivers, and it will end up in a screen of command prompt.
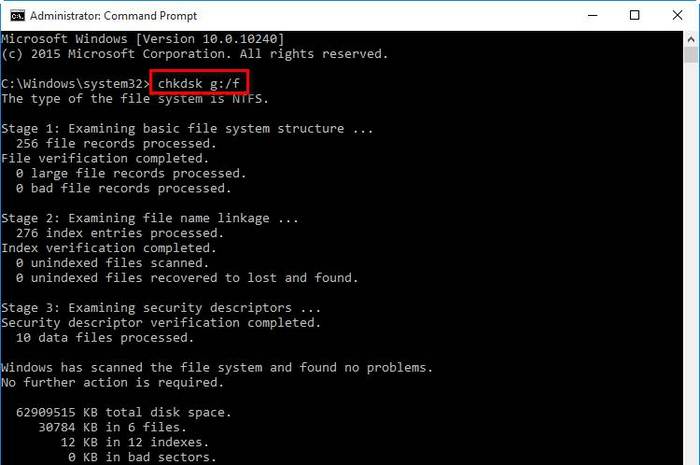
 Type chkdsk and hit Enter. This will help you run a check on the current drive without fixing any errors.
 - Type chkdsk X:/f. Replace X with the required drive letter you would like to fix.
 Type chkdsk X:/r and replace X with the needed drive letter you would like to fix for locating sectors and retrieving data.
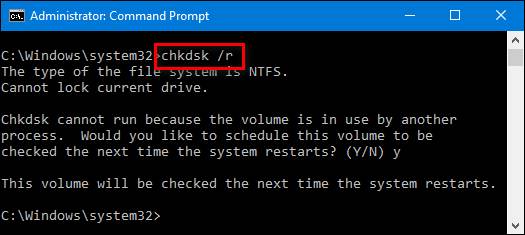 Restart your PC if the driver is in use. If prompted, press Y to accept.
Thus you can run check disk from BIOS. You may have questions like what to write when I need this driver to check and fix.
Well, chkdsk (Check Disk) is one of the most efficient powerful Windows utilities used to diagnose and repair disks. There are two types of repairs mainly; /f represents fix, and /r represents repair.
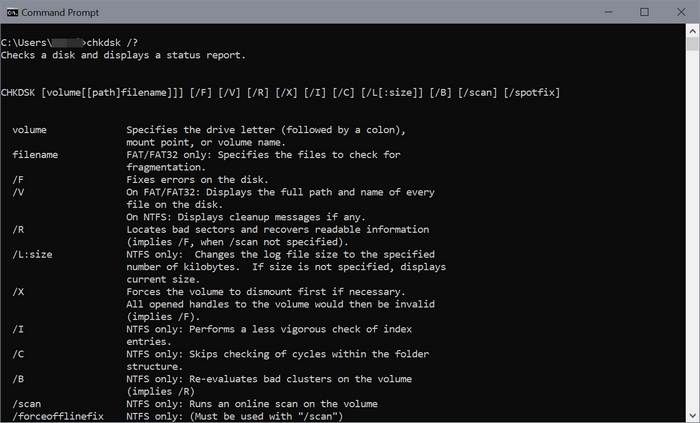
But there are other parameters in the check disk command. I am creating a table that contains parameters and descriptions on chkdsk.
| Parameter | Description |
|---|---|
| /f | Fixes any errors found with the required disk. The disk must be locked. If the command prompt chkdsk can’t lock the drive, a message will pop up asking whether you want to check the drive the next time you restart your computer or not. |
| /r | Locates bad sectors at first and then tries to recover information that can be read. This parameter can run an analysis of physical disk errors. If it finds any, it’ll let you know. Besides, this parameter has the similar functionality of /f. So, in this case, the disk has to be locked. |
| /b | Clears the list of bad clusters on the volume. Besides, it rescans all allocated and free clusters for errors. Note: Use with NTFS only. |
| /c | Reduces the time required to run chkdsk. It doesn’t check cycles within the folder structure. Note: Use with NTFS only. |
| /i | Reduces the time required to run chkdsk. It lets a less powerful check of index entries. Note: Use with NTFS only. |
| /v | Orders to check the disk and displays the name of each file in every directory. |
| /x | Apart from containing the functionality of /f, it can force the volume to make a disk drive unavailable for use if needed. |
| /? | Provides help with chkdsk commands. |
| /l[: | Changes the log file size to your preferred size. If you type only /l, it’ll display the current size. Note: Use with NTFS only. |
| /scan | Runs an online scan but doesn’t repair the volume. |
| /spotfix | Dismounts the volume shortly to fix issues that were sent to the log file. |
Check out our expert-recommended Gateway BIOS Updates.
Run Check Disk in Windows 11
If you are a Windows 11 user, apart from running chkdsk in BIOS, you can also run in the command prompt in your Windows 11. This is a very straightforward way to run chkdsk (Check Disk) in Windows 11.
Here are the steps to run check disk in windows 11:
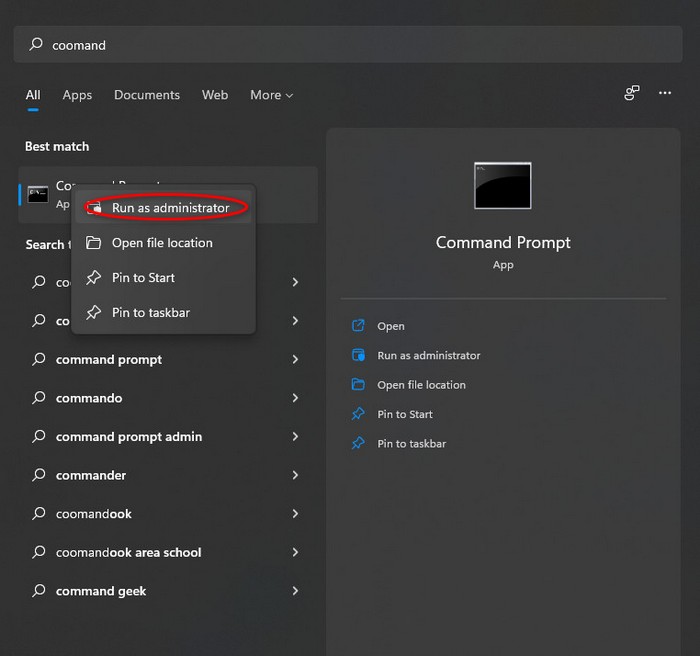
- Turn your computer on and go to the search button from the system taskbar.
- Type cmd. Command Prompt will appear on your screen.
- Right-click to the Command Prompt and select Run as administrator.
 Go ahead and click Yes if you receive a user account control prompt.
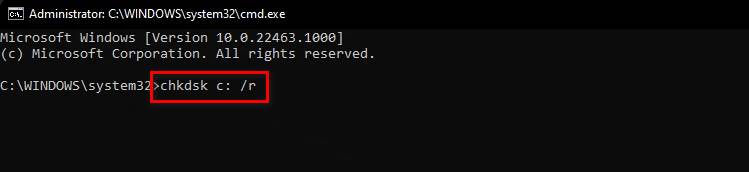
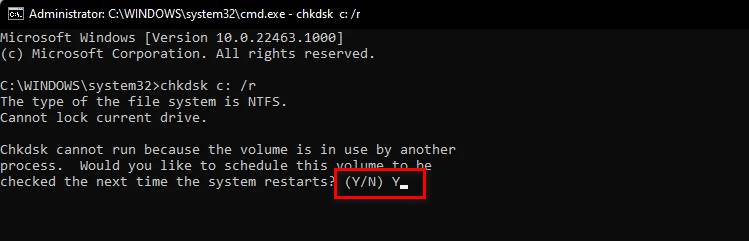
- Type chkdsk C: /r and hit Enter. It’ll help you to check your C drive. Changing C for D will check the D drive instead of the C drive.
- Type Y when you’ll be asked, “Chkdsk cannot run… next time the system restarts?” Then press Enter.
- Exit the command prompt and restart your computer. Next time your computer boots up, the scan will be happening.
Thus you’ll be able to run chkdsk to check your disk in Windows 11.
Also, check out our separate post on will SSD reduce high disk usage.
But if you want to fix your issues too, then:
- Type chkdsk C: /f and hit Enter. It’ll help you to fix your problem in C drive.
- Type Y when you’ll be asked, “Chkdsk cannot run… next time the system restarts?” Then press Enter.
- Exit the command prompt.
- Restart your computer. When the system restarts, the disk check will automatically scan for file system errors, bad hard drive sectors and attempt to solve them.
It depends on what you want and for that what command you are inputting in the command prompt. I have provided a list of parameters to help you understand what command you need to write to get your desired result.
There is an alternative way to check the disk in Windows 11. The check disk utility can also be run from the disk’s properties itself. You have to:
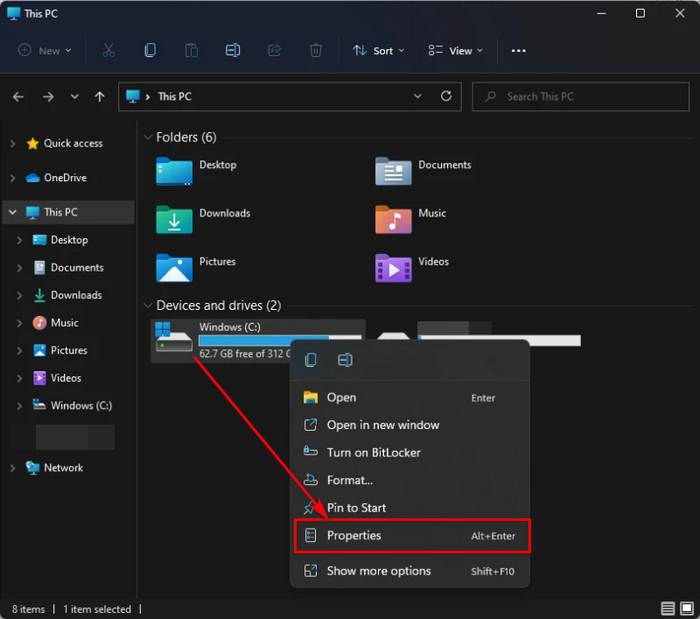
- Open File Explorer and click on This PC.
- Right-click on the drive you want to check and select Properties.
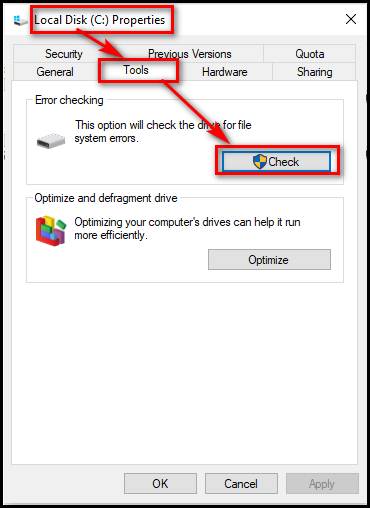
- Click on the Tools tab.
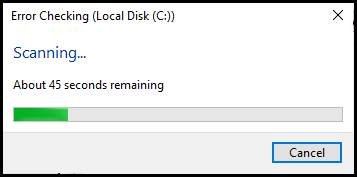
- Click on Check under the system error checking.
- Tap into Scan drive even if check disk tells “you don’t need to scan this drive”.
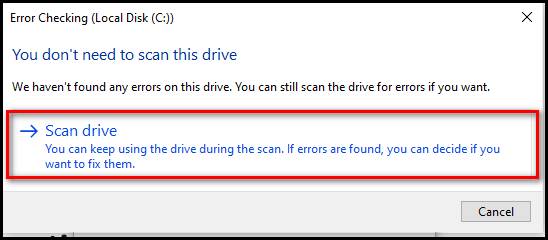
- The scan will start, and you will see how much time is needed to complete the process.
Thus you may also check the disk in your Windows 11. But everyone is not Windows 11 user.
What if you are a Windows 7 user? Or you are a user of Windows 8, 8.1, 10? The question may arise in your head.
So, what to do to run chkdsk in Windows 7, 8, 8.1, or 10?
To run chkdsk (Check Disk) in Windows 7, you have to follow the exact methods stated above for Windows 11 one by one. Also, for Windows 8, 8.1, or 10, you have nothing but to follow the same instructions used for running check disk in Windows 11.
Check out our latest fix for BIOS Not Detecting USB.
Run Check Disk: Mac OS X
If you are a Mac user, you can also use check disk in it. To do so, you have to follow the below-mentioned steps.
Tip: Before starting anything, get a Mac OS X installation DVD.
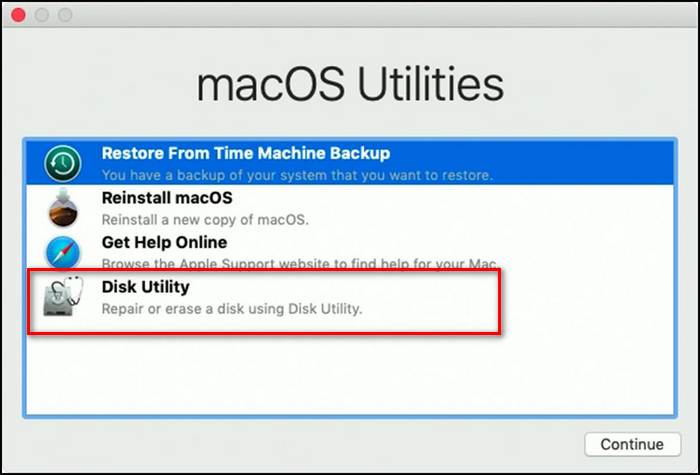
Step 1. Launch the Disk Utility. For Windows, there is chkdsk. But for Mac, there is Disk Utility. It provides the same basic functionality as chkdsk does for Windows.
Step 2. Turn on the Mac and insert the CD. Press and hold the C key.
Step 3. Choose your preferred language to continue.
Step 4. Open Disk Utility. You can find it in the desktop menu bar.
Step 5. Select the HDD you want to repair. Then click Repair Volume. If this is successful, you will be able to run Repair Permissions too.
Hence, you can check the disk on your Mac pretty easily.
Check out my new post on SVM Mode In BIOS.
Conclusion
Chkdsk is a command that can be run to verify the logical integrity of the file system. It is designed primarily to check disk for errors and fix them. I tried to cover not only how to run check disk from BIOS but also using command prompt in Windows or Mac.
I believe you have already resolved your problem. But if you find any difficulty doing so, comment below.