Miracast is a service provided by Windows in which you can cast your screen to other displays. It is a fantastic tool to share your screen with people.
Windows 11 has Miracast by default so you can use it from the get-go. Many users have reported that they are facing problems when using Miracast on their Windows 11 devices.
Before I discuss why problems occur when using Miracast, let me explain why you would use it.
Device incompatibility, poor internet connection and a faulty device are valid reasons why problems can arise when using Miracast on Windows 11.
I know that it is extremely frustrating to face issues like these but do not worry as I have conducted thorough research and have written the best and simplest methods that you can follow to fix problems regarding Miracast on Windows 11.
I have also tested the procedures to check their legitimacy in 2022.
Read the full post for more details.
How to Fix Windows 11 Miracast not Working
Before you go through the processes below, you should check whether your device is compatible With Miraccast. Most laptops and Windows 11 tablets will be compatible as these devices have Bluetooth.
Desktop PCs need a dedicated Bluetooth card for Bluetooth services to work on them.
The first method given below will instruct you on how to check your device’s compatibility with Miracast. All the methods provided in this post are relatively easy and consists of very simple steps.
Hence, do not worry about whether the procedures are complex or not, keep your calm and go through them.
Also, check our latest post on how to Fix Sound Cracking Issue on Windows 11
Here are the methods to fix Miracast not working on Windows 11:
1. Check Device Compatibility
For your device to run Miracast properly, it must be compatible with the software first. Most laptops and tablets support Miracast as they have Bluetooth but desktop PCs do not have a built-in Bluetooth card.
To check whether your device is Bluetooth capable and compatible with Miracast, follow the simple steps given below.
As I use a desktop PC with no Bluetooth card for work, you will see a message saying my device does not support Miracast by default in the images given below.
Here are the steps to check device compatibility for Miracast:
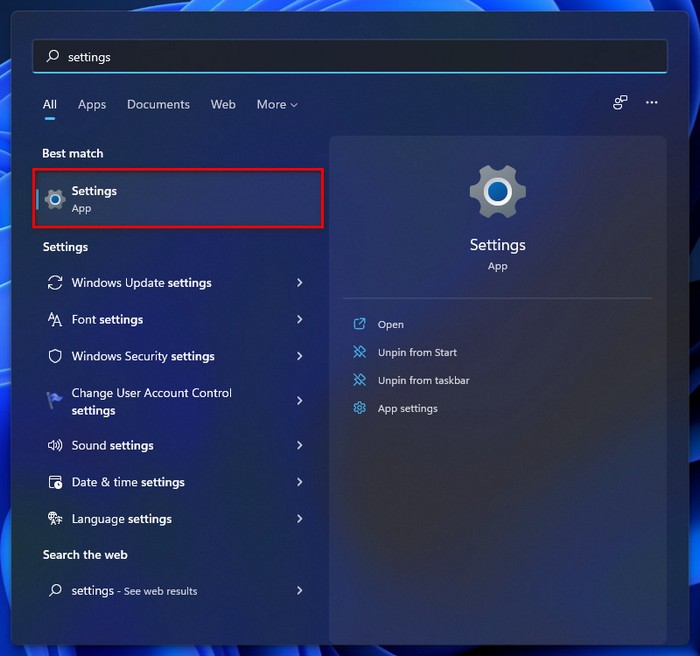
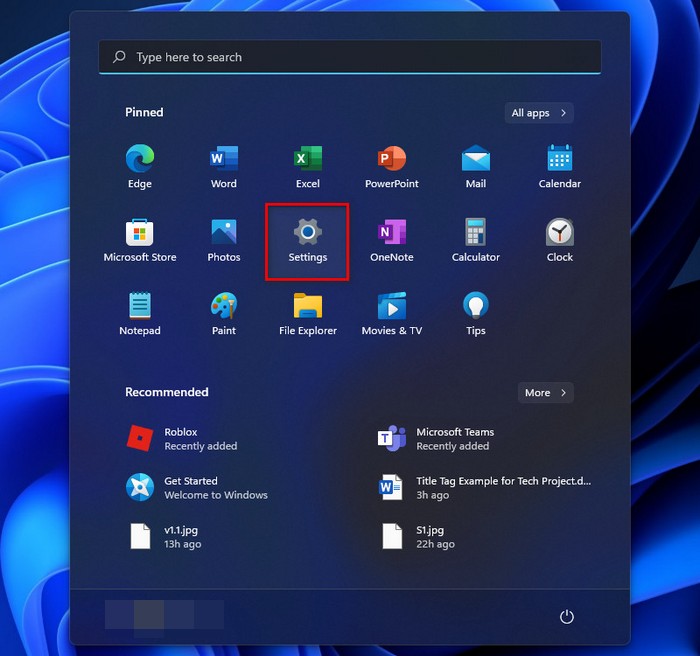
- Click on the Start button. (1)
- Go to Settings. (4)
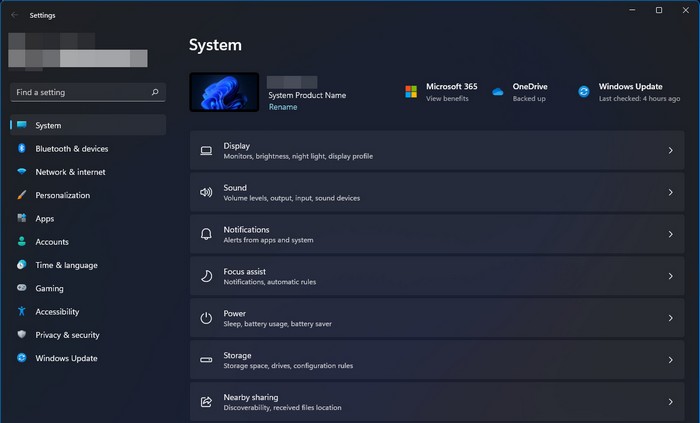
- Navigate to System and click on it.
- Click on Projecting to this Pc. (3)
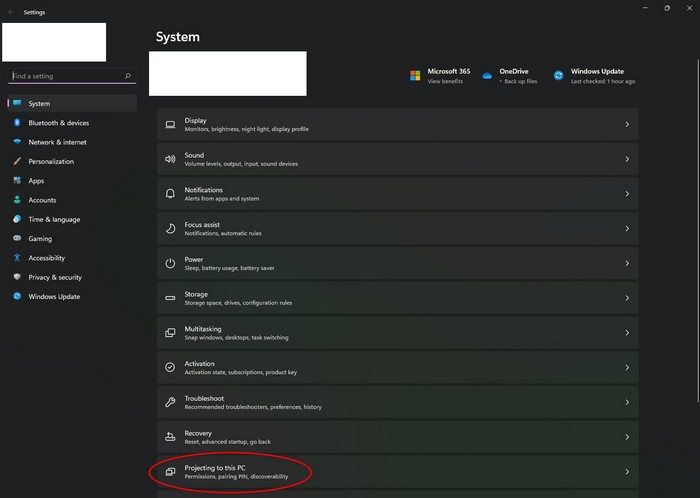
- Check whether your device is compatible.
If your device is not compatible with Miracast, you have to use another device to run it. If your device is compatible with Miracast, please follow the other methods given in this post.
Check out our separate post: VPN Not Working on Windows 11.
2. Restart your Device
Restarting any device is a fantastic way of getting rid of minor glitches and bugs. It is a very easy and short process, so do not be tensed.
Keep calm and go through the straightforward steps given below.
Here are the steps to restart your Windows 11 device to fix Miracast:
- Tap on the Start button.
- Navigate to the power button and click on it.
- Select Restart.

If you have followed the steps correctly, your system must have restarted. Check whether Miracast is working properly after your system boots up.
If this process did not apply to you, please follow the other methods given in this post.
3. Update Windows 11
Updating your Windows 11 Operating System is a great thing to do, as having an outdated version of Windows 11 can cause many issues.
Updating Windows 11 means having the latest drivers as well, so it is excellent for both hardware and software components.
Here are the steps to fix Miracast by updating Windows 11:
- Press the Windows and I keys together on your keyboard. You will be taken to the Settings menu.
- Click on Windows Update from the left pane.
- Click on Check for updates.
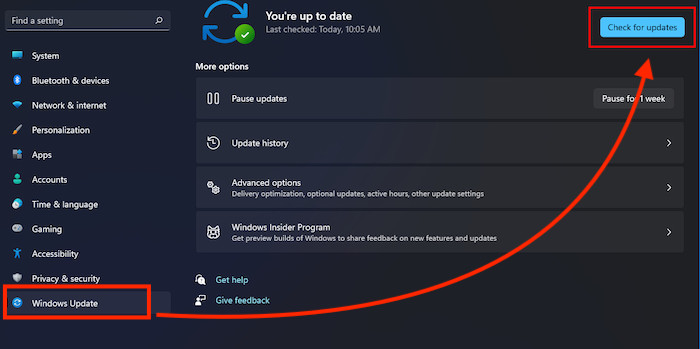
- Download and install any remaining updates, if there are any.
- Restart your device.
- Check whether the problem still occurs or not.
If this procedure did not apply to you, please follow the other methods given in this post.
Check out our expert-recommended post on how to solve Error 0x00000001 in Game Pass on Windows 11.
4. Check Bluetooth connection
We are humans and we make mistakes. That is completely normal. I would be weirded out if there is a human who does not make any mistakes.
So it is understandable if you have forgotten to turn on the Bluetooth on your Windows 11 device or the device you want to connect to.
Be double-sure on whether the Bluetooth is on your Windows 11 device and the smart device you want to cast your screen on or vice versa.
If the Bluetooth was off, turn it on and check whether Miracast is functioning properly or not. If Miracast is still not working, please follow the other simple methods given in this post.
5. Run Troubleshooter to Check Network Connection
A Troubleshooter is a default tool provided by all versions of Windows so that users can use it to find the causes of any problems occurring on their systems.
Accessing and using it is a very simple process, so keep your cool and go through the simple steps given below.
Here are the steps to use the troubleshooter to fix Miracast on Windows 11:
- Click on the Start button.
- Go to Settings.
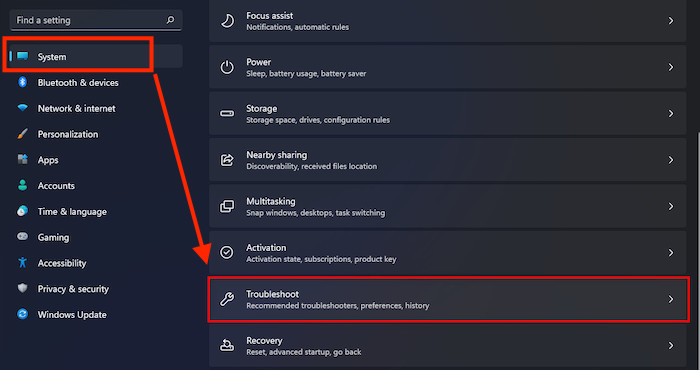
- Navigate to System and click on it.
- Click on Troubleshoot.
- Select Other Troubleshooters.
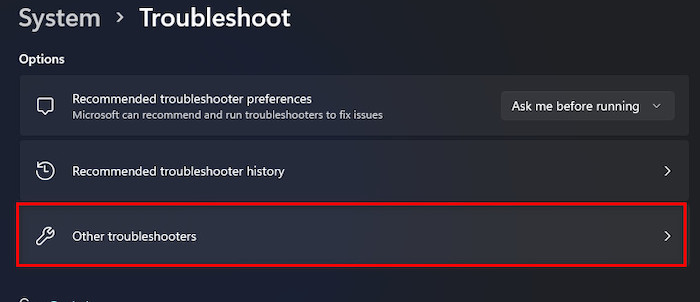
- Click on the Run button beside Internet Connections.
If this procedure did not apply to you, please follow the method given below.
Follow our epic guide to Fix Installation Failed Error 800f0830 on Windows 11.
6. Run Troubleshooter to Check Bluetooth Connection
Just like the previous method, we are going to use the Troubleshooter, but this time to check the Bluetooth connection.
The simple steps on how to do that are given below.
Here are the steps to use the troubleshooter to fix Miracast on Windows 11:
- Click on the Start button.
- Go to Settings.
- Navigate to System and click on it.
- Click on Troubleshoot.
- Select Other Troubleshooters.
- Click on the Run button beside Bluetooth.
Conclusion
If you have read this article properly, you must have been able to fix the problems that you were facing with Miracast on your Windows 11 device.
All the best and simplest procedures to fix Miracast on Windows 11 were given in this post and I hope they served you well.
I hope you were able to Miracast on your Windows 11 System. I hope you never face a problem like this again in the future. I know how annoying it can be to troubleshoot a situation like this.
Wish you luck in whatever you do in the future. Take care and stay safe!