Are you worried that your Windows 11 system PC storage space is out day by day by the windows temporary files and folders that affect your system performance?
If this is the case, there is nothing to worry about.
I have been in a similar situation as you, and I have been able to get out of this issue with proper tests and research. So, if you are looking for an ultimate guide to delete your temporary system files on your Windows 11 system computer, you have landed in the right place.
This post will show you some of the best practical and effective techniques to delete your temporary system files on your Windows 11 system computer.
Keep reading and precisely follow the instructions.
So, let’s get started to know the effective methods to delete your system temp files.
Check our exclusive tutorial on how to Change File Attributes in Windows 10/11
What are the Most Common Temp Files on Windows 11?
Some temporary log files are created and stored on your system when you install and use applications, download files, update your windows version, generate system errors, or scan your system using Windows defender.
The temporary files run out of your storage space day by day and create slower system performance that can generate a lot of problems on your system.
There are many types of temporary files on the Windows system, but some are most common on every windows system.
Here is the list of the most common types of temp files on the Windows 11 system:
- Windows Update Cleanup
- System memory dump files
- Windows Upgrade Log Files
- Windows ESD Installation Files
- Temporary Files
- Temporary Internet Files
- Delivery Optimization Files
- Device Driver Packages
- Thumbnails
- Downloads
- Microsoft Defender Antivirus
- Recycle Bin
You can delete these temporary files to clean up your system storage space and increase the system performance. But, you need to be aware, don’t remove any necessary temp files that help run the application programs or the operating system itself.
The following section will show you some effective and tested methods to delete the temporary files on your Windows 11 system to free up your storage space.
How to Delete Temp Files on Windows 11
Deleting the unwanted temporary files regularly on your Windows system to clean up your system storage space and keep your system performance smooth.
There are many effective ways to delete the temporary files on your Windows 11 system PC. This section will show you some effective and proven methods to delete the temporary files on your Windows 11 system.
So, let’s dive right in to know the ways to delete the temporary files on your Windows 11 system.
Check our guide if your PC won’t go into Sleep mode in Windows 11.
Here are the steps to delete the temporary files on your Windows 11 system:
1. Use System Settings App
Using the system settings app is one of the methods to delete the unwanted temporary files of your system.
Follow these steps to delete the unwanted temporary files using the system Settings app:
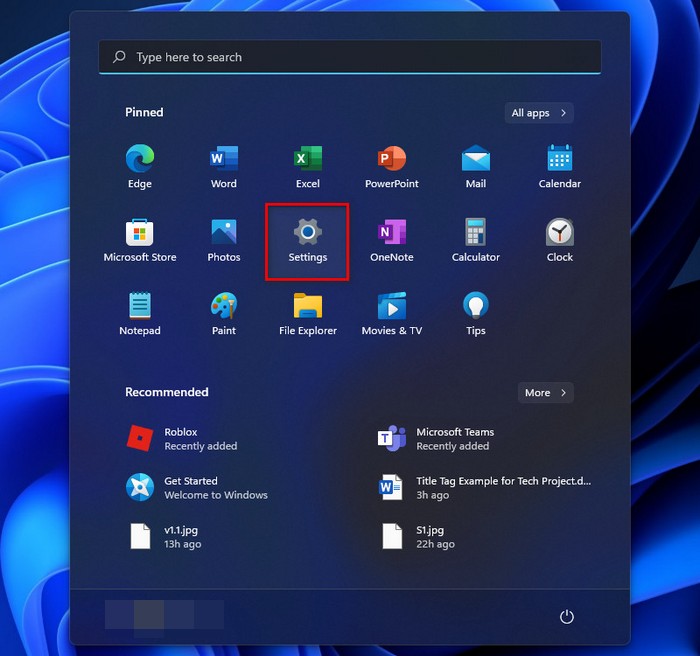
- Press Win + I keys on your keyboard to open the Windows System Settings Or,
- Click on the Start menu on the left side of the taskbar and select Settings app to open the Windows System Settings window under the Pinned apps.
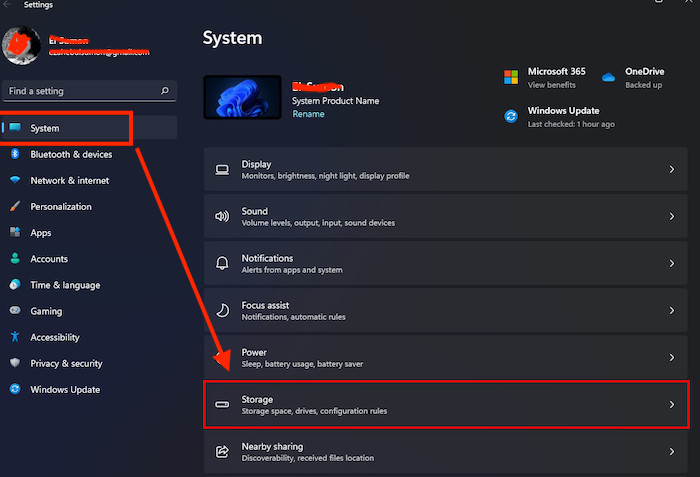
- Select the System tab on the left side of the Settings menu panel.
- Select the Storage option on the right side of the Settings app window.
- Click on the Temporary files
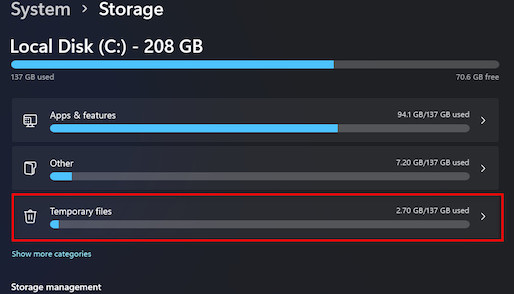
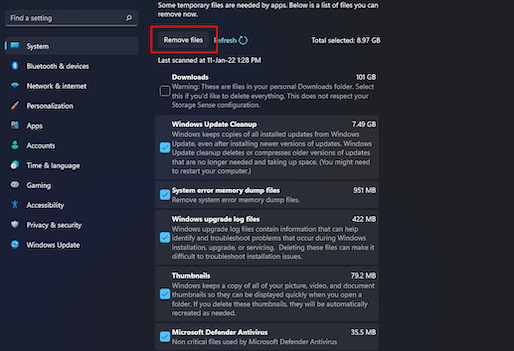
- Mark checkboxes to select a list of temporary files you want to delete.
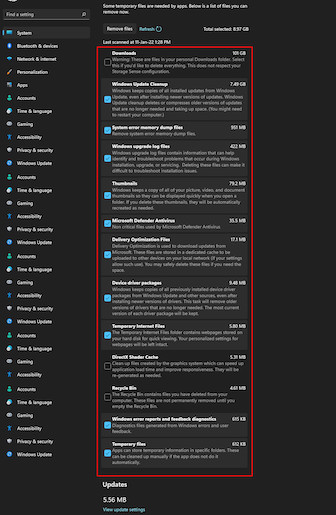
- Click on the Remove files button to delete all the selected temporary files on your system.
2. Use Disk Cleanup Tool
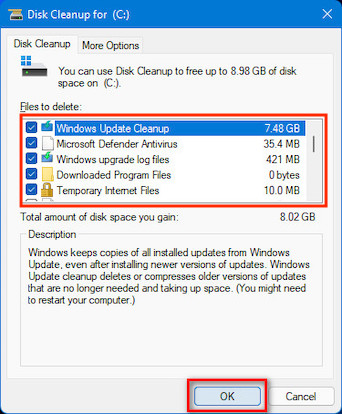
Disk Cleanup is a Windows built-in powerful program that helps you free up space by removing temporary files. The Disk Cleanup tools scan selected drives on your system to find the temporary files and delete the temporary files.
Follow the steps below to use the disk cleanup to delete the unwanted temporary files:
- Press Win + S on your keyboard to open the Windows Search
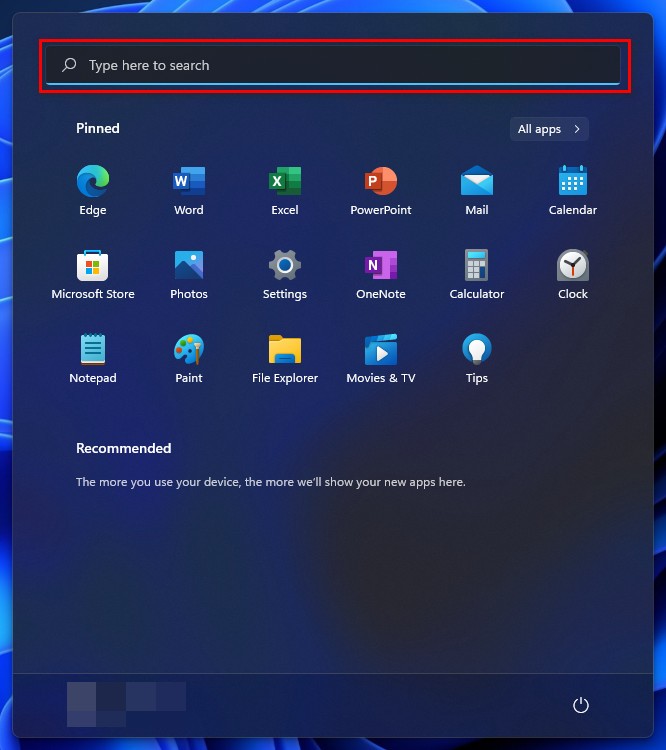
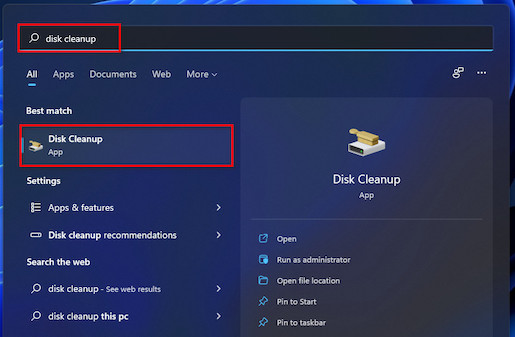
- Type disk cleanup on the search bar and hit the Enter
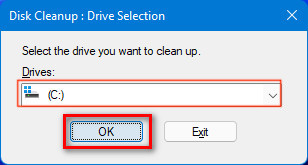
- Select the drive you want to clean up the temporary files.
- Click on the OK
- Disk cleanup tool scans your selected drive and shows the available size of the temporary files.
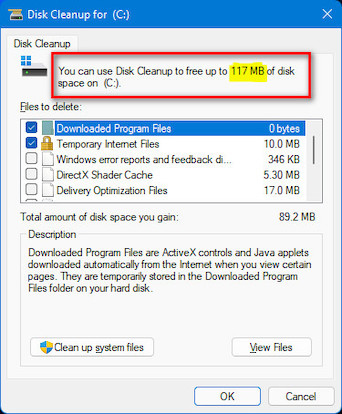
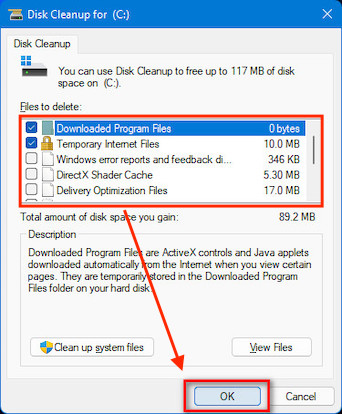
- Select the list of temporary files you want to delete.
- Click on the OK button to delete the temporary files and clean up the disk space.
You can also delete or remove your system’s temporary files such as Windows Update Cleanup, Windows upgrade log files, MS Defender Antivirus, and more to free up more disk space on your system.
Also, check out our expert-recommended to fix Stop Apps Running in Background Windows 11.
Follow these steps to clean up the system files:
- Select the Cleanup system files option to clean up your temporary system files.

- Select the drive you want to clean up the temporary files.
- Click on the OK
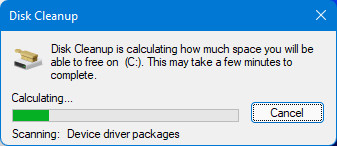
- Wait a few seconds to finish the drive scan.
- Select the list of temporary files you want to delete.
- Click on the OK button to delete the temporary files and clean up the disk space.
3. Use Storage Sense
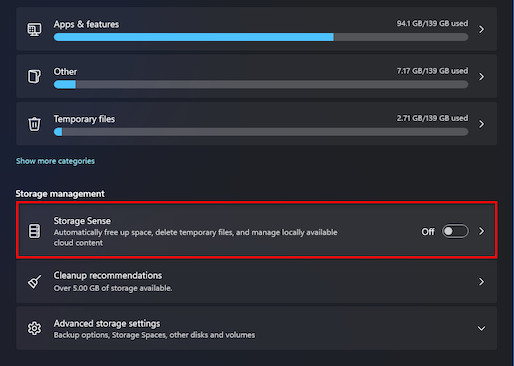
If you want to automatically free up your system storage space and delete temporary files, you can use the Storage Sense feature to manage your system storage automatically.
Follow these steps to use the Storage Sense feature to automatically free up your system storage space and delete temporary files:
- Press Win + I keys on your keyboard to open the Windows System Settings Or,
- Click on the Start menu on the left side of the taskbar and select Settings app to open the Windows System Settings window under the Pinned apps.
- Select the System tab on the left side of the Settings menu panel.
- Select the Storage option on the right side of the Settings app window.
- Click on the Storage Sense option under the Storage management section.
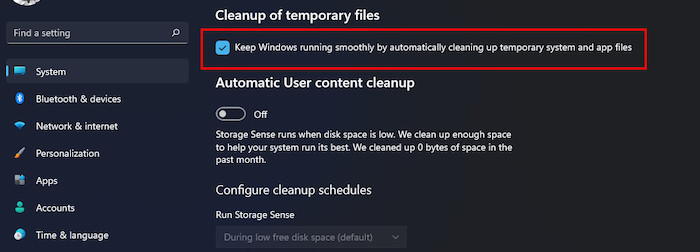
- Click on the Keep Windows running smoothly by automatically cleaning up the temporary system and app files
- Toggle on the button to enable the Automatic User content cleanup if you need it.
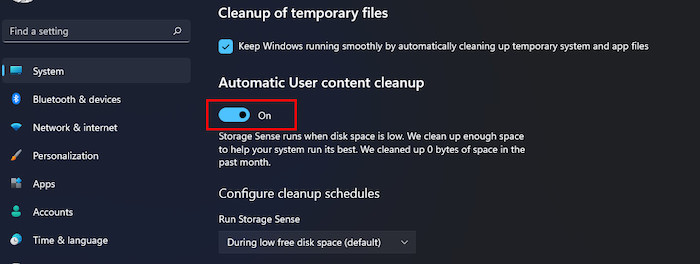
- Configure cleanup schedules based on your choice if you need them.
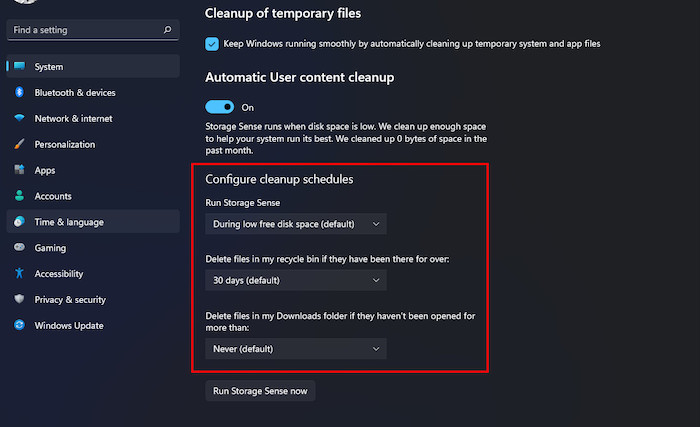
- Click on the Run Storage Sense now button to run the storage sense immediately if you need it.

Follow our guide on How to Boot to Safe Mode in Windows 11.
4. Delete Files from Temp Folder
Another effective way to clean up your system storage space is by deleting the temporary files from the Temp folder.
Follow the steps below to delete the temporary files from the Temp folder:
- Press the Win + R keys on your keyboard to open the Windows Run
- Type temp or %temp% in the run dialog box.
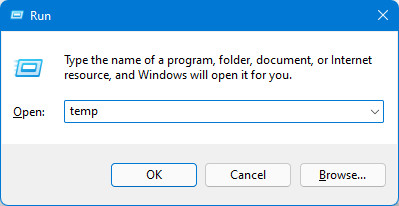
- Press the Enter key or click on the OK button to open your system Temp folder.
- Press the Ctrl + A keys on your keyboard to select all the files.
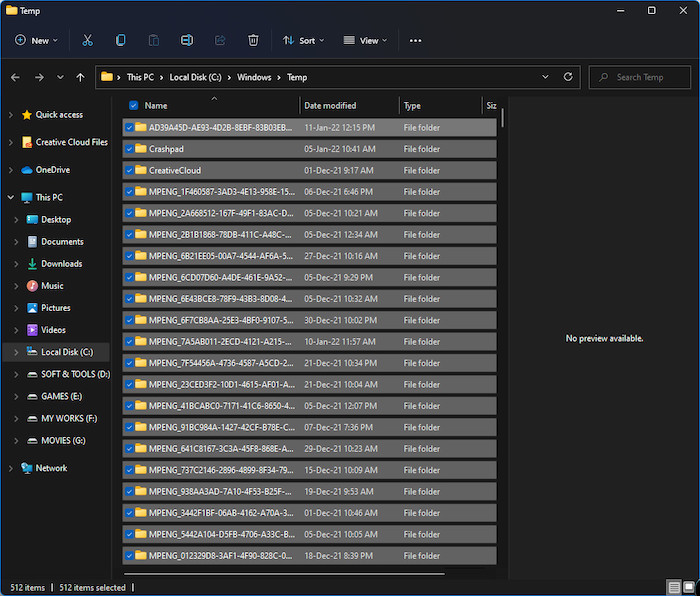
- Click on the Delete button at the top of the File Explorer menu bar or hit the DEL key to delete all the temporary files.
5. Use Command Prompt
Another tested method is to execute a command on the command prompt to delete the temporary files on your Windows system computer.
You can delete your temporary files to clean up your storage by executing a simple command on the CMD.
Follow these steps to execute a command to delete the temporary files on your Windows 11 system:
- Press Win + S on your keyboard to open the Windows Search
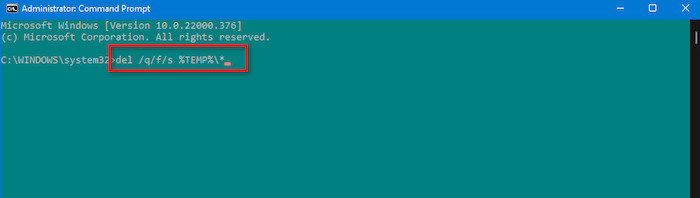
- Type cmd and click on Run as administrator to open the Command Prompt with admin privileges.

- Type the del /q/f/s %TEMP%\* command and hit the Enter key to delete the temporary files on your system.
- Wait until the process is complete.
Here’s a complete guide to turn off Touchpad Clicks on Windows 11.
Final Thoughts
The temporary files run out of your storage space day by day and create slower system performance that can generate a lot of problems on your system.
Deleting the unwanted temporary files regularly on your Windows system to clean up your system storage space and keep your system performance smooth.
Here, I describe the most common types of temporary files and the five tested and proven methods to delete the temporary files quickly on your Windows 11 system PC to clean up your system storage space and boost your system performance.
I hope you found this post to be informative. If you found your solution, please let me know which method works for you.
You may also look at other posts if you’re interested in learning more about similar topics.