BIOS is the first thing that arises when you power on your PC. Without BIOS, your Windows or any other OS won’t be able to boot up.
Due to many reasons, the BIOS can crash. And clearing the CMOS is the best way to restore the BIOS.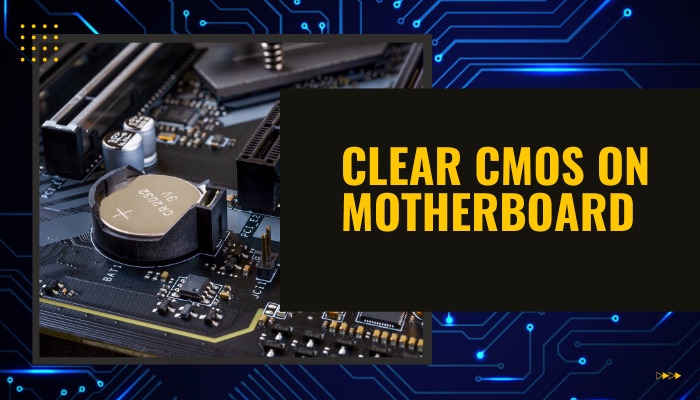
In this article, I will explain several effortless methods to clear CMOS.
So, tag along.
What is CMOS and Why Should You Clear CMOS?
CMOS stands for Complementary Metal-Oxide-Semiconductor. It is a small piece of memory that keeps some of the memory of the BIOS settings on the motherboard. BIOS uses those memories for the boot of your PC. CMOS mainly uses for troubleshooting hardware incompatibility & BIOS issues.
BIOS doesn’t allow your PC to turn on when it becomes inadequate or corrupted due to viruses, a wrong overclocking setup, or improper BIOS settings. In that case, cleaning the CMOS can fix your PC’s BIOS issues and other hardware problems.
Therefore, to restore your PC’s BIOS, you must reset your mobo by erasing the CMOS.
Are you wondering how to reset the motherboard by clearing CMOS? In the following section, I have explained that in reasonable detail.
Have some time to spare? Check our epic guide on whether you can flash bios with CPU installed.
How to Clear CMOS in Motherboard to Reset the BIOS
To clear the CMOS, power off your PC. Open up the case and find the CMOS battery on your motherboard. Remove the battery from the motherboard using a flat screwdriver or a toothpick. Wait for about 2 to 5 minutes. Place the battery back in its place and close the case.
You should take as much time as you need and take proper precautions to do all this. Let’s go on to see this and the other three methods step-by-step.
Here are the methods to clear CMOS to reset the BIOS:
1. Use the CMOS Battery
By taking out & putting back the CMOS battery, you can clear CMOS. You will find the battery on the motherboard, which is almost about the size of a quarter. It’s a 3V C2032 battery and can last approximately ten years. Of course, it also depends on the amount of usage.
The battery keeps the CMOS volatile memory of the BIOS intact. Even when you shut down your PC, the memory stays there. The memory gets erased when you remove the battery and place it back.
Now let’s see how you should remove the CMOS battery.
Take the following steps to clear CMOS using the CMOS battery:
- Turn off your PC and unplug all the cable connections & peripheral devices from the case.
- Dismantle the PC cover.
- Locate the battery from your motherboard.
- Remove the battery using a conductive material like a toothpick, or you can use a flat screwdriver.

- Wait for one to five minutes.
- Put the battery back where it was.
- Close the PC case and reconnect the power cords with the case.
Check out our separate article if you would like to know motherboard will boot without a CMOS battery. You should also read how to fix the CMOS battery failure issue.
2. Rearrange the CMOS Jumper
There are two or presumably three pins of CMOS on all Gigabytes, ASRock Asus, MSI, etc., motherboards. You can use that clear CMOS if your motherboard comes with a jumper.
Follow the below process of clearing CMOS using the CMOS jumper:
- Turn off your PC and unplug all the cable connections & peripheral devices from the case.
- Open your computer case.
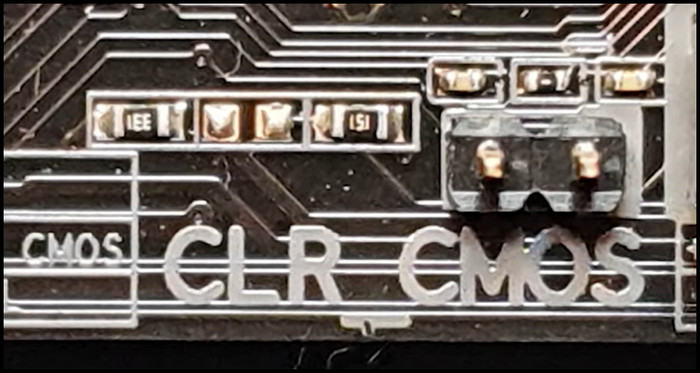
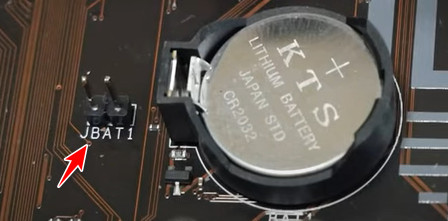
- Locate the CMOS jumper or the CMOS pins from the motherboard. Look closely at the motherboard surface. There should be a label around the pins. They can be written under different labels like CLRPWD, CLR CMOS, RESET CMOS or CLEAR CMOS, JBAT1, etc.
- Reposition the motherboard jumper.
- For the three-pin CMOS, change the position of the jumper. Generally, the jumper should be in the default 1-2 position. Move the jumper position and keep that on the 2-3 position.
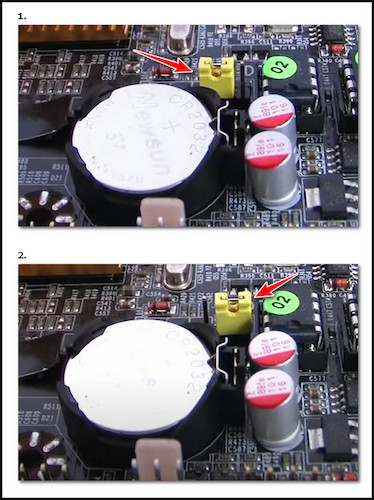
- For the two-pin CMOS, remove the jumper altogether.
- For the three-pin CMOS, change the position of the jumper. Generally, the jumper should be in the default 1-2 position. Move the jumper position and keep that on the 2-3 position.
- Wait for two to five minutes.
- Return the jumper to its default 1-2 position.
- Close the PC and reconnect all the power connections.
The CMOS cleaning process is complete. If the motherboard comes without a jumper with CMOS pins, touch them with a conductive material like a screwdriver and hold them for five seconds. The CMOS will clear. 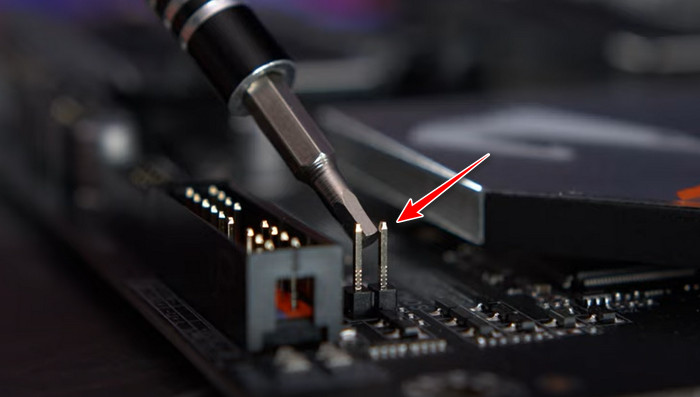
For additional information, see the article are motherboard batteries rechargeable?
Some motherboards come with a default CMOS button. You can use that button to clear CMOS.
Don’t worry if there is no CMOS button on your motherboard. The CMOS button is not available on your computer because the dedicated CMOS button is only available on expensive motherboards and PCs.
Possibly, the CMOS button should be on the motherboard’s body with a CMOS label on it. When you find that, press the button and hold it for nearly five to seven seconds to set off the reset. 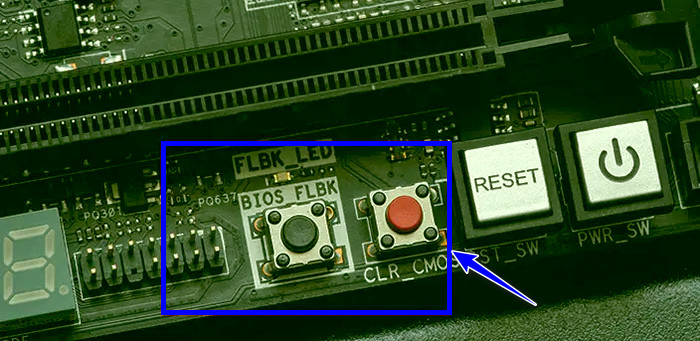
You can also use the power button as an alternative if you don’t have the CMOS button. You need to follow some steps to clear CMOS using the power button.
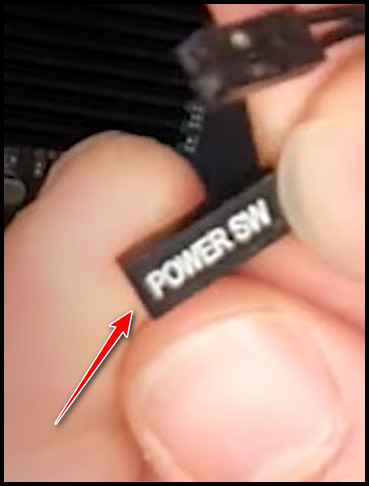
Connect the power switch cable to the CMOS pins. Go to the power button on your PC and hold that button for around ten to fifteen seconds. Unplug the cable from the CMOS pins, and plug it back where it was. 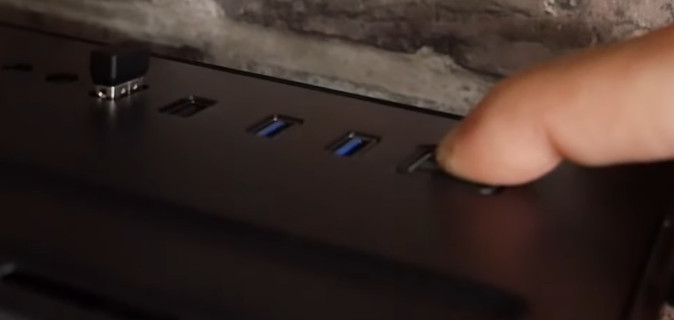
Once the reset is complete, all the data will erase from the CMOS. If your power button blinks while you use your PC, read our separate post to find out the meaning of the blinking power button on Windows 11.
4. Factory Reset the BIOS
If you can get into your PC BIOS settings, you can clear CMOS by resetting your BIOS settings. You should know about your BIOS key to get into the BIOS settings. It can be F2, F8, Esc, Delete, etc. Ensure you know the correct key that your PC manufacturer sets.
Apply the below steps to erase CMOS by factory resetting the BIOS:
- Restart or power on your PC.
- Press the boot menu key to enter BIOS.
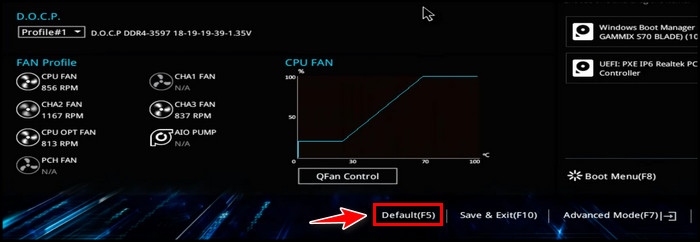
- Press the F5 key to reset BIOS. For your PC, the shortcut key can be different. Look at your screen. The shortcut key for your BIOS should mention there.
- Click OK.
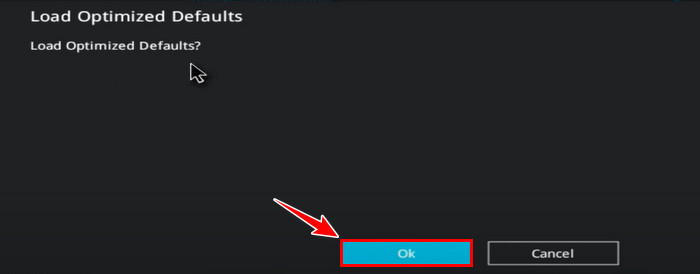
- Save the changes and exit from BIOS.
If you have no monitor and want to reset BIOS without display, you should try the first method: remove the CMOS battery from the motherboard. Nevertheless, you should see our most recent piece on how to enter BIOS or UEFI in Windows 11.
FAQs
What is the clear CMOS button on the motherboard?
The clear CMOS button on the motherboard means whenever you need to restore the BIOS settings to default, you can just press this button for this job.
Does removing the CMOS battery reset BIOS?
Yes, it does. When you remove the CMOS battery to reset BIOS, all the features on your BIOS will reset to defaults.
Can I start the PC without a CMOS battery?
Yes, you can start your PC without the CMOS battery. It won’t cause any technical issues on your PC and motherboard. Only the BIOS settings will reset, and changes you will make in the BIOS settings won’t save.
What happens if I reset my CMOS?
When you reset the CMOS, all the BIOS settings will reset to factory defaults. All the problems that are on BIOS will clear up with a reset.
Is resetting the CMOS safe?
Yes, it is safe to reset the CMOS. But don’t try to remove the CMOS battery while the PC is running. This action will hurt both you and your PC.
How long does CMOS take to clear?
It takes possibly 2 to 5 minutes to clear the CMOS. When you take out the CMOS battery or change the position of the CMOS jumper, you should wait 2 to 5 minutes before rearranging the CMOS jumper or the battery.
Final Thought
Take proper precautions when you take action to clear CMOS. While removing the battery from the motherboard, or using the pins, make sure you don’t bend them.
I hope you successfully clear the CMOS from your PC. Let me know in the comment which method you have used to clear CMOS.
You can also comment if you have any queries. I will be glad to help you with my expertise.
Peace out!