The Outlook inbox rule tool is a fantastic way to automatically organize and manage your inbox. You can utilize the inbox rule function if your inbox is cluttered and you want to organize it quickly and easily. But, sometimes, client-based rules can’t run when the client isn’t running or if you’re using the web app to access your email account.

Outlook inbox rules let you set up conditions to alter the importance level of messages as they come, automatically transfer them to various folders, or delete them based on specific conditions.
If you use client-based rules on your Outlook client account but want to migrate rules to your web server that allows your rules to keep running, this post will help you migrate your client-only rules to a server in Outlook.
Are you ready to dive deep into this post?
Let’s get started without further delay.
How to Change Client-Only Rule to Server in Outlook
Outlook is an email client that connects to Microsoft Exchange Server to send and receive emails. It’s a personal information management system of Microsoft’s Office suite. Rules are an Outlook feature that allows you to manage your inbox easily by setting specific conditions.
Microsoft Outlook rules help you to manage or forward your email messages or send an automatic reply, share your calendar, maintain contacts, schedule meetings, share files, and keep track of your projects.
Outlook allows you to configure rules to alter the importance level of messages as they come, automatically transfer them to various folders, or delete them based on specific conditions. Rules run based on the specific criteria or configurations that you set for them when you create a rule.
Sometimes, rules that run on the client might not operate when emails arrive if Outlook is closed. You may find that these rules might not function as intended.
Rules configured in POP3 and IMAP accounts are always client-side rules.
Moreover, if the rule is also dependent on a specific configuration of Outlook that can only work on the client, the rule will be marked “on this machine only”.
You have to make sure Outlook is running for client rules to work according to the specifications. Otherwise, you can fix this problem by logging in to your account via web-based access and rewriting the rules to work consistently by running on the server even when Outlook isn’t running, as that rule will get saved as a server-side rule.
On the other hand, migrate your existing rules from client-side to server rule to solve the Outlook rules problem easily and run rules on the server when you don’t leave Outlook open.
To transfer rules from the client side to the server side, first, you need to export the rules and then import the rules as server side rules. Let’s see how to import and export server-side or client-side rules in Outlook.
Also, check out our separate post on disable Outlook deleting confirmation message.
Here are the steps to change the client-only rule to the server-side in Outlook:
Export Outlook Rules
Rules that run only on the client can be exported as a file from Outlook. Client and server rules can both be exported in this way. If you have many rules on your Outlook client that you want to export, you can do so by following the method explained here to process the rules into a file.
Here are the steps to export Outlook rules from Outlook client-only:
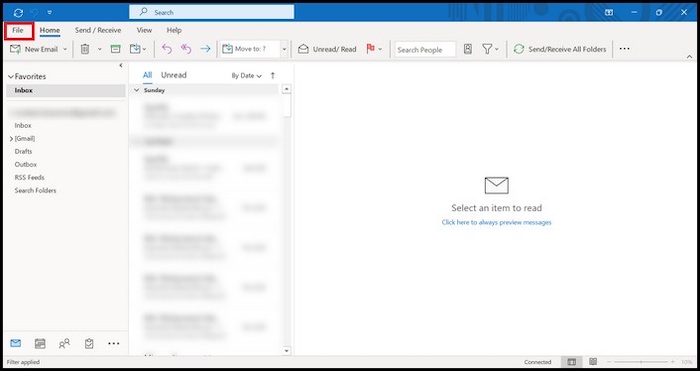
- Run the Microsoft Outlook application on your PC.

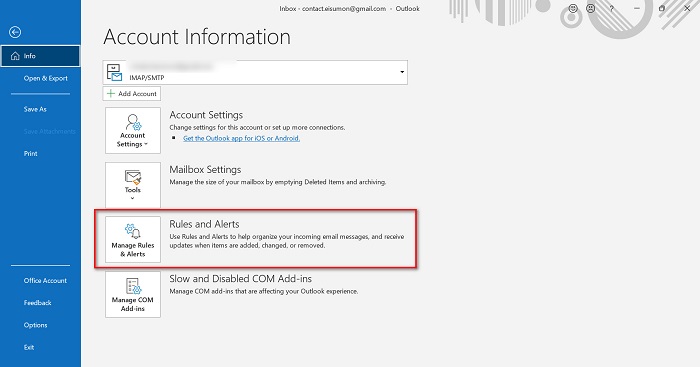
- Select the File menu.
- Select the Rules and Alerts option.
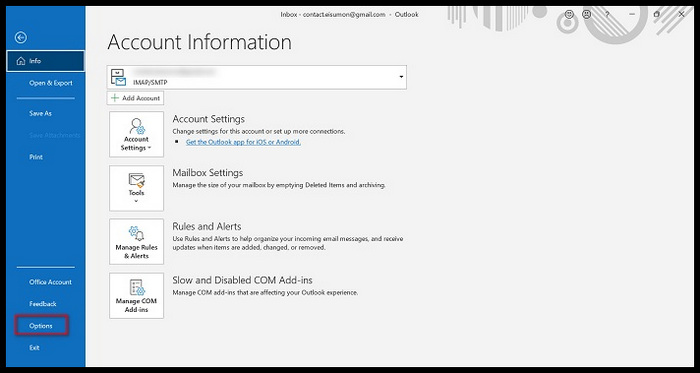
- Click on the Options under the Email Rules tab.
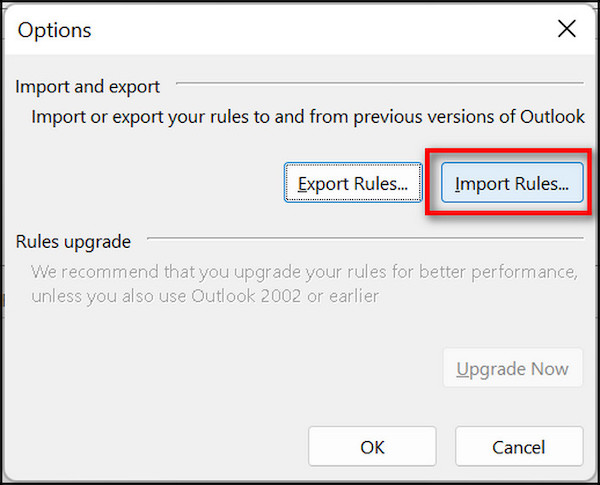
- Click on the Export Rules in the Options window.
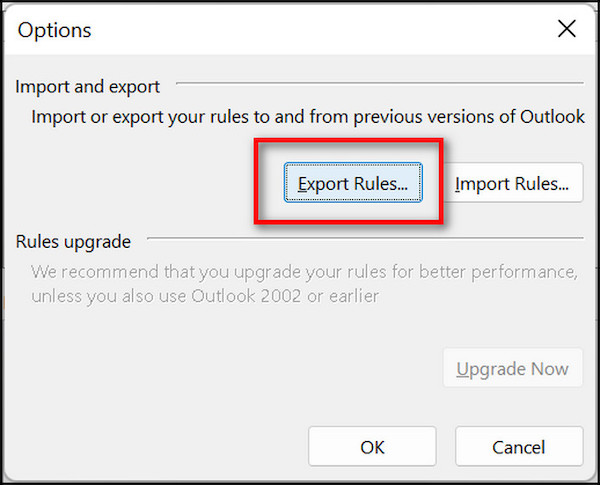
- Choose a folder to export the rules. Enter the name of the file and click on the Save button.
- Outlook rules will export to an RWZ file.
The file is then moved to a folder that you selected and will exist on your PC. You can now import this file to the server so that your Outlook account is able to process this rule to work on the server.
Check out our separate post on how to view message headers in Outlook.
Import Outlook Rules
You can now get access to your email account through the Outlook web app and upload the rules that you have exported so that your client-based conditions and exceptions will run on the server as well.
Here are the steps to import Outlook rules to the server-side:
- Open the Microsoft Outlook web version on your PC browser.
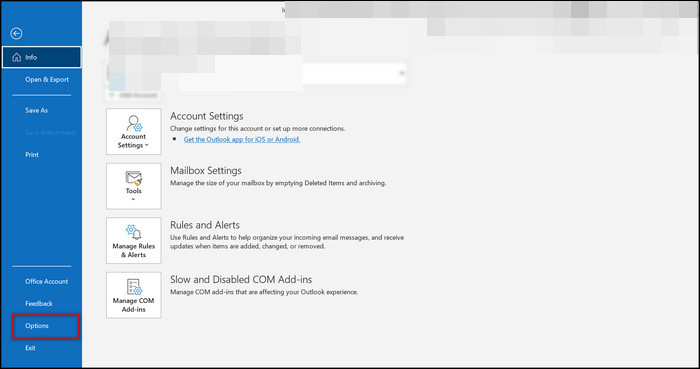
- Select the File menu.
- Select the Rules and Alerts option.
- Click on the Options under the Email Rules tab.
- Click on the Import Rules in the Options window.
- Choose the RWZ file and click on Open to import the rules.
Here’s a complete guide on how to add email signature in Outlook.
Difference Between Server-side and Client-only Rules in Outlook
Client-only and server-side rules are the two types of Outlook rules. These two different types of rules work differently on Outlook.
Client rules can only be utilized when the Outlook email client is running. Server-side rules are not dependent on the Outlook client application. It always works whether you use the Outlook client application or not.
Let’s discuss to know more about server and client rules in outlook.
Here is the difference between server and client rules in Outlook:
Client-side Rules
Client-based rules are only utilized on the Outlook client application. If you create rules on your Outlook Client, the rules only work on the Outlook client. That means rules are not working when your PC is turned off or in sleep mode.
Outlook client rules don’t run until you log into Outlook with the account you created the rule because the rules are stored on your local computer.
Example:
From <people or distribution list>, flag message to <play a sound>
In this case, you’re asking the rule to play a sound whenever you receive a message, and this condition can only be fulfilled by Outlook, making it a client rule.
Server-side Rules
Server-side rules rely on the Exchange server to handle conditions and actions. Outlook server-side rules apply whether or not you are logged in to or running Outlook on your computer.
Using the server-side rules on your Outlook account, your rules are always working. There is no chance of messing up your inbox, as Outlook will always run these rules even when the client isn’t running.
Example:
From <people or distribution list in the GAL or your contacts list>, move it to the <specified> folder.
This rule takes advantage of all Exchange server data, such as relocating a message from a Global Address List (GAL) sender to a specific folder in your Exchange mailbox. However, if the folder you’re moving the message to exists solely on your PC, the rule becomes a client rule.
Check out the easiest way to Enable Read Receipts In Outlook.
Final Thoughts
Finally, we can say, server rules are better than client rules. Apply server-side rules on your Outlook account always to work whether you use the Outlook client application or not.
Here, you learn to migrate client rules to server-based rules in Outlook and the difference between server-side and client rules. After reading the post, I hope you will understand the importance of server-side and client rules.
Are you enjoying the post? If you have any feedback or comments, please let us know here.
Good bye folks.