While you need to join an urgent meeting in Teams, facing the Teams lagging and video stuttering issues is frustrating.
After falling into the performance problem in Teams, I have tried several methods for optimizing MS Teams’ performance.
In this article, I will show the most relevant and working methods to improve Teams performance.
Let’s get started!
How to Improve Microsoft Teams Performance
When you face video stuttering and lagging issues in Microsoft Teams, you must take action to improve Teams’ performance. You can disable GPU hardware acceleration, add-ins, and read receipts. Also, clear the app cache and ensure a stable internet connection.
Consider the following instructions for increasing your Microsoft Teams performance.
Here are the methods to optimize MS Teams performance:
1. Disable GPU Hardware Acceleration
By default, Teams use GPU hardware acceleration to improve performance. However, sometimes, it causes Teams to become laggy.
In order to disable GPU hardware acceleration in Microsoft Teams, go through the following procedure.
Here are the steps to disable GPU hardware acceleration:
- Launch the Outlook application on your desktop.
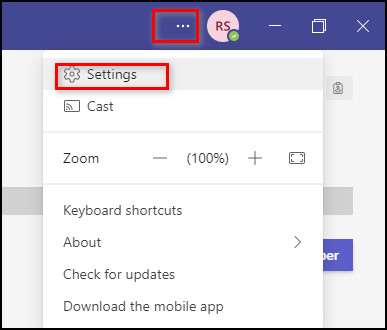
- Click on the three dots beside the profile icon.
- Select Settings from the dropdown menu.
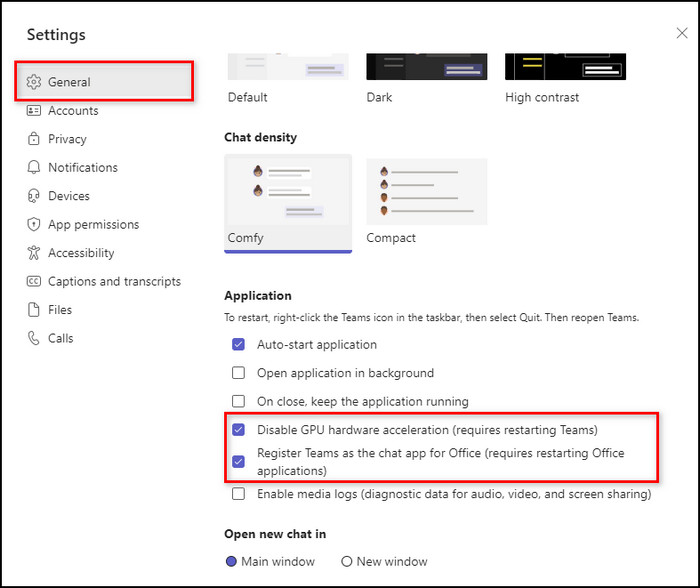
- Check the Disable GPU hardware acceleration (requires restarting Teams) checkbox under the General tab.
- Tick the Register Teams as the chat app for Office (requires restarting Office applications) checkbox.
- Restart Teams.
After making the changes in Teams Settings, you must restart Teams to allow the application to take effect.
Check out our epic guide on Microsoft Teams set out of office alerts.
2. Disable Read Receipts
A read receipt is a feature in Teams that is a visual indication to let the users inform that someone has read a message.
This feature can often cause a laggy experience in Teams. You can disable it by checking the following instructions.
Here is how to disable read receipts in Teams:
- Open Teams Settings.
- Switch to the Privacy tab.
- Toggle off the Read receipts option.
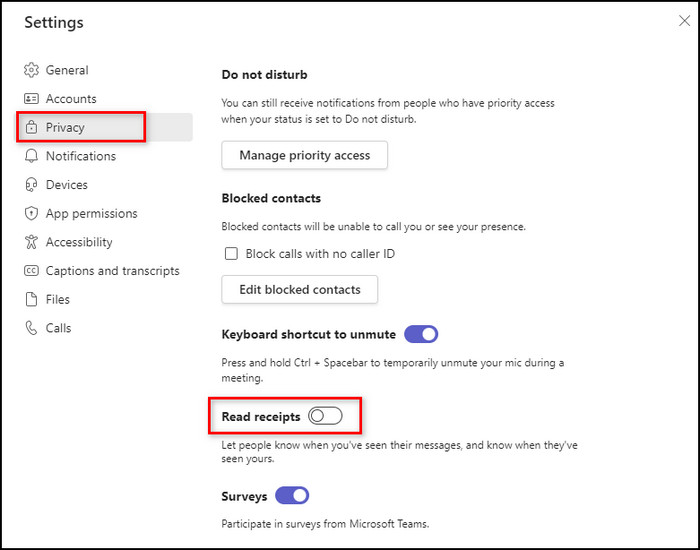
- Restart Microsoft Teams.
After turning off the read receipts option, ensure to restart the application. Now check if the above procedure helps to improve Teams performance.
3. Disable Teams Add-Ins in Outlook
As Outlook and Teams are part of the Microsoft office program, they are connected with each other. Outlook contains several add-ins, even for MS Teams.
Disabling the Teams add-ins in Outlook will optimize Teams performance dramatically. To disable Teams add-ins, check the below instructions.
Here is the process to disable Teams add-ins in Outlook:
- Launch the Outlook desktop application.
- Navigate to File > Options.
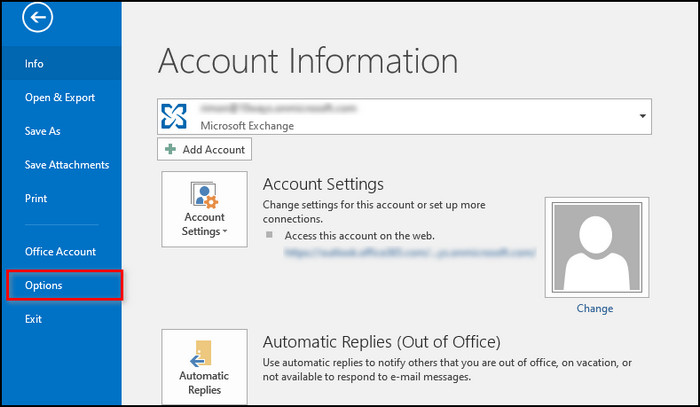
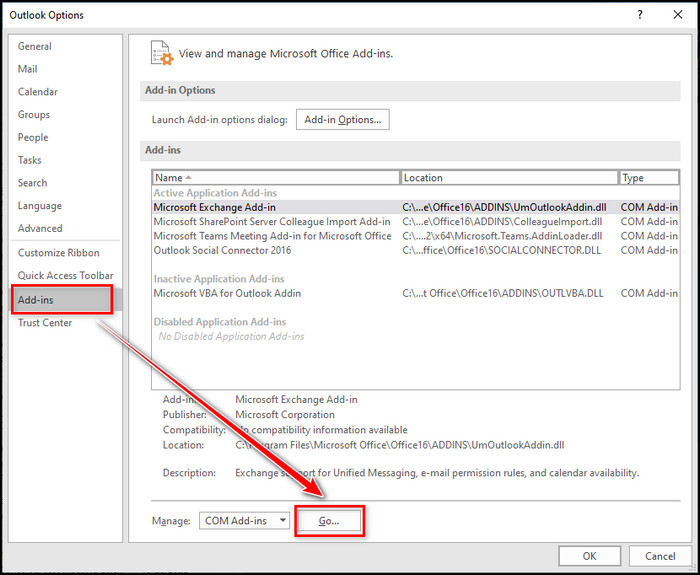
- Switch to the Add-ins tab.
- Click Go from the bottom of the screen.
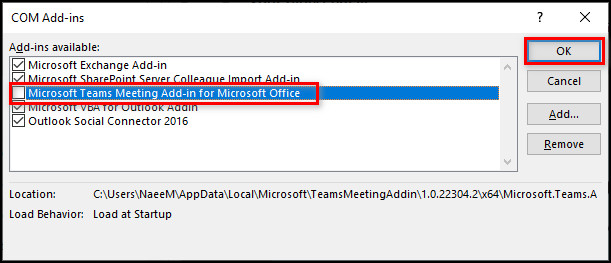
- Uncheck the Microsoft Teams Meeting Add-in for Microsoft Office checkbox.
- Click OK.
- Restart Outlook.
After disabling the add-ins in Outlook, relaunch the Teams application, and you will notice performance increase significantly.
4. Optimize Network Connection
Microsoft Teams need at least a 1.5 Mbps connection for a buffer-free calling experience. So you need to ensure that your internet connection is in an optimal mode.
The Teams application becomes laggy without a proper network connection, and you will face Teams connection issues.
You should test your internet speed and router settings to ensure they provide enough data speed for Teams.
5. Clear Teams cache
Clearing the cache files removes all unnecessary files that are used to make navigation faster while using Teams. Corrupted cache files can lead to We’re Sorry — We’ve Run Into An Issue or Microsoft Teams black screen issues.
To clear your MS Teams cache files, go through the subsequent procedures.
Here is the procedure to clear Teams cache:
- Press the Windows + E keys to open File Explorer.
- Go to C:\Users\<Userprofile>\AppData\Roaming\Microsoft\Teams.
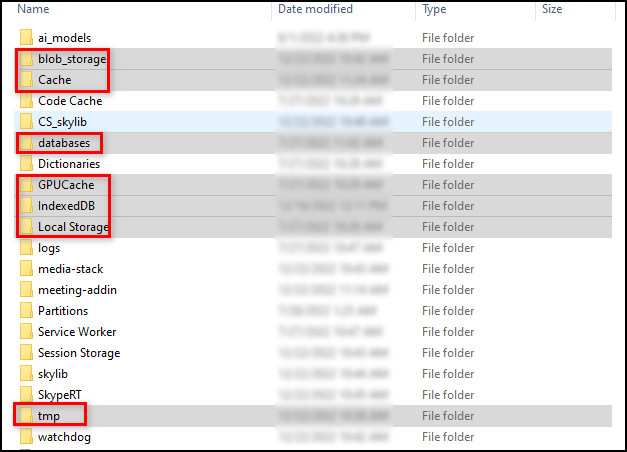
- Delete all files for the below folders:
- tmp
- Blob_storage
- Cache
- IndexedDB
- GPUCache
- databases
- Local Storage
Clearing the cache file will remove all the corrupted and unnecessary files and improve your application’s performance.
After clearing the cache files, Teams can take a little time to load for the first time as it needs to build the cache files again.
6. Clear Browser Cache
If you are using Teams on your browser, the browser cache can make your Teams laggy and clearing the cache files will significantly improve Teams performance.
Here are the steps to clear your browser cache:
- Open the browser you used to access Teams.
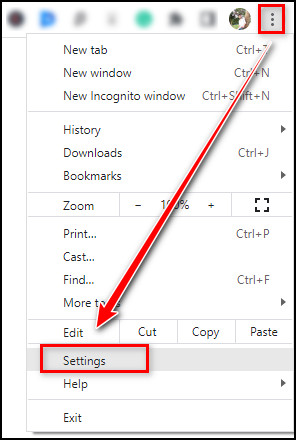
- Click on the three dots and choose Settings.
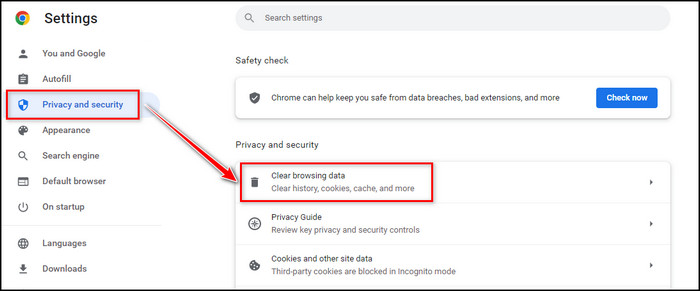
- Switch to the Privacy and security tab.
- Click on Clear browsing data.
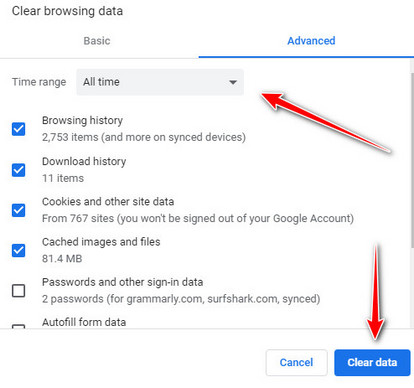
- Select all items in the Advance tab and click on Clear data.
After clearing the browser cache, relaunch your browser and sign in to Teams again. You will notice a performance difference as Teams will load faster than before.
7. Update Microsoft Teams
Though Microsoft Teams usually get updates automatically, you may need to check for updates manually in some cases. Updating Teams can also resolve Teams chat messages not showing up issue. Check the following procedure to update Teams.
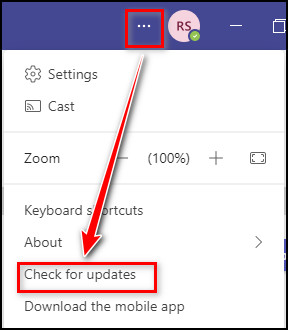
Here is the way to update MS Teams manually:
- Launch Teams Desktop client.
- Click on the three dots next to your Profile icon.
- Select Check for updates.
Once the application is updated, relaunch the application, and Teams will not face any lag while running.
Frequently Asked Questions
Why is my Microsoft Teams so laggy?
Teams users often face video stuttering and lagging issues because of an unstable internet connection, hardware limitations, and server-related issues.
Should I disable GPU acceleration for Teams?
Disabling GPU acceleration doesn’t have any direct impact on your Teams client. However, it can improve your device’s ability to run MS Teams clients.
Does disabling GPU increase performance?
Disabling the GPU allows your machine to free up some extra space for your CPU and RAM, which can increase your machine’s performance.
Concluding Words
Though there is no ultimate method to optimize performance, I have discussed several techniques to improve Microsoft Teams’ performance by tweaking the settings.
Another important thing to improve performance is the upgrade of your hardware. Check the minimum hardware requirements for Teams and ensure your machine has enough power to handle the application.
Did you boost Teams’ performance by following the methods mentioned above? Let me know in the comment below.