Removing a CPU backplate may appear intimidating, but it can be accomplished with ease with the right tools and techniques.
The backplate is an essential element of your computer’s CPU cooler, providing vital support and stability to the cooler. Yet, situations may arise that require you to take it off, for maintenance or upgrades.
And in this article, I’ll explain the essential steps that you need to follow to safely and efficiently detach the CPU backplate by removing the heatsink bracket.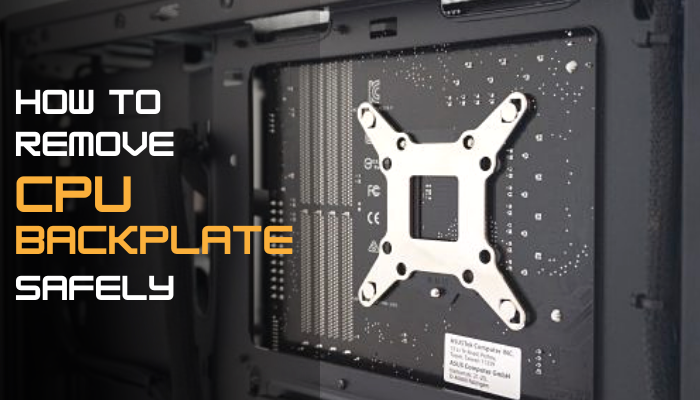
Let’s begin!
How to Take the CPU Backplate Off from Motherboard
To remove the CPU backplate, unscrew the AM4 brackets and take them off. Now the CPU backplate should come off automatically. If it doesn’t, then it’s probably stuck to the motherboard using glue or adhesive, and you’ll need a bit of heat to soften the glue to detach the backplate.
Here’s how to take the CPU backplate off the motherboard:
Remove AM4 CPU Heatsink Bracket
The plastic brackets are mounted on the long standard AMD pressure bracket coolers. You need to remove them when installing an aftermarket CPU cooler.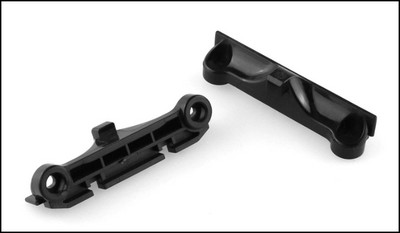
Here’s how to remove the bracket holding the CPU backplate:
- Open your CPU case and extract the RAM slots, CPU cooler, processor, and other components from the motherboard.
- Take out the motherboard from the CPU tower.
- Use a #2 Phillips head screwdriver to unscrew the AM3+ brackets.
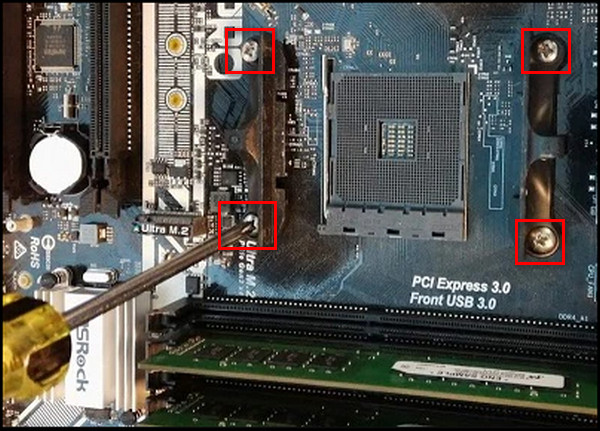
There should be tow brackets holding the CPU backplate in place and as soon as you take them off, the backplate will come off by itself.
But if the backplate is glued or stuck to the logic board using double-sided tape, you need to approach it differently, which is explained in the following section.
Be discreet when you remove the backplate, as you may not be able to screw in the cooler if it is a required accessory.
Remove the CPU Backplate Glued to the Motherboard
In case the cooler backplate is glued or stuck to the main board using double-sided tape, you can still take the backplate off with the help of a flat-head screwdriver.
Here are the steps to remove the CPU backplate glued to the motherboard:
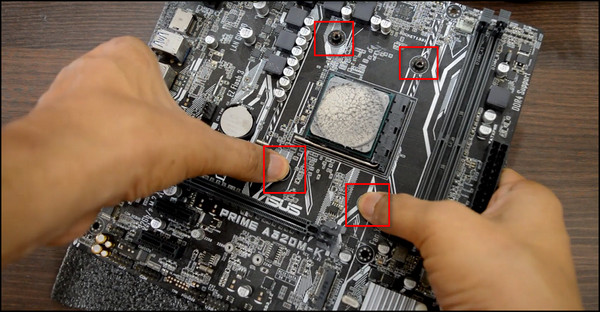
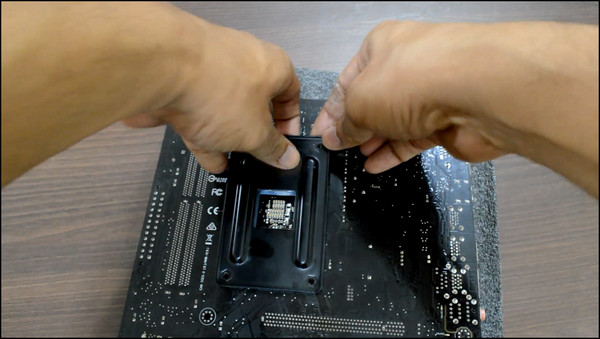
- Hold the main circuit board with both of your hands and push down on the screw points of the CPU backplate, as shown in the picture. Remember, do not press on too hard; otherwise, you might break the board.
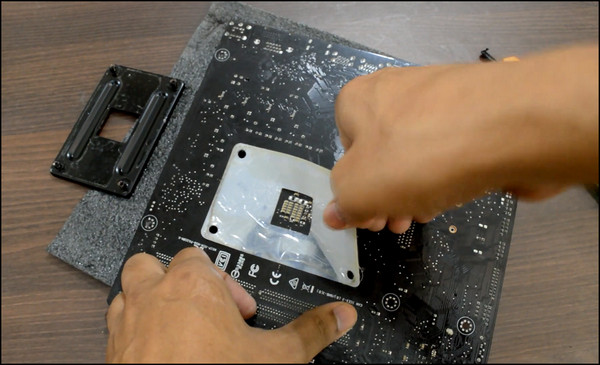
- Wrap a thin layer of electrical tape on a flat-head screwdriver, so it doesn’t scratch the main board or the backplate.
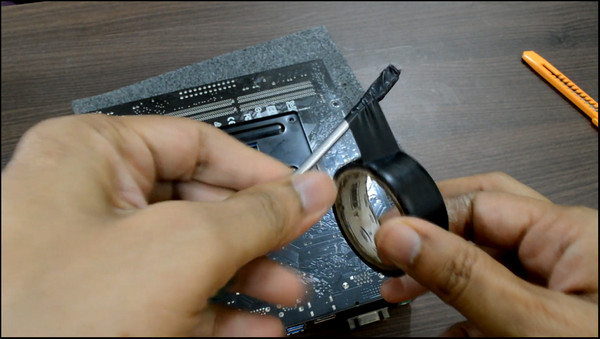
- Stick the screwdriver in between the backplate and the motherboard.
- Use a card or dental floss to pry through the adhesive once you’ve made enough space with the screwdriver.
- Use a hairdryer to soften the glue if it’s stuck too hard.
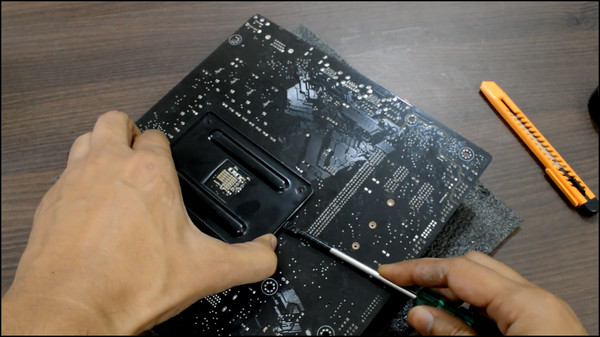
- Apply force on the backplate with a screwdriver and simply take it off with your hand.
- Clean the leftover glue or sticky tape from the motherboard.
Keep in mind, when using a hairdryer or any kind of heat to soften the adhesive, don’t use too much temperature, or else it can permanently damage the motherboard. So, don’t use heat as long as you don’t have to.
When Should You Remove the CPU Cooler Backplate?
The CPU cooler backplate is usually glued to the motherboard. So, the removal process is a hassle. Also, you can permanently damage the main board components if you use heat to soften the adhesive holding the backplate.
Hence, considering all these problems, I’d recommend not taking out the CPU backplate. In fact, you don’t really need to remove it.
Because you should be able to just mount an aftermarket cooler right on top of the backplate that’s already on the motherboard, assuming you have a cooler requiring a backplate.
But if you have a CPU cooler that uses push pins rather than screws, then you have no way but to extract the backplate from the main circuit board in order to install the CPU cooler correctly.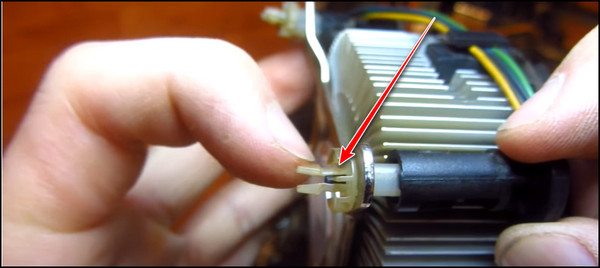
Again, some third-party coolers need special backplates to be mounted on the CPU. Luckily, they come inside the cooler box. You need to take the stock backplate off of the motherboard in such instances.
Not to mention, keeping the backplate on sometimes won’t let you install the cooler.
FAQs
How do you remove a glued CPU backplate?
To remove a glued CPU backplate, insert a flat-headed screwdriver between the backplate and motherboard and try to create enough space so a card or dental floss can cut through the glue. Then simply detach the backplate with your hand.
How do I remove a CPU bracket?
Use a #2 Phillips head screwdriver to undo the screws holding the CPU bracket and just lift the brackets off the main circuit board.
Is a CPU backplate necessary?
Yes, a CPU backplate is necessary to keep the CPU cooler attached to the motherboard tightly.
Final Thoughts
As you can see, removing a CPU backplate is not as complicated as it may seem. You can easily do it with just a screwdriver and a little bit of heat.
And by going through the steps in this article, you can safely take your CPU backplate off and continue using your computer with a new cooler or upgraded components.
Leave a comment below if you have further questions, and we’ll get back to you.