Error 511 commonly pops up on HP computers, where the system fails to recognize the CPU fan. Since the BIOS won’t permit you to boot to Windows, you are left to stare at the same message on a loop.
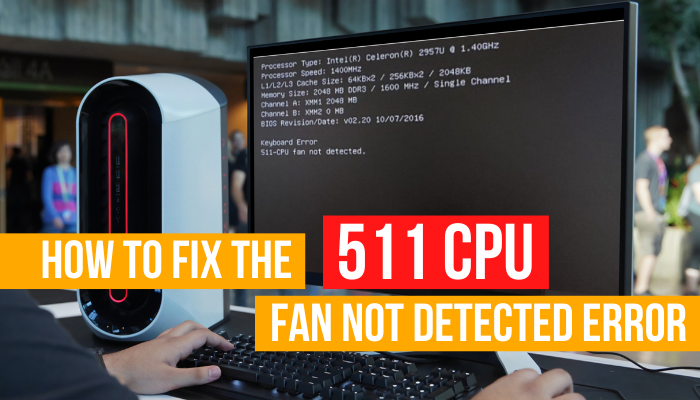
But how do we make this error disappear? Well, we troubleshoot the fan first and replace it if needed. And everything you need to do is explained in layman’s terms in this article so that anyone can fix this issue.
So, let’s dive right in.
Why your PC shows the Error 511 CPU Fan Not Detected?
This error message is pretty much self-explanatory. Your PC shows Error 511 due to the CPU fan being broken or not detected by the BIOS. As for the error code, you can only encounter this on an OEM-based PC such as HP or Dell.
It can happen if too much dust accumulates on your CPU cooler’s fan. The blades are covered with dirt, and hence it does not rotate as fast as it would normally do. Sometimes, the situation is so bad that the blades are unable to move entirely.
For example, just take a look at the insides of a university computer. This wasn’t cleaned for years, and no wonder the picture implies that.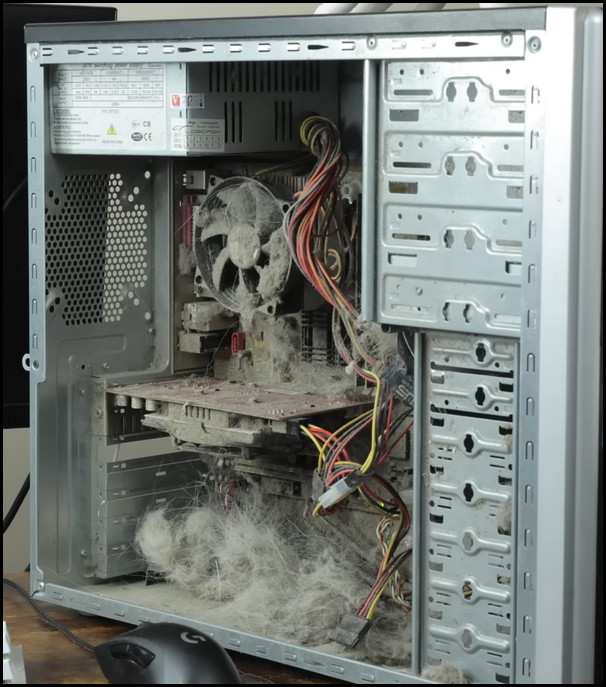
The same dirt can hinder the connection points between the processor’s cooler pins and the socket on the motherboard. As a result, the CPU fan is simply not detected.
While you can use a computer without a CPU fan, manufacturers code the processor to not run it that way. This has major implications, primarily safeguarding it from high temperatures. A cooler ensures that the processor remains cool and within acceptable temperatures.
Lastly, the BIOS itself can sometimes not detect the CPU fan. After updating it you may get the error 511 randomly. Some people suggest turning off the CPU fan-detecting utility, but I do not think you should go that way. You are just risking your components in a desperate bid to boot up your computer.
Now, let’s see what fixes you need to apply.
How to Fix the Error 511 CPU Fan Not Detected
In order to fix error 511, first disconnect the CPU cooler and clean the fans thoroughly. Do not allow any dust and grime to build up on the fans and the connection pins. Now connect the CPU cooler properly and power on your system. As a last resort, you can reset the BIOS.
I have explained these in detail below.
These are the methods to fix the error 511 CPU fan not detected:
1. Disconnect the CPU Cooler and Clean it
On proprietary coolers found on HP and Dell computers, you just need to unscrew the fans and remove the power connector from the motherboard. But if you have a stock cooler for Intel and AMD processors, disconnect them by unscrewing the pins and then pull up the cooler.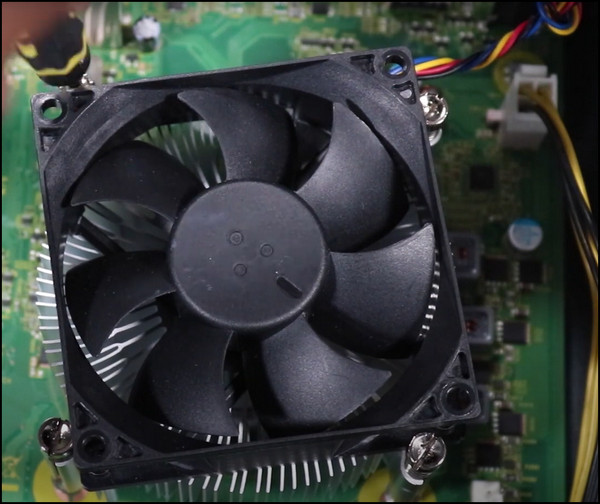
Dust off the fans, particularly their blades and the connectors. A can of compressed air really comes in handy here. The small pipe can reach the insides of the heatsinks, which is difficult to clean using a cloth. Or you can use a blower and simply blow off the dust.
Spraying cleaning alcohol is not necessary, but you can do that. The fans will then look brand new after the liquid dries off.
2. Reconnect the CPU Cooler Cables
Align the CPU cooler on top of the processor and connect it securely. Connect the fan’s power connector to the motherboard. The fan connector is usually found near the CPU socket. If you see a connector accepting 4 pins, this is the one.
Remember, the connector should always connect to the CPU_FAN connector. Not CHA_FAN or SYS_FAN.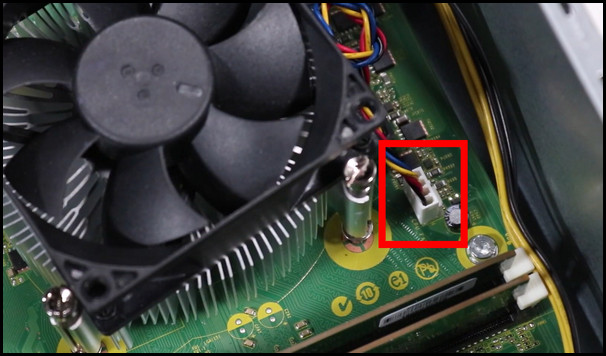
Now power on your system. Does it go past the BIOS? Or are you back in the loop again?
If you get the same error again, it seems that maybe your CPU cooler is damaged. Either the wires connecting the fans are simply not working, or the bearings in the fans are nearing their end of life.
In that case, skip to the very last step of the article, where I talk about replacements.
3. Reset the BIOS
You can reset a BIOS in two ways. Remove its CMOS battery or reset it from the BIOS settings.
The battery is responsible for holding the charge, which allows the BIOS to continue saving the data even when the PC is turned off. When you remove the CMOS battery the stock settings are back, and all your custom tweakings or updates are gone. If your BIOS is acting wired after an update, this is the easiest way to fix it.
Or you can boot into the BIOS by accessing the advanced BIOS setting in your HP and just selecting reset. For HP computers, the BIOS key is F10, and users of DELL PCs can press the F2 key.
Once inside the BIOS, find Load Default Settings. This is mostly present on the Save and Exit page or at the bottom of the BIOS screen. Just press it, and the computer should restart loading with the stock BIOS settings.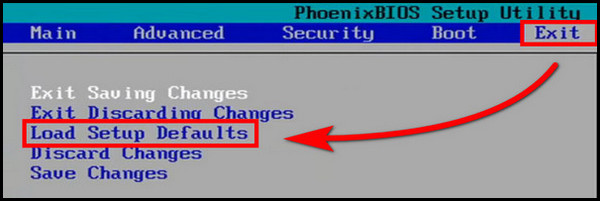
4. Replace the CPU Fan
You could also try looking at the fans for damages. And honestly, sometimes the damaged fans will look perfectly okay. The only way to distinguish them is that the CPU cooler does not work anymore.
If you have a spare fan lying around, you can swap it into your PC and see if the Windows loads properly. You can even replace the CPU fan with a case fan. Then you can decide if the processor’s fan has failed or if the problem lies with the fan connector sockets on your motherboard.
A typical CPU cooler for an HP desktop looks something like this.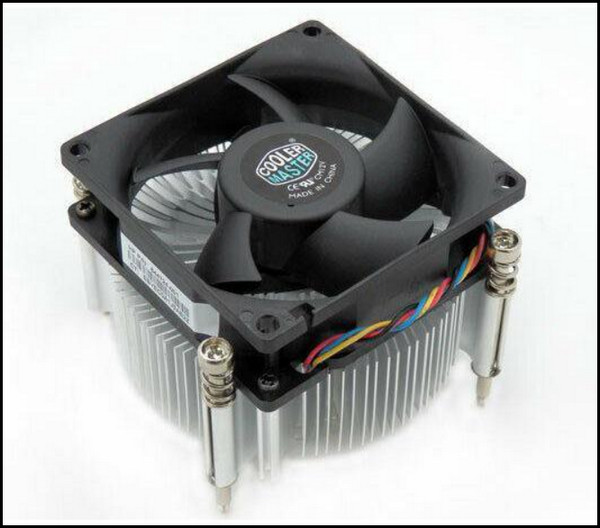
On most occasions, the CPU fan is at fault. Rarely do we see a similar defect on the motherboard.
In that case, replacing the cooler is the only way out. If your computer is still under warranty, contact the PC manufacturer for a replacement unit. But if your computer is similar to the condition of the University PC, eBay is the only way out. Search using your PC’s model, and you will get good recommendations. Then simply check out how to replace the fans on a CPU cooler.
Additionally, go through the complete CPU fan RPM guide. The instructions provided in that article will greatly increase the durability of the processor fan.
Frequently Asked Questions
How do I fix a CPU fan error?
You can fix the CPU fan error by connecting the fan connectors securely to the motherboard. Also, ensure that there isn’t any dust building up and do a thorough cleaning of the fans and the heatsinks.
What is post-error 511?
When the BIOS does not detect the presence of a CPU fan connected, it gives out the error 511. This is a mechanism designed to protect the processor from the build-up of heat without any dissipating source present.
Final Words
If you have successfully troubleshot your CPU fan, the very sight of the fans spinning will give you a great feeling of accomplishment.
On the other end of the spectrum, things are not looking good. Unless you do not purchase a new cooler, the error isn’t going away anytime soon.
That summarizes this article for you. I hope you had a good time going through it.
Goodbyes for now.