It’s already been a few months since Windows 11 was released to the public, so it’s about time you upgrade your Windows. If you tried installing via the installation assistant but ended up seeing an error, read on to solve the problem quickly.
What is error code 0x8007007f?
While this seems like a severe problem, you don’t have anything to worry about as long as you follow everything I wrote step-by-step without skipping anything. As a tech expert, finding some reliable fixes didn’t take me too long.
I know you are in a hurry, so just grab a cup of coffee and start reading already.
How to Fix Windows 11 Installation Assistant Error 0x8007007f
Since many separate issues can cause this error, you will have to try out these fixes one by one until you find one that does the job. So, don’t lose hope if the first 2 or 3 methods don’t work. There is a good chance the fourth or fifth method might do the trick.
One last note before we get into it: make sure you have already tried some of the primary troubleshooting steps like restarting the PC or checking if your PC is compatible with Windows 11 using the PC Health Check app.
Here are the ways to fix Windows 11 installation assistant error 0x8007007f:
1. Purge Antivirus Programs
There’s no doubt antivirus programs are an essential component of any PC to prevent malware attacks, but they also tend to make a lot of mistakes, especially with uncommon software.
If you recently installed any third-party antivirus software, you must remove them before installing Windows 11. Don’t worry, there is no risk of your PC getting infected as long as you downloaded the Installation assistant from the official Microsoft website.
To uninstall the antivirus programs, follow these steps:
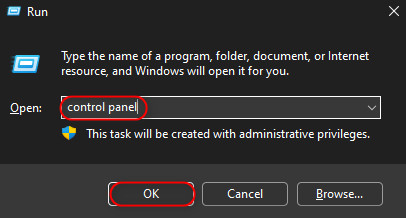
- Use the ‘Windows key + R’ shortcut to launch a Run window.
- Type Control Panel in the window and tap the enter key.
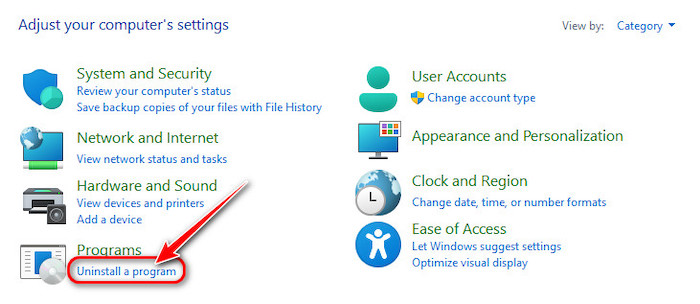
- Look for the Programs section and click on the ‘Uninstall a program’ text below.
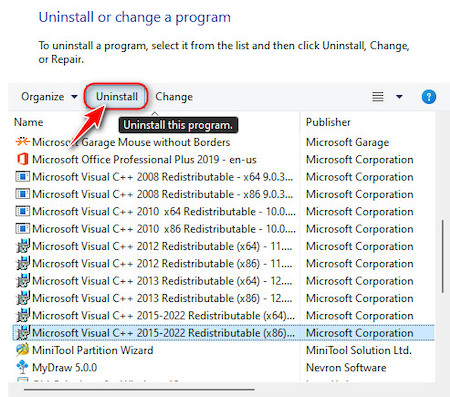
- Click on the uninstall button that appears at the top when you select the third-party antivirus program and follow the instructions to remove all files related to the program.
But what if you never installed any third-party antivirus? Well, then you only need to disable the built-in security app called Windows defender.
Also, check out our separate post to Fix Function Keys Stopped Working on Windows 11.
Here are the steps to disable windows defender:
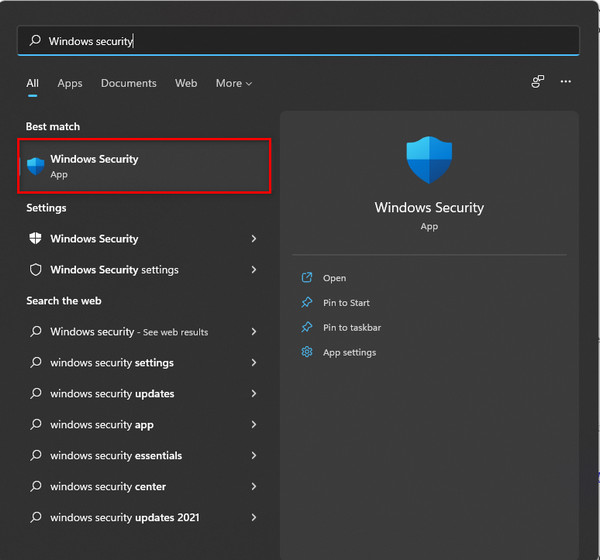
- Expand the Start menu, search for Windows Security, and launch the first result.
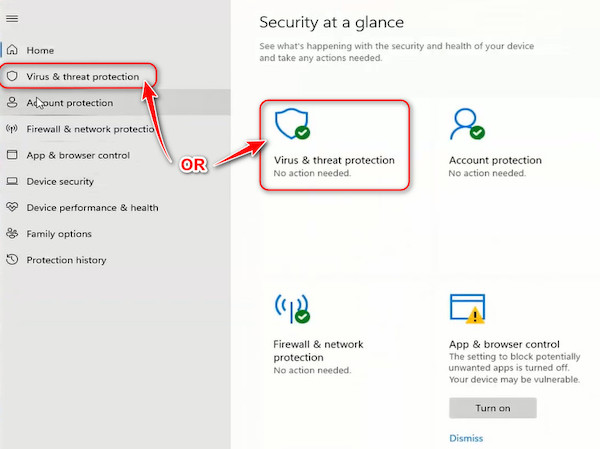
- Once the program loads, go to the Virus and threat protection page by either clicking the shield-like icon or from the left menu.
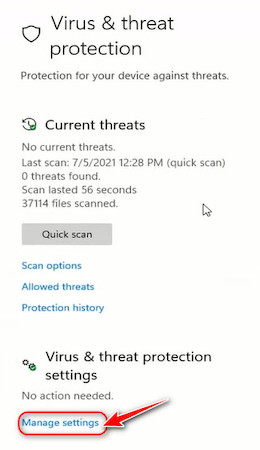
- Click on the manage settings option in the Virus and threat protection settings section.
- Scroll down until you see the Real-time protection toggle and turn it off.
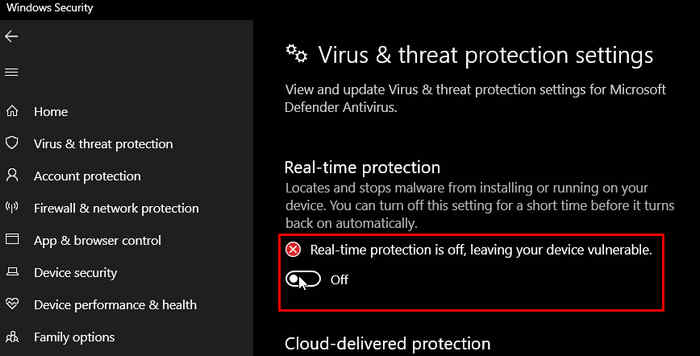
After you are confident that all antivirus programs are turned off, try using the Windows 11 installation assistant again.
Read more on how to Fix Sound Cracking Issue on Windows 11.
2. Provide Administrator Privileges
If you are a PC gamer, you will probably be familiar with this method already since many games require this permission to run correctly.
Similarly, some programs like Windows 11 installation assistants require some extra permissions to function correctly. To run it as administrator, simply right-click on the exe file after reaching the Downloads folder and select ‘Run as administrator. 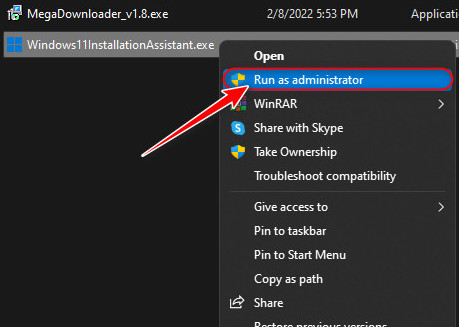
3. Ensure Drivers Are Up-To-Date
This is a really common solution for several software-related issues because drivers are like the backend of how the software is communicating with the hardware in the system.
In simple words, it’s necessary to keep your drivers updated whenever possible to improve software compatibility and avoid unexpected issues. The perfect way to keep your drivers updated is to use a third-party app like IOBit Driver Booster.
However, that requires a subscription, and, like me, you might not prefer that. So, let’s look at what we can do for free:
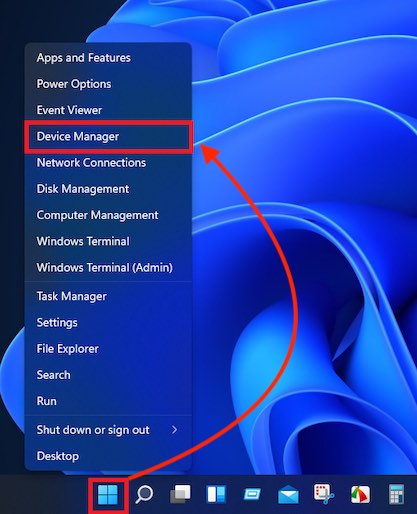
- Use the Windows + X shortcut to open a quick options menu and click on Device Manager.
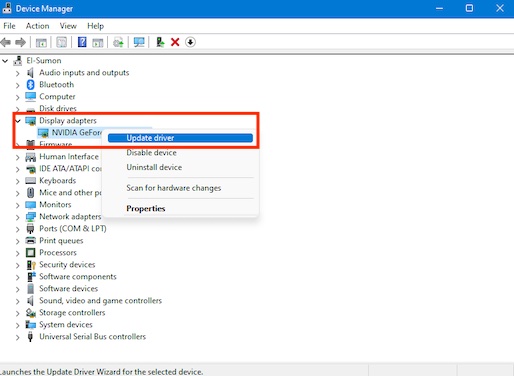
- Double-click to expand the Display adapters section, right-click on the visible drivers, and select Update driver.
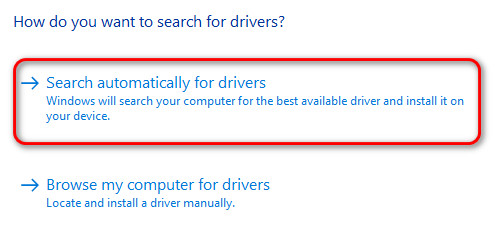
- Click on Search automatically for drivers to get the latest drivers.
You may also like to read: Delete Temp Files on Windows 11.
4. Purge Unnecessary Programs And Files
I can confidently say that half the programs you have installed on your computer right now are stuff you don’t even use anymore. You also probably have a lot of downloaded files that are utterly useless to you at this point.
I know this because I used to be like you, too, but I realized that many apps stop working correctly if there isn’t enough free storage available on the Windows partition.
So, I remind myself every month to clear out all the trash programs and files by deleting each of them one by one.
I realize how this might sound like too much work for some of you but trust me, it takes the performance of apps to another level. However, you can consider removing these files and programs optional if you manage to free enough space using the Disk cleanup.
Here’s how to use Disk cleanup to free space:
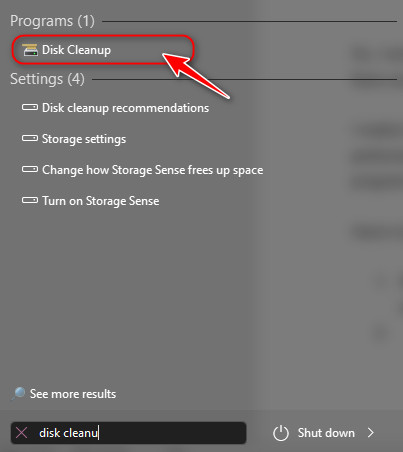
- Search for Disk Cleanup and click on the first result after you have expanded the Start menu.
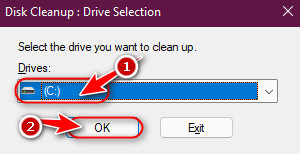
- When you are asked to select a drive to scan files, make sure you choose the C drive and click OK.
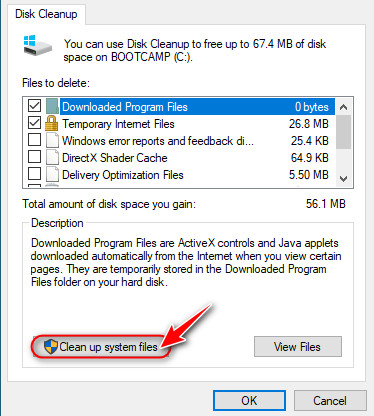
- It might take some time to calculate the number of temporary files available for cleanup depending on your processor but click on the Cleanup system files button once it loads.
- After the unnecessary system files are found, scroll and check all the checkboxes in the Files to delete box except the Downloads folder. You probably don’t want all your downloads to vanish. Click on OK once that’s done.

- Check if you have more than 32 GB of free storage left in your system after the cleanup process has been completed. If not, you will have to manually locate and delete all the files you no longer need.
Check out our expert-recommended post on how to Fix Blue Screen on Windows 11
5. Repair Corrupted Files
As hard as it is to believe, some of your system files might get corrupted from time to time, and this can cause issues with a long list of applications.
Thankfully, it’s not too difficult to detect and repair these files as long as you know a few simple commands.
These are the steps to repair corrupted files in Windows 11:
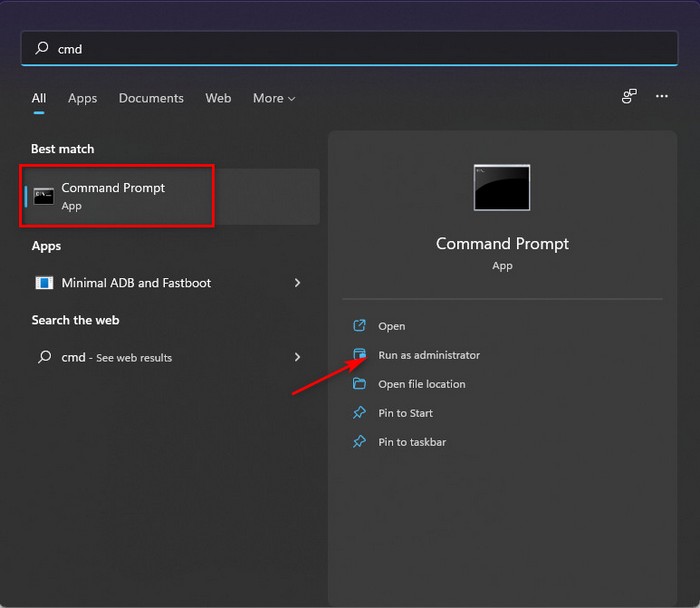
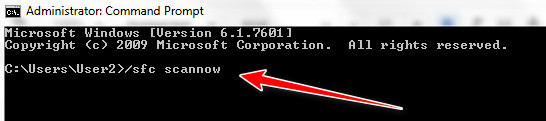
- Search from CMD in the start menu, right-click on the result, and select result Run as administrator.
- Type sfc /scannow in the command prompt window and press the enter key on your keyboard. This will scan all the system files and repair errors if it finds any, so it might take a while.
- After the scan is over, type Dism /Online /Cleanup-Image /RestoreHealth and press enter.
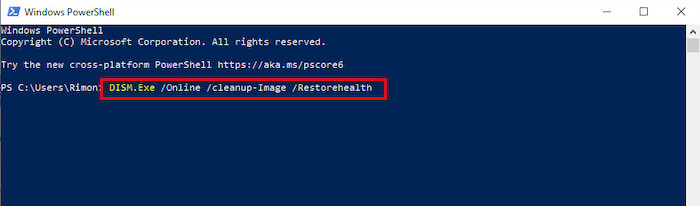
- Once both these scans have been completed, reboot your PC and try using the Installation assistant again.
You should check out our separate post on Change Power Mode on Windows 11.
6. Use Rufus To Install Windows
If you are still unable to eliminate the error 0x8007007f, the only method that is guaranteed to work is installing Windows by creating a bootable USB drive.
Gather a pen drive that’s at least 8GB and follow these steps:
- Visit the Google home page, search for Windows 11 iso download and click on any one of the links to download an ISO installer.
- Then, search for Rufus and download it.
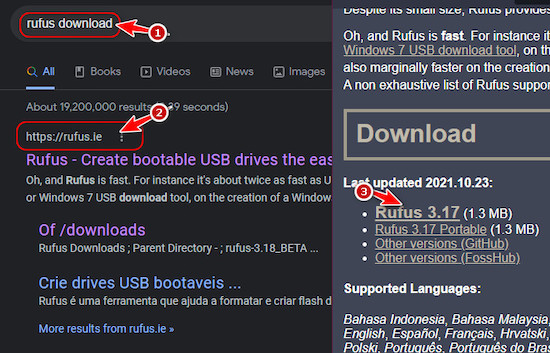
- Plugin your pen drive and select it in the Devices menu. Then, choose your ISO file by clicking on the Select button.

- If you are using a PC that was built and released recently, choose the GPT partition scheme. Otherwise, if your PC is from more than six years ago, it’s best to stick to MBR. Once you make the selection, click on OK to begin the flashing process.
- After it’s completed, power off your PC while keeping your USB connection. Please turn it on after around 10 seconds have passed, and the PC will automatically boot into the Windows installer. Use it to install Windows by following instructions.
Final Thoughts
Windows 11 is the perfect overhaul we needed, but the buggy Windows installation tools were not what we asked for. Nevertheless, there’s nothing that can stop you from installing Windows if you find an article like this to guide you.