Lately, I noticed that my PC was lagging, although I was not involved in any heavy task. Subconsciously I opened the Task Manager and managed to find out the focal cause behind this.
It was nothing but Microsoft Teams that consumed more than 1 GB of RAM. Thus, it affects my entire computer’s performance.
Well. I am not the only Teams user who faced the issue I stated above, and even many other users reported to me about theirs.
So, why does Microsoft Teams Use So Much CPU and Memory?
Eventually, taking all of them into concern, I researched it profoundly and accrued some foolproof methods to minimize the problem. The techniques are proven and tested by many.
Keep reading. Please, do not skip any section as I know this guide is enough to vanish all your doubts.
Let’s get the ball rolling in.
How to Fix Microsoft Teams High CPU and Memory usage
Microsoft Teams causing a high CPU and memory usage is not quite unusual. Therefore, following the suggestions step by step may help you deal with the issue. Let’s put some light on those.
Here are the methods to fix Microsoft Teams excessive use of CPU and memory:
1. Disable GPU Hardware Acceleration
As an integral part of the Electron platform, Microsoft Teams use Chromium memory management model. Teams use this to render and represent the User Interface coupled with text which ultimately entails a significant memory use. To handle this, we have to customize the GPU hardware.
Here are the steps for you to disable GPU hardware acceleration:
- Launch Microsoft Teams
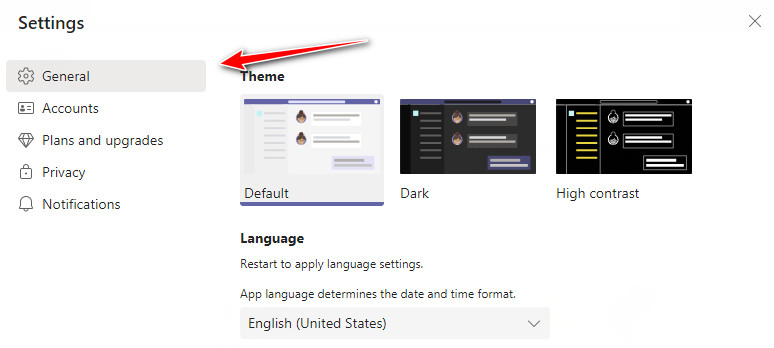
- Go to Settings.

- Click on General from the left pane.
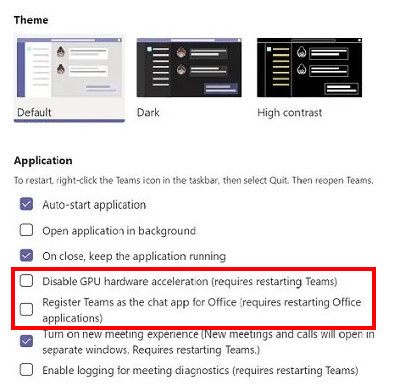
- Check Disable GPU hardware acceleration if it was unchecked.
- Disable the option Register Teams as the chat app for Office.
- Close the application from the system tray.
- Restart Microsoft Teams.
- Check if it seeks any permission or improvement. If yes, enable it after justifying.
You are done. One thing you should bear in mind, Microsoft Teams, runs in the background, and that’s why you have to close it from the system tray.
Follow our guide to know How to Export Chat History in Microsoft Teams.
2. Disable Microsoft Outlook Add-ins
Some add-ins may affect by slowing down your computer’s performance. Say, for instance, Microsoft Teams Meeting add-in on Windows 10 mostly compels the program to use high CPU as well as RAM. So, disable those from Outlook until your problem resolves.
Here are the steps to disable Microsoft Outlook add-ins:
- Launch Microsoft Outlook.
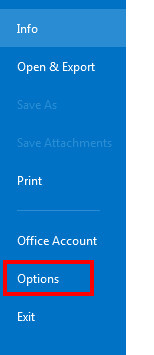
- Click on the File

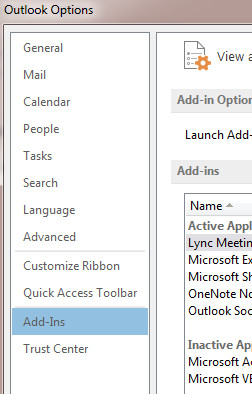
- Choose Options from the left pane. A pop-up window will arrive.
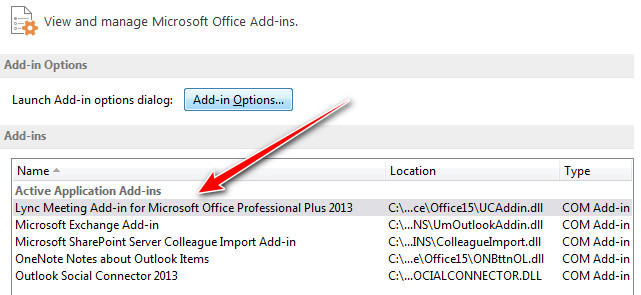
- Select Add-ins from the options that appeared on the left. You will be able to see all the add-ins on the right.
- Uncheck the add-in named Microsoft Teams Meeting Add-in for Microsoft Office.
- Uncheck the Teamviewer Meeting Add-in
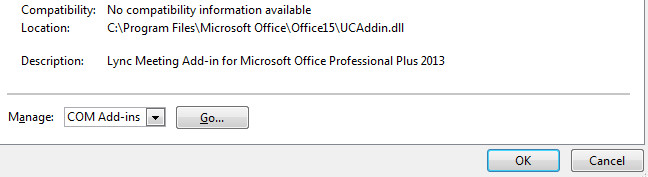
- Click OK to save the changes.
- Close the application and restart it.
Now, check if the problem persists.
Check out the easiest way to delete a conversation in Microsoft Teams.
3. Turn off Read Receipts
If any of the previous two works for you, go for this one. Some reported that turning off read receipts efficiently clicked for them. So,
Here are the steps to turn off read receipts:
- Open Microsoft Teams
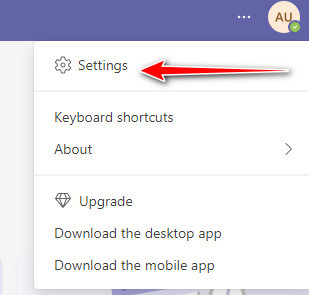
- Click on your profile picture located at the top-right corner of the window.
- Click on Settings from the dropdown.
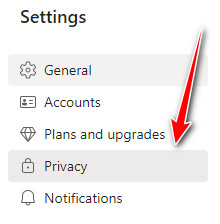
- Choose Privacy from the panel on the left.
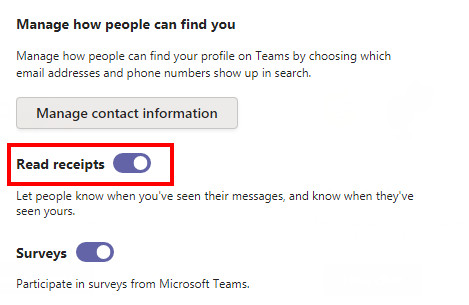
- Turn off the button Read receipts on the right.
- Close the application from the background and then reopen it.
4. Sign Out from Microsoft Teams
To avoid the malfunctioning of an application, many users found relaunching or resigning in the program highly effective. But, here, you can simply sign out from Teams so that it cannot use your desktop’s resources. You likely know the entire procedure; despite that, I am going to demonstrate that laconically for a better user experience.
Here are the steps to sign out from Microsoft Teams:
- Launch Microsoft Teams.
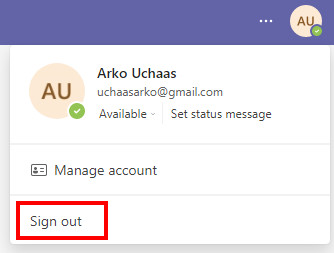
- Click on your profile photo.
- Select Sign out from the options.
- Close the application.
Now, go to Task Manager and check if the scenario is developed.
Check out our expert-recommended error fixing, Microsoft Teams Error Code 42B.
5. Close Background Applications
When you do not need other applications running on your PC, just end them from the background and let Microsoft Teams have the necessary space it requires.
Here are the steps to close background apps:
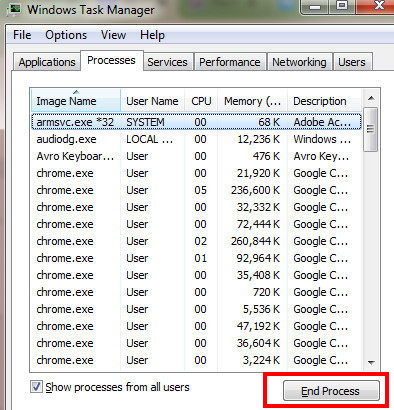
- Open the Task Manager. Alternatively, you can use the Ctrl+Shift+Esc shortcut from the keyboard.
- Navigate to the Processes You will see all the currently open and running programs on your system.
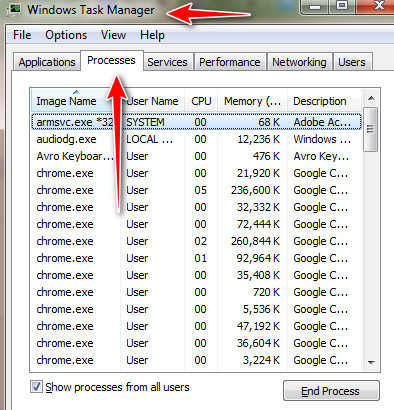
- Click on the program you do want to close.
- Tap on the End Task button to close the program.
6. Clear Teams Cache Memory
Teams sometimes tries to access random information or data from the cache, which is one of the most familiar reasons that eventually make your system slower. So, how can you clear Teams cache?
Here are the steps to clear Teams cache memory:
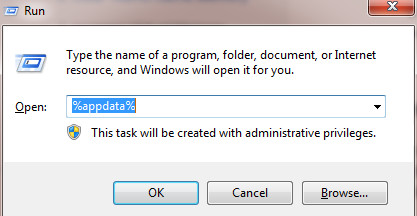
- Open the Run Use the shortcut of Windows+R.
- Type %appdata% and press Enter.
- Navigate to the following location by Files explorer- C:\Users\UserName\AppData\Roaming\Microsoft\Teams.
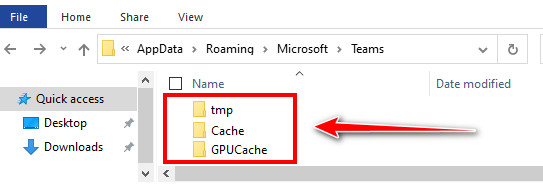
- Find the following folders- tmp folder, Blob_storage, Cache, GPUCache, databases, Local Storage.
- Delete the files inside them. In the IndexedDB folder, delete only .db
- Close the Teams app and relaunch it.
- Restart the computer if possible as it will definitely give you a better experience.
You are done.
7. Increase Virtual Memory
The users confirmed that increasing virtual memory has been protecting them from lagging or locking up of your system. Virtual memory is also known as Pagefile. If your PC is armed with an SSD, increasing pagefile size will undoubtedly solve your problem.
Here are the steps on how to manually adjust your pagefile size:
- Go to the Start
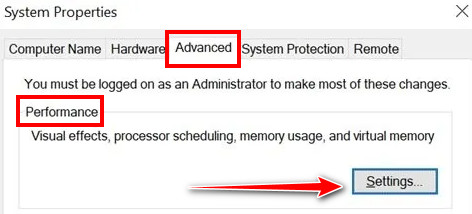
- Type SystemPropertiesAdvanced in the search bar, and hit Enter. A dialog box will open. Make sure you are on the Advanced
- Click on Settings under the Performance
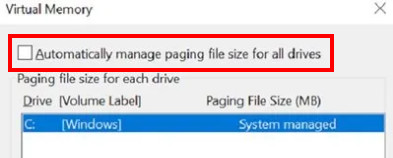
- Tap on the Change button under the Virtual memory
- Uncheck the box of Automatically manage paging file size for all drives.
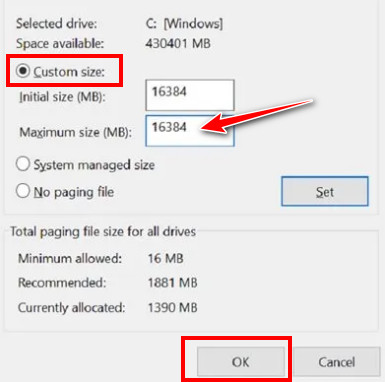
- Click on the Custom size and set the maximum size to 16GB.
- Click OK to save the changes.
8. Adjust Visual Effects
To improve the performance, you are now experiencing, adjusting the visual effects may help you. This will abate the load of GPU on your machine.
Here are the steps to adjust visual effects efficiently:
- Go to the Start
- Type adjust performance on in the Windows search bar.
- Tap on the Adjust the appearance and performance of Windows from the suggestions that appeared.
- Navigate to the Visual Effects
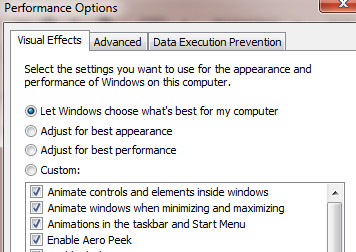
- Click on the radio button next to Adjust for best performance. From now on, this will merely permit the indispensable visual effects, not the optional ones.
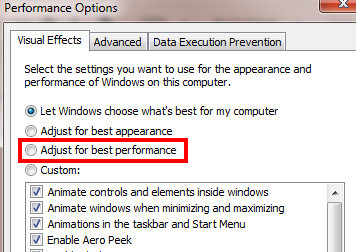
- Click on Apply and then, OK.

- Restart your system, and check if your condition improves.
Follow our guide to know How to Record Microsoft Teams Meeting.
Final thoughts
Summing up, Microsoft Teams is no less useful than other applications, i.e., Word, Excel, Powerpoint, Outlook, … of Microsoft. But, when it comes to using them in real-time, users often blame Teams for consuming much memory and CPU space. After learning about the possible way-outs of Teams’ large memory consumption, you will experience a way better performance from your system.
Try the methods one after another until you surely make them work. Still, you can ask me if you have queries by commenting in the box below. I will try to get back to you within the shortest possible time.
Was this article helpful? If yes, please share it with your peers to give them room to enjoy a faster machine.