Windows 10 helps you to easily share folders with other users in the same network and offer network storage.
However, when you’ve shared or got too many files and folders in a network and can’t differentiate between shared and nonshared files, a problem arises.
But worry not. This tutorial will show you how to access a list of every shared folder or file on your Windows network. So without wasting any further, let’s jump in.
To access a shared folder in Windows 10, you need to connect to the same network as the computer sharing the folder. Once connected to the same network, you can access the shared folder using the Computer Management tool, File Explorer or CMD.
But regardless of the method, the result will still be the same. Therefore, you can use any approach that you prefer. Let’s examine the methods in more detail.
Here are the methods to access shared folders in Windows 10:
1. Use Computer Management
The computer management tool also includes the list of shared folders of your network. You just need to select the shared folder option.
In this part, I will show you the method to open the shared folder from the computer management tool. You can use this method if you like.
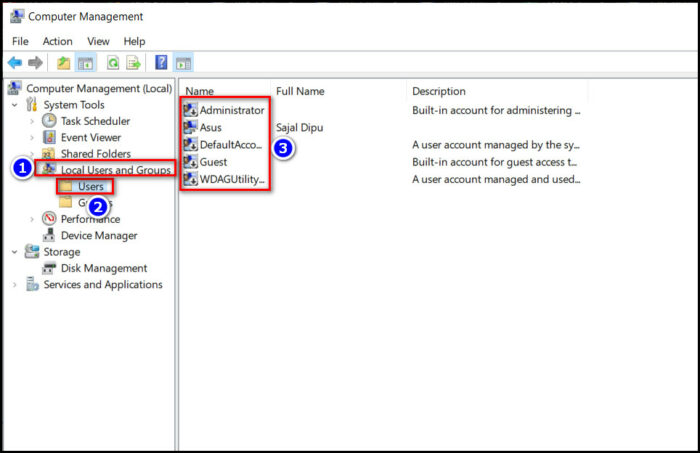
Here is the process to see shared folders using the computer management tool:
- Right-click on the Start icon of your PC.
- Select Computer Management from the list.
- Expand the Shared Folders option on the left.
- Choose the Shares folder.
And you will see all the folders currently shared on the network on that window. But make sure not to tweak the folders too much.
Otherwise, the UAC (User account control) will enforce permission requirements from the administrator to change the folder.
2. Use File Explorer
The file explorer helps you edit, copy, and access all folders on your computer, including the shared ones. You can also randomize photos in a folder with the help of file explorer.
This section will guide you through viewing the shared files from your computer. Let’s jump in.
Here are the steps to view shared folders using file explorer:
- Open your PC and go to File Explorer.
- Select the Network option from the left.
- Double-click on your device name/number from the Computer section.
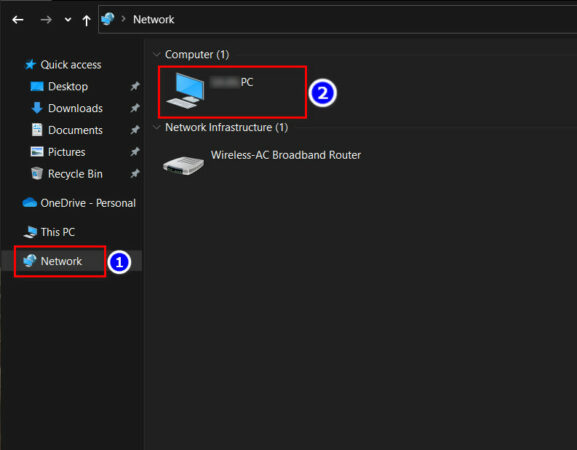
After the steps, you will see all the folders currently shared on your network. You can access, edit, or copy the files/folders from there.
You can also use single-click instead of double to select your computer in the shared network, but you need to enable the single-clicking feature first.
3. Use CMD Or PowerShell
If you enjoy using the keyboard a lot, it might be more convenient to use the CMD option to view the shared folders on your PC.
See how to access a shared folder from CMD by following the instructions below.
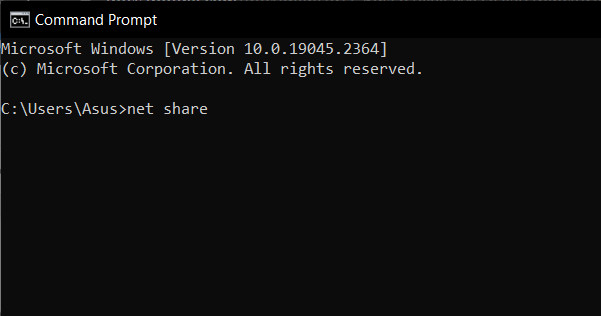
Here are the steps to view shared folders from CMD:
- Click on the Start icon and write cmd.
- Select Command Prompt from the search result.
- Write net share in the command line and press Enter.
In Windows 10, you also can use PowerShell instead of the Command prompt to access a shared folder. However, the steps are somewhat different from using CMD.
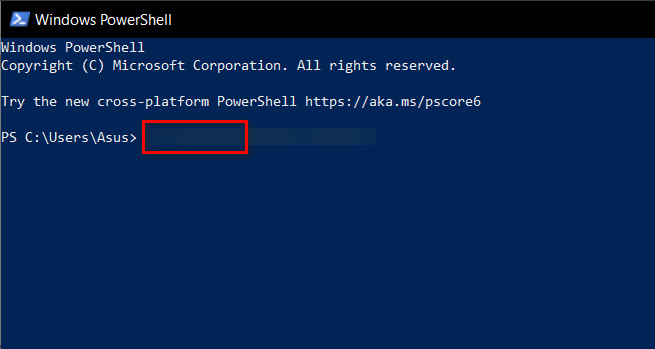
Here are the steps to see shared folders from PowerShell:
- Right-click on the Start icon and choose Windows PowerShell.
- Write net share in the terminal window.
- Tap on the Enter key.
After finishing the procedures, you will find all shared folders open on your computer. You can access, modify, or copy the files and directories from here.
But make sure to map your drive correctly. Otherwise, you will face a shared resource error on your device.
FAQs
Why does “Stop sharing” or “Remove access” show in File Explorer for files I haven’t shared?
You are seeing the “Stop sharing” or “Remove access” option because of the Windows default feature. Because the File Explorer displays the Remove access option for every file on your computer.
How do I tell which files or folders I’ve shared over a network?
To find the shared files and folder over a network, Type “\\localhost” into the address bar of File Explorer after opening it.
Why can’t I access a shared folder on Windows 10?
You can’t access a shared folder because Network discovery is disabled on all computers. Make sure to allow it with the File and printer sharing option for all computers.
Conclusion
You can view shared folders using different methods, such as File Explorer, the Computer Management tool, or the command line interface (CMD). These methods will allow you to access shared folders, but you can choose the one that best fits your personal preferences.
After reading the article, I’m sure you know almost every method to access a shared folder on your Windows PC. Comment if you run into any problems when doing the procedures.
And for everything else, stick with 10 Scopes.