Mapping a network drive is a quick & easy way to access data from a remote device/storage.
For the unversed, you are assigning a local drive letter to the remote storage by mapping that network drive on your computer. As a result, you can quickly access the remote storage from File Explorer as if it’s your local drive.
So, what’s the easiest way to map a network drive on your Windows 10 computer?
Let’s dive into this article & find out.
Mapping Network Drives on Windows 10
To map a network drive on Windows 10, open File Explorer and select This PC. Click on the Computer tab and select Map network drive. Choose a drive letter from the Drive drop-down menu and click on Browse. Then choose a network drive/folder from the pop-up window and hit Finish.
But before you do that, make sure you’ve enabled the network discovery option from your computer’s Control Panel.
Below, I have thoroughly discussed all the necessary steps to map a network drive as quickly and effortlessly as possible on your Windows 10 PC.
By reading our article easily use Auto Click feature on Windows 10.
Step 1: Turn on Network Discovery
Enabling network discovery is crucial as you need to see all the available remote devices and their respective drives on the shared network before you can map them on your PC.
Here’s how to turn on network discovery on Windows 10:
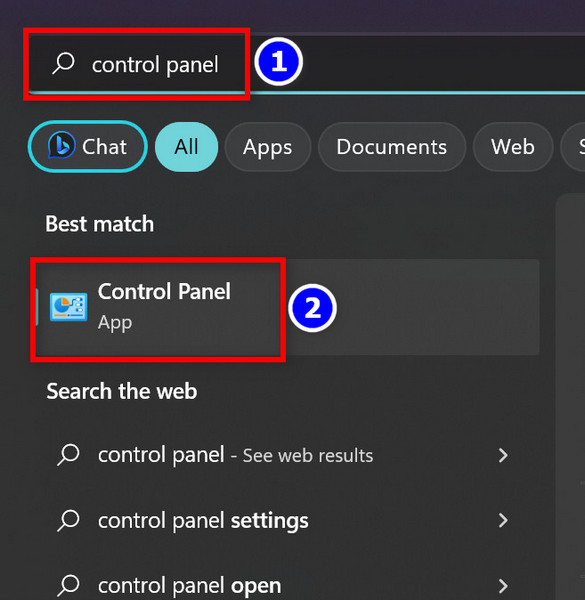
- Press Start🪟 and type control panel.
- Hit Enter.
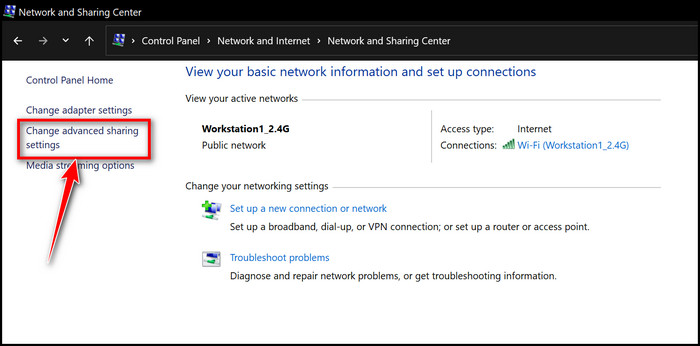
- Click on View network status and tasks under the Network and Internet section.

- Select Change advanced sharing settings from the left side pane.
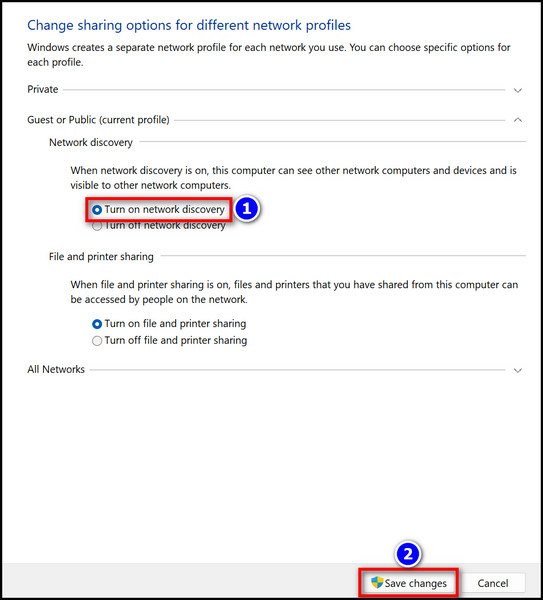
- Choose the Turn on network discovery option.
- Click on Save changes.
After enabling network discovery, let’s see how we can map the discoverable network drives on a Windows 10 computer.
Try our article to solve if Drag and Drop not working in Windows 10.
Step 2: Map a Network Drive
By mapping a network drive, you can directly access the remote storage from your computer’s File Explorer without having to look for it or type its network address every time.
Follow these steps to map a network drive on Windows 10:
- Press Windows Key🪟+E to open File Explorer.
- Select This PC from the left side pane.
- Click on the Computer tab from the top navigation bar and select Map network drive.
![map-network-drive]](https://10scopes.com/wp-content/uploads/2023/04/map-network-drive.jpg)
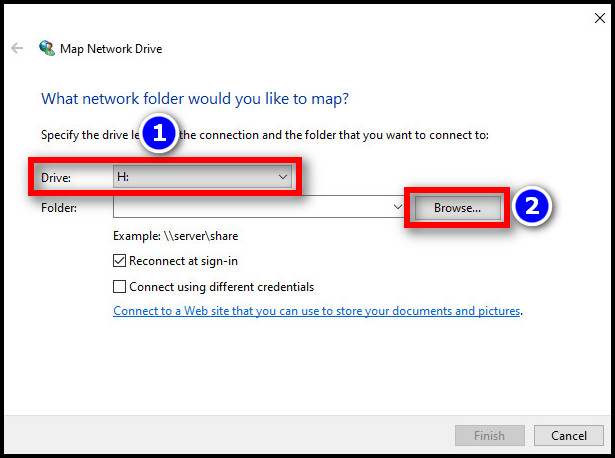
- Expand the drop-down menu for Drive: and select a letter that you want to assign to the network drive.
- Click on Browse and choose a network drive from the pop-up window. Ensure you’re connected to the correct network.
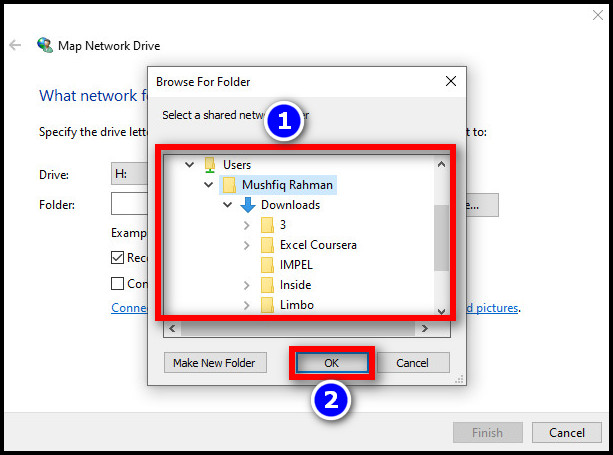
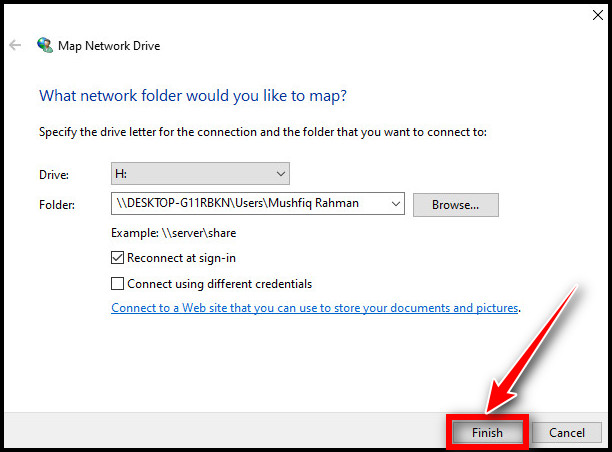
- Hit OK > Finish.
Done! Now you’ll be able to see the shared network drive in your File Explorer’s Network locations section.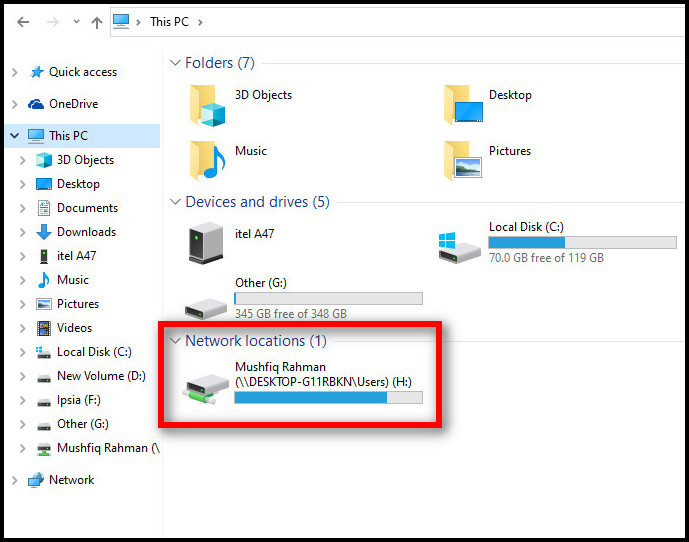
In case you can’t access the network drives or folders, the remote device might be offline, or you might not have the necessary permission. Certain devices will ask you to input credentials to gain access. In such cases, contact your network admin.
Here is another epic post about open Programs and Features in Windows 10.
Frequently Asked Questions
How do I enable file and printer sharing on Windows 10?
On Windows 10, go to your computer’s Control Panel and select View network status and tasks. Then click on Change advanced sharing settings and expand the All Network section. From there, you can enable the file and printer sharing option.
Why are the mapped network drives not showing up in Windows 10?
The mapped network drives won’t show up in Windows 10 if the network drives are hidden or offline.
Why can’t I see any mappable folders when I’m trying to map a network drive?
During the network drive mapping process, you won’t find any mappable drive if there are no drives connected to the shared network or the drives are currently offline.
Wrapping Up
Now that you know how to map a network drive, don’t willy-nilly copy-paste files from unknown network drives, as they might contain viruses/malicious programs.
Anyway, I hope you’ve found this article helpful. In case you have any further queries on this topic, comment below.
Have a nice day!