When you have a large presentation and want to make changes, it can be annoying to edit each individual slide. What if we could make a single change that is applied everywhere?
That is basically the Master Slide in action. It is on the desktop app and is a lifesaver for making last-minute changes.
So, let’s take a look at how you can use that and make your life a tad bit easier.
What are Master Slides on PowerPoint?
Think of Master Slides as themes. When you choose one from those built-in PowerPoint, the entirety of your slides use them. From fonts to colors to backgrounds, all the slides use a single set of predefined settings.
Master slides can help you edit slides in a way so that the changes are applied globally. Let’s say a theme looks good, but the font does not match. You can change the font right from this menu. Then you will see every single slide now has the font that you selected.
You are not limited to fonts, though. There are options to change themes, backgrounds, animations, effects, and slide sizes. Everything that you can customize in a single slide is here.
Master Slide vs. Slide Layout
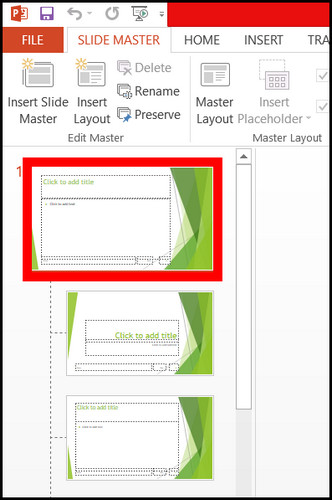
There are two groups of slides present inside Slide Master. One slide is indented, and the others are lined up together in a group. The topmost slide is the Master Slide. If you select this and edit your presentation file, changes are applied globally. 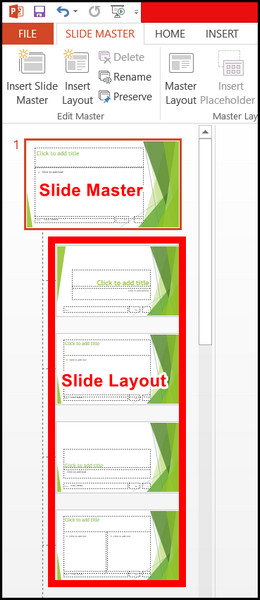
Slide Layout represents the other slides. You should not click on them unless you wish to make changes individually.
How to Edit Master Slide in PowerPoint
To edit master slides, you need to go into its menu. This is present inside the View tab on the PowerPoint ribbon. Once there, go ahead and make the customizations that you need.
PowerPoint on Windows and Mac
Master Slide is available on all versions starting from Office 2013. If you use an older version than that, you have to find it under slide settings. On Mac, the UI elements are similar to Office 2021 on Windows, so the options shown here will work for you too.
Here I will show you all the customizations that you can perform on your slide from this option.
Follow these steps to edit PowerPoint master slides in Windows:
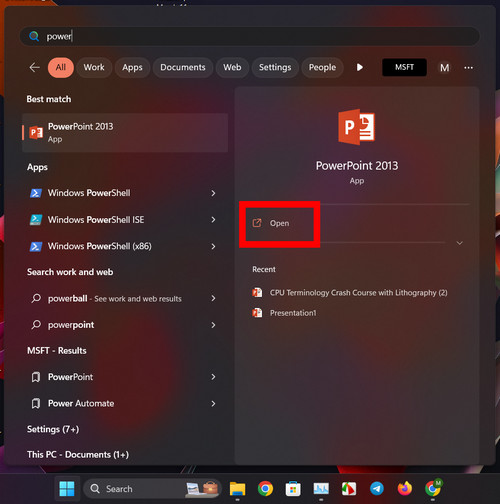
- Open PowerPoint. You can click the shortcut on your desktop or search using PowerPoint from the Start Menu.
- Press Ctrl + O and navigate where to the location of the slide. Once there, click Ok to open it.
- Now click on the View tab.
- Press the Slide Master button.

- Scroll up and click the very first slide to make changes to all slides. If you want to make changes to individual slides, click on any slide in Slide Layout.
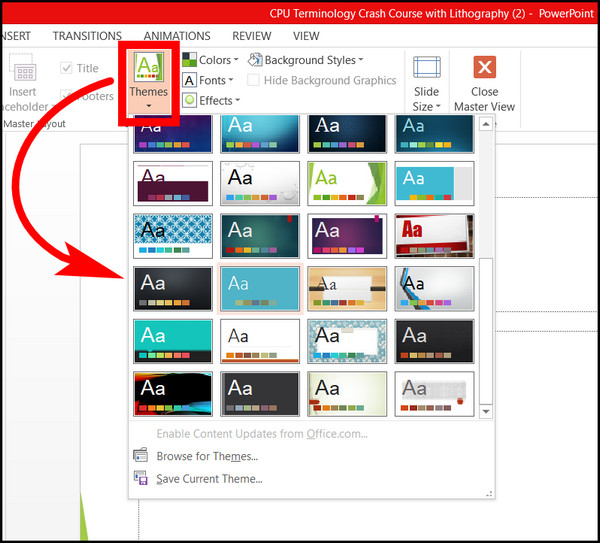
- Click on Themes. Choose any theme from the ones that come built-in. If you downloaded a different theme, click on Browser for Themes and select it from there.
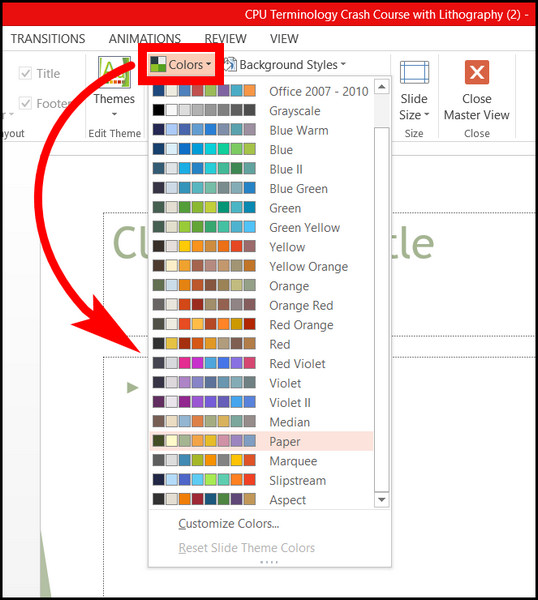
- Now click on Color. Select the color scheme that you prefer.
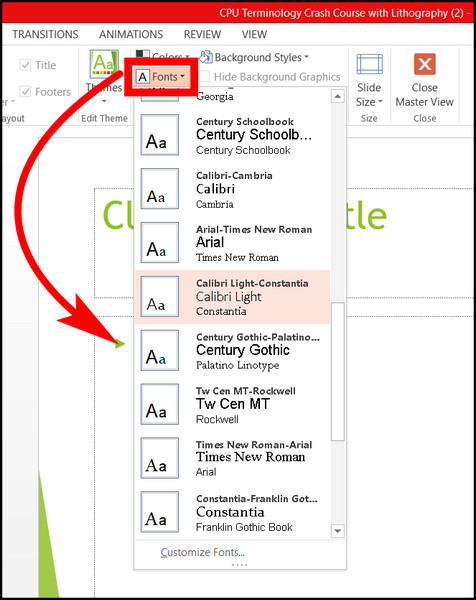
- Click on Fonts. Scroll down to find the fonts that you choose.
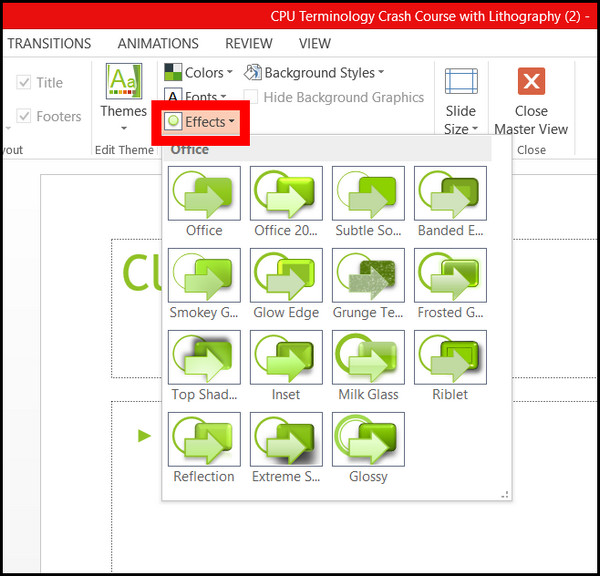
- Select the desired Effects that you like.
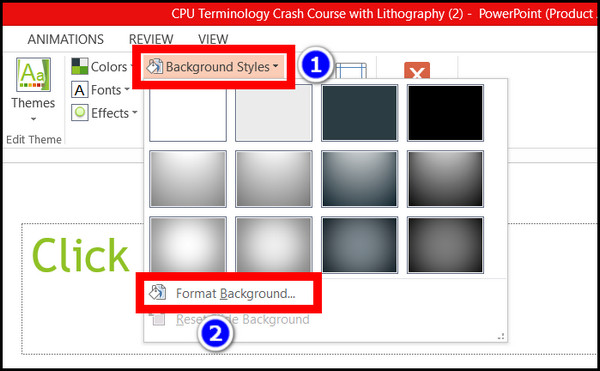
- To change the background, click on Background Styles. If you want to choose a different color, click on Format Background and choose it.
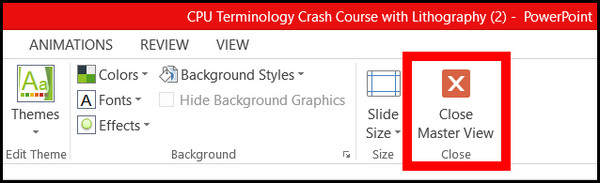
- Click on Close Master View.
- Remember to save the presentation by clicking Ctrl + S.
Now take a look at every slide in your presentation. They will contain the same theme that you selected.
But these are not the only options that you can change. You can change almost everything about the slides that exist in PowerPoint in one go from Master Slides.
Frequently Asked Questions
How do I unlock the Master Slide in PowerPoint?
To go to Master Slide, Navigate to View > Slide Master. This option is present in the ribbon menu on PowerPoint.
How to make an existing slide a master slide in PowerPoint?
Click on View and press the Slide Master button. Here click on the very first slide from the list. This is the master slide, and here you can make changes that will affect all the other slides.
How to edit the master slide footer in PowerPoint?
First, you need to enter the master slide menu by going into View > Slide Master. Then click on the very first slide. Now place a text box or a picture from the Insert tab to place anything on the footer. This will appear across all your slides on PowerPoint.
Final Words
Master Slides are useful if you want to make a large change across all slides on your PowerPoint file. Maybe you will not revamp your slide but make small changes that impact the overall design of your presentation.
I hope the article adds knowledge to your PowerPoint skills.
Until the next guide, it is time to say goodbye.