Too many expired items like news posts or announcements can spoil the look of the SharePoint site homepage. And gives hassle to the site owner while organizing the site!
Besides, expired announcements might make the intranet homepage a cluttery & messy look. That’s why you must remove those expired announcements. To know how to do that, keep reading.
To hide expired announcements go to Pages and select the Return to classic SharePoint option. Then click on the gear icon and select Edit page. Click on the Site pages dropdown icon and select Edit web part. Choose the Summary view under the Selected View section. Hit Apply > OK.
Ensure to Save the page while you’re exiting from the page.
Note: The main fact is the Announcement web part is only available from the classic SharePoint. So, if you want to hide the expired announcement from the SharePoint home intranet page, you must get to the classic page.
And there are two ways to conceal expired announcements from SharePoint automatically:
- Use the built-in Summary View
- Create a Filtered View
Now, let me show you how to apply those methods properly with quick steps.
1. Apply the Built-in Summary View
You can apply the built-in Summary view to stash the expired announcement post. But enabling that view is only possible from the classic SharePoint. Let’s see how to activate the Summary View in SharePoint for Announcement.
- Go to your SharePoint site.
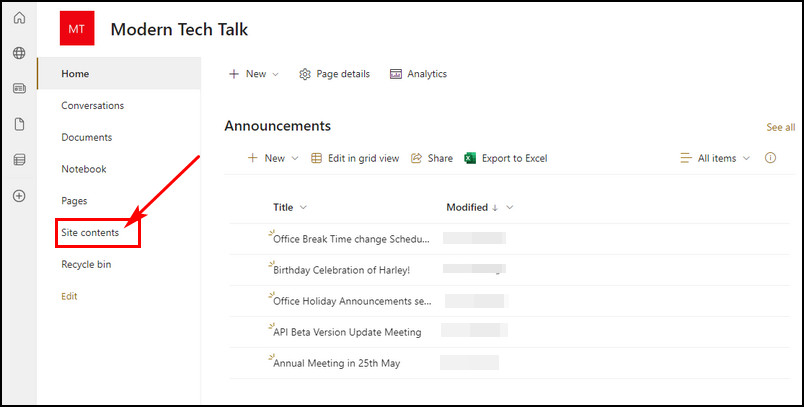
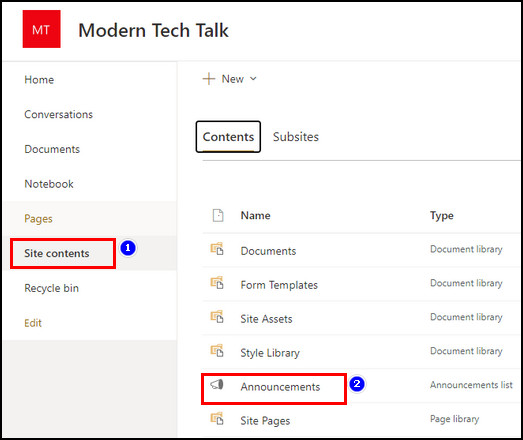
- Click on the Site contents from the left pane.
- Select the Announcement list, and it will open the classic SharePoint.
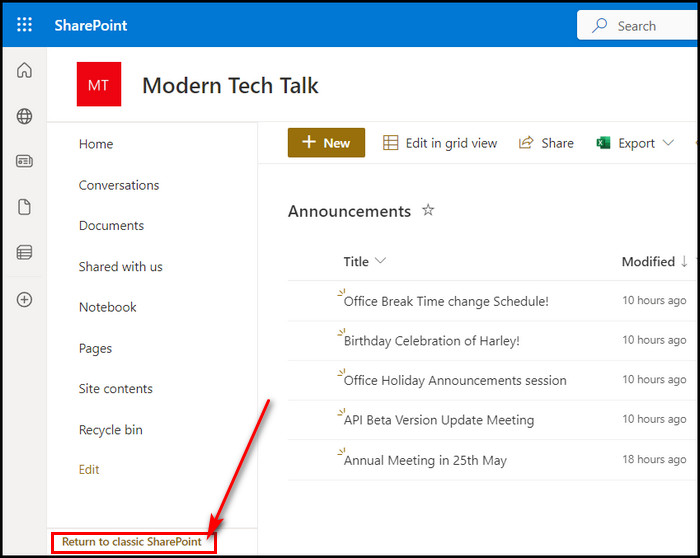
- Click on the Return to classic SharePoint option from the left pane. You might need to click that option twice.
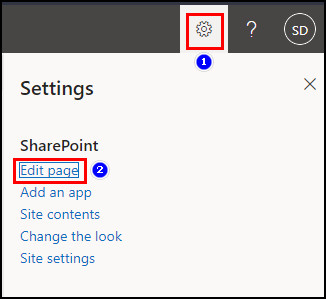
- Select Settings icon > Edit page.
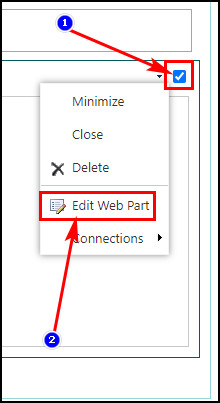
- Click on the Announcement box right-side dropdown arrow.
- Select the Edit web part option.
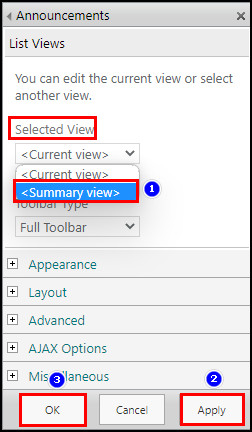
- Select the Summary View option from the Selected View category.
- Click Apply > OK.
Now, save the page while you exit from the page. After that, all expired announcements will be removed or hidden from the intranet home page. And you’ll see the announcements in a new viewing style.
Well, the view isn’t bad. At least this Selected View style won’t show expired announcements.
2. Create a Customized Filtered View
You can also create a customized filter view to show non-expired SharePoint site announcements. This filtered view also serves the same purpose as the Summary View option. Now, look at the steps to create a filtered view for hiding expired announcement posts.
- Go to Announcement from the SharePoint classic.
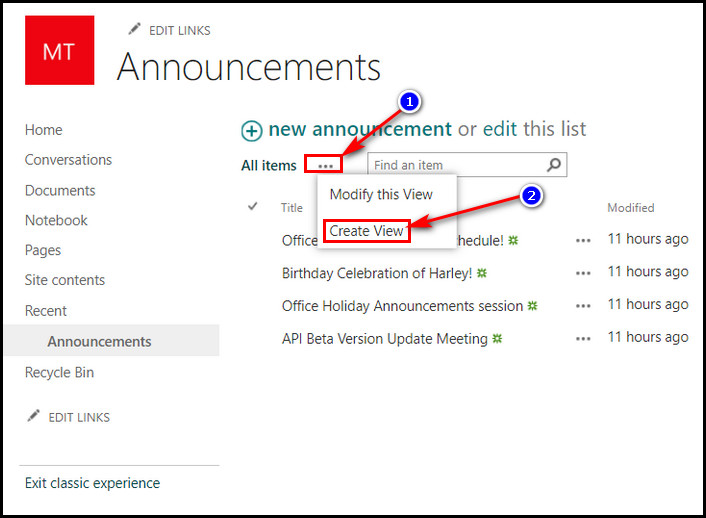
- Click on the three dots beside All items.
- Choose Create View option.
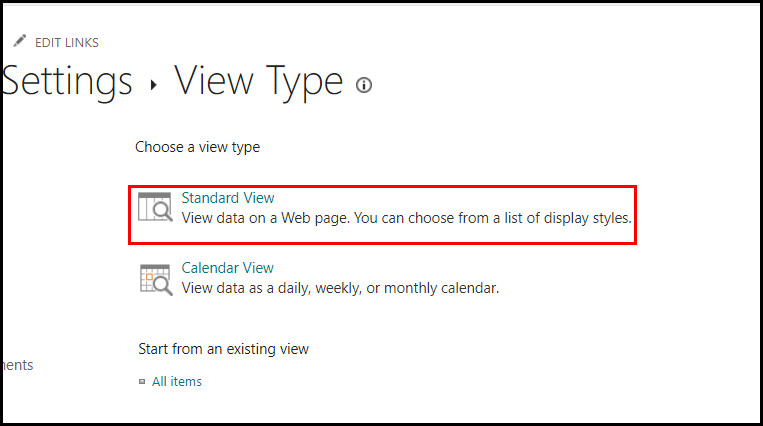
- Select the Standard View option.
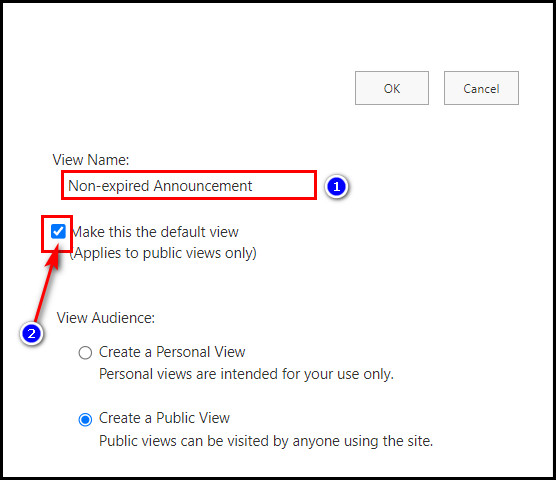
- Give the view a name in the View Name field.
- Tick mark the box beside the Make this the default view option.
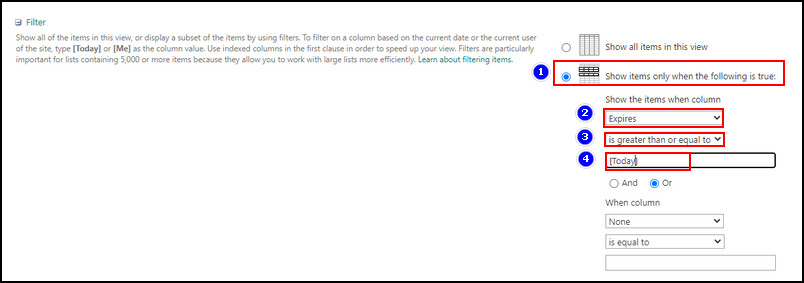
- Scroll down and look for the Filter section.
- Click on the radio button for the Show items only when the following is true option from the right side.
- Select the drop-down icon and choose Expires for Column to Filter option.
- Choose the is greater than or equal to option for the Operator sectionc.
- Type in [Today] in the Value section.
- Select the OK button to save the changes.
Now, the created custom-filtered view will be selected automatically. And all the expired announcements will get filtered out from the list.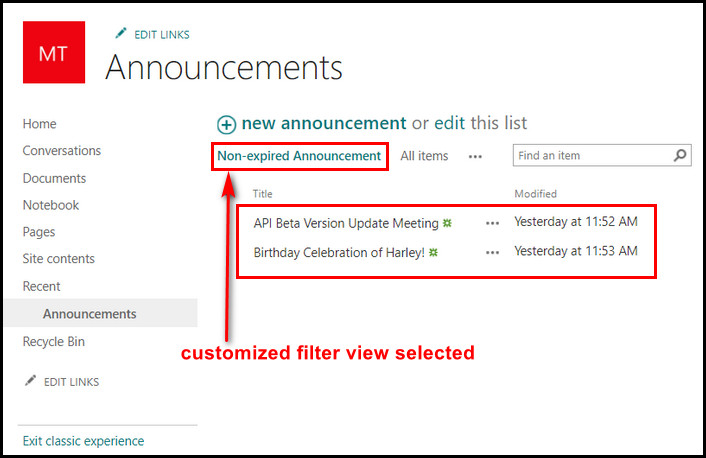
You can easily filter out expired news posts from the SharePoint site. First, make an expiration date column in the site pages library. Then set the expiration date while creating a news post. And you can filter out the expired news post from the editing News Web Part.
Now let me show all the procedures one by one for you.
1. Create an Expiration Date Column
To filter an expired news post, you must create a column in the site pages library and name the column.
- Click the Pages from the left pane.
- Select the + Add column and click the Date type.
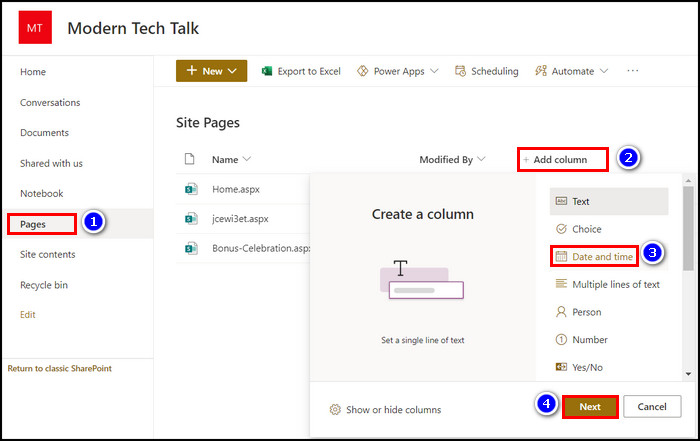
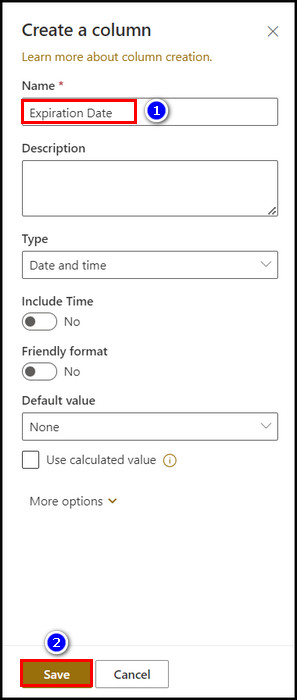
- Type in the Column name and hit the Save button. i.e., Expiration Date.
After that, you’ll see the column in the site pages library.
2. Add News Posts with Expiration Date
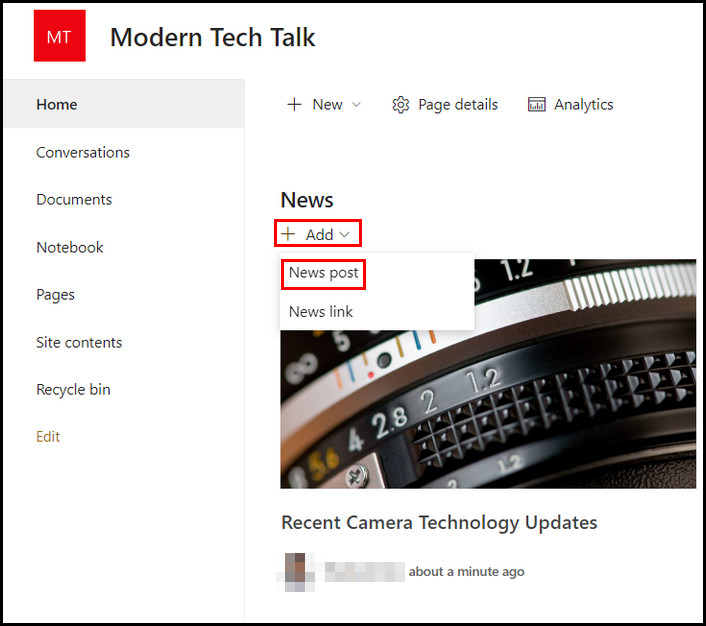
After creating an expiration date column, it’s time to create a news post from the SharePoint site’s home page.
- Navigate to the SharePoint site home page.
- Go to the News section and click on the + Add drop-down icon.
- Choose the News post option from the list.
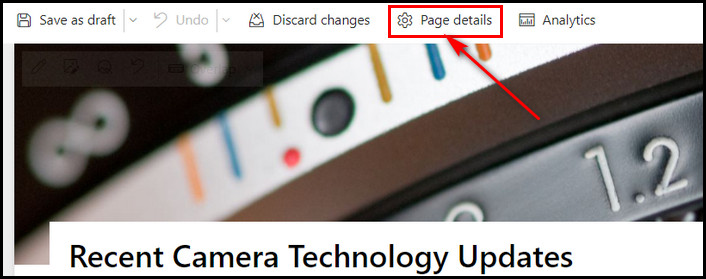
- Type in the news title and news in the required field.
- Click on the Page details option from the top.
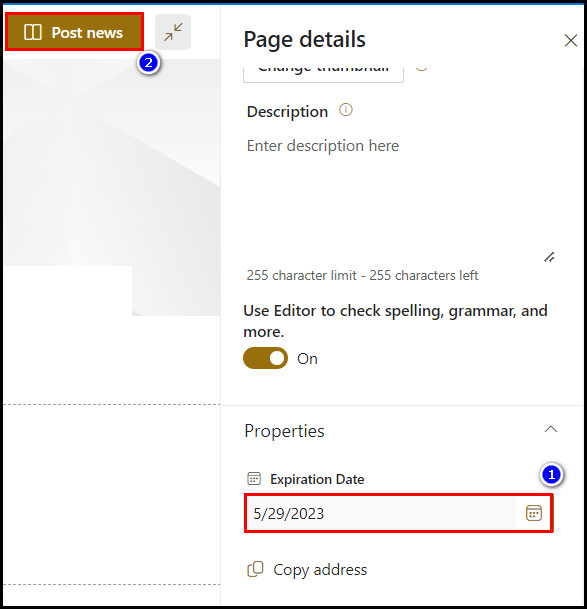
- Go to the left pane and select Properties.
- Enter the news post expiration date in the created field.
- Hit the Post news button in the last.
Now, follow the same steps for every news post and add the expiration date while creating a news post.
3. Filter Expired News Post
This is where you can filter out expired news based on the date you have included in the Expiration date field. Let’s see the steps to filter expired news posts.
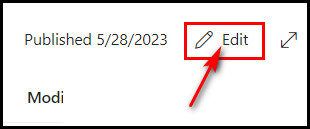
- Navigate to the home page and click the Edit button.
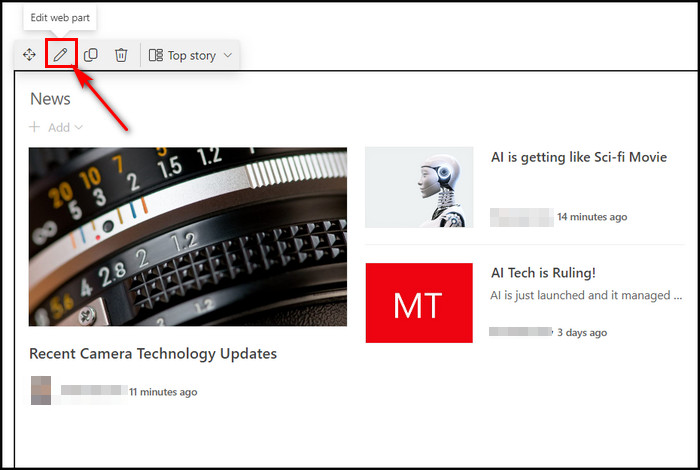
- Go to the News section and click on the News button. It will eventually reveal all the options.
- Select the Edit web part button (Pen icon). A sidebar with options will open on the left side.
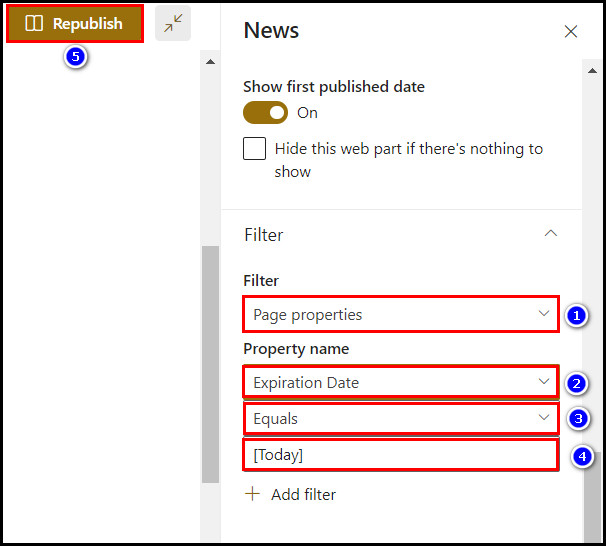
- Scroll down and go to the Filter section.
- Choose Page properties for the Filter field. Then select the created column name, and choose the After option.
- Type in [TODAY] in the last field.
- Hit the Republish button to apply the modified filtration.
Now all expired news pages will vanish from the news post section.
FAQs
How to delete an announcement from the SharePoint site?
To delete an announcement from the SharePoint site, select View all Site Contents. Now click Announcements underneath the Lists. Click and select the title that you want to delete. Select the Delete item option and then OK to confirm the action.
How to hide expired news posts from the SharePoint site?
Go to the Site Pages library and select the + Add column. Choose the Date type for the column. Type in the column name (i.e., Expiration Date). Then create the news post and select Page details. Enter the expiration date in the field. After that, create rules to filter the expired news post.
How many days does SharePoint share link last?
Share link auto expiration depends on the SharePoint administrator through the SharePoint Online administration panel. But generally, by default, the link expires after 30 days. However, the admin can set the expiration date for an unlimited period.
Wrapping Up
For proper management, you must give your SharePoint site a clean look. You must remove or hide all expired site announcements or news posts to give that look. In this article, I have shown the proper methods and steps to stash expired SharePoint announcements.
Plus, I included the procedure for hiding expired news posts. I bet you followed all the steps and successfully hid expired items from the home page. If you need further help, please comment below.
Good luck!