What can be more frustrating than going through thousands of emails to find a message from years ago?
However, in Outlook, you have much more control over search than just dropping a word into the Search box and pressing Enter. It is possible to find exactly what you are looking for; you just have to know how to ask Outlook the right way.
In this article, I’ve described how to use the Advanced Find feature and explained the process of making different criteria to narrow your search results in Outlook.
Let’s begin!
How to Perform Advanced Search in Outlook
Whether you are using the Outlook 2010 version or the newer versions, the Advanced Find option is available for all editions of Outlook and across all devices. Simply access the option from Search Tools and provide the conditions for your search.
Below I’ve provided the instructions explaining the process of using the Advanced Search feature of Outlook for different versions.
Here are the steps to perform an advanced search in Outlook:
On Outlook 2016 & Newer Versions
- Open Outlook on your computer.
- Click the Search box, and the Search tab will appear in the toolbar.
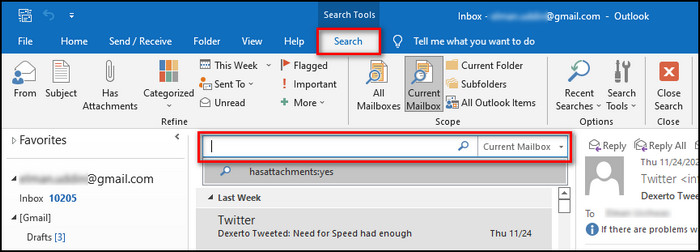
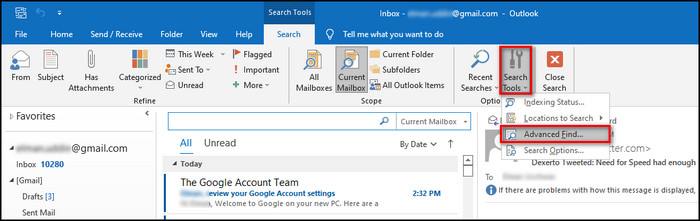
- Select Search Tools and click on Advanced Find or press Ctrl + Shift + F to open the Advanced Find window using the shortcut.
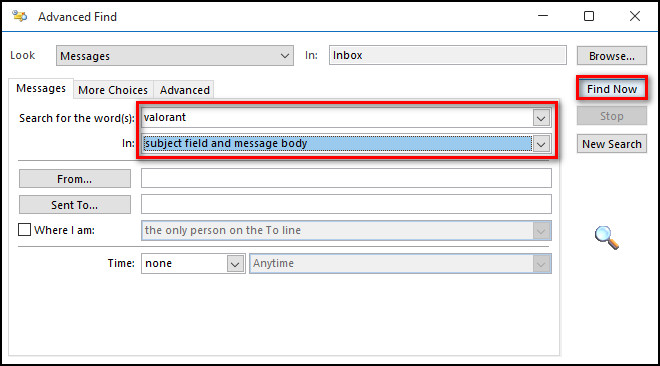
- Provide your search criteria in their respective fields and click on the Find Now button.
On Outlook 2010 & 2013
- Launch Outlook on your device.
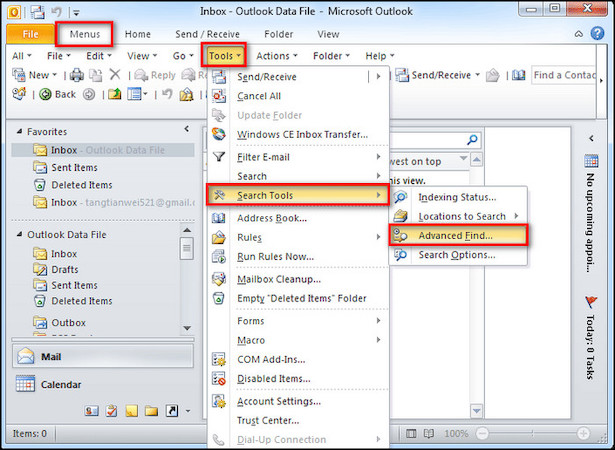
- Select Menus in the top bar.
- Click on Tools and select Search Tools > Advanced Find.
Follow our guide how to automatically forward emails in Outlook.
On Outlook for macOS
- Open Outlook on your Mac.
- Click Edit on the top menu bar.
- Select Find > Advanced Search.

- Write what you are looking for in their individual fields and click on Search.
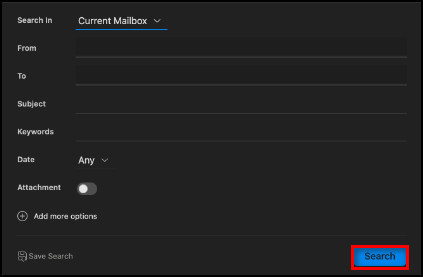
On Outlook Web
- Open your browser and go to 0utlook.live.com.
- Sign in with your Microsoft account bar.
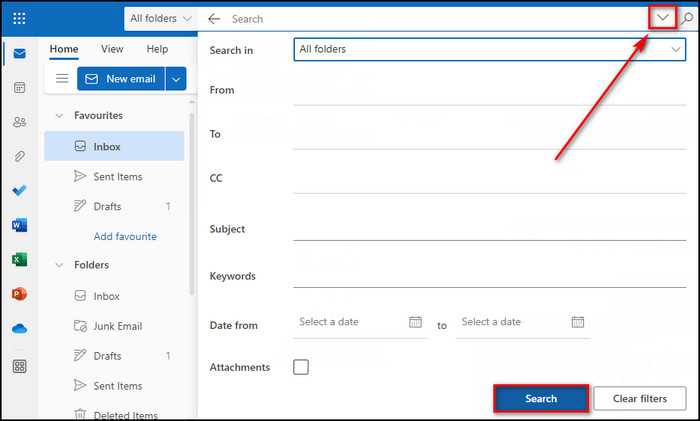
- Click on the dropdown icon in the Search button.
- Provide the information for what you are searching for and click on the Search button.
Now you know how to find things quickly in Outlook.
But that’s not all; Outlook also lets you create your own search criteria from scratch. Go to the following section, where I’ve explained how you can do that.
Check out the easiest way to enable read receipts in Outlook.
How to Create an Advanced Find Bar in Outlook
Advanced Find in Outlook is extremely helpful, not only because it finds items instantly but you can also change almost every search condition and add different criteria. Once you make the conditions, the items that meet them will appear in the search results.
Follow the instructions below to customize your own Advanced Search filter in Outlook.
Here’s how to create an advanced find bar in Outlook:
- Launch Outlook on your device and open the Advanced Find window.
- Click on the dropdown icon for the Look field and choose the type of item you are looking for.
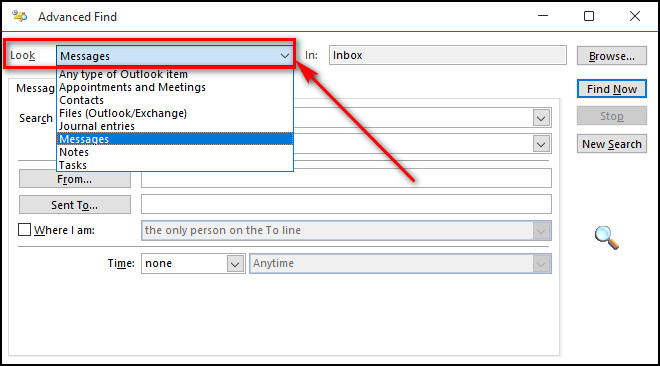
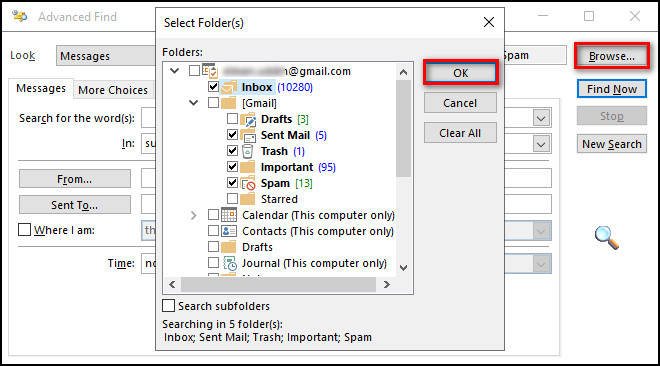
- Specify the folder in the In field to find your item in that folder.
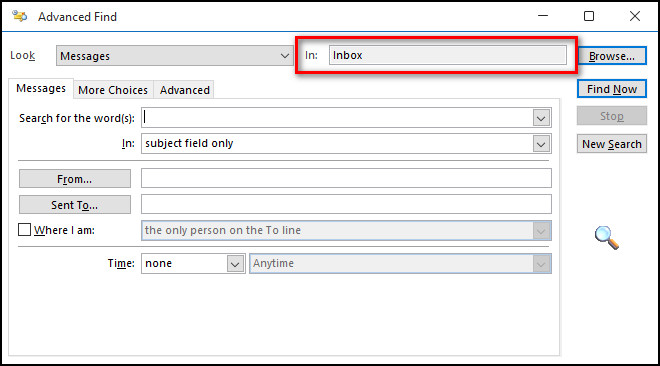
- Press the Browse button, choose multiple folders to scan, and click OK.
- Go to the Messages tab, assuming you are looking for certain messages.
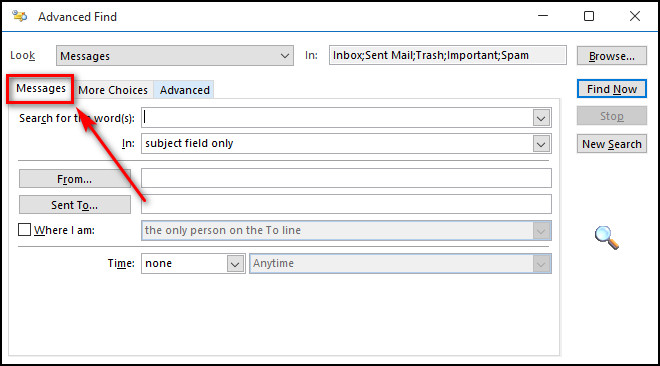
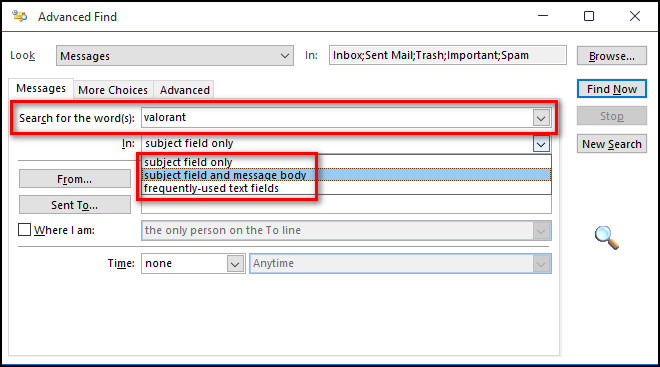
- Write the words you are searching for in the Search for the words textbox.
- Choose if your specified words are in the subject line, subject and message body, or text field.
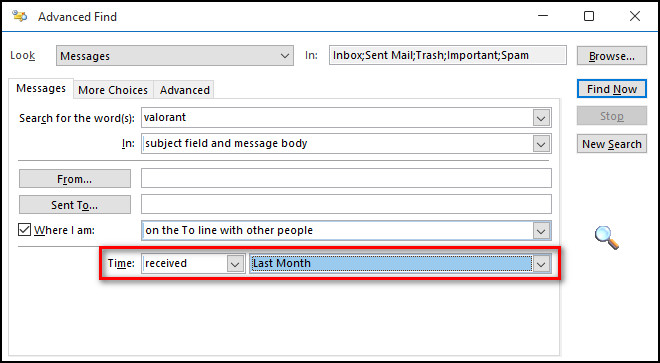
- Check Where I am and narrow down your search by picking whether you are in the To line or the CC line.

- Expand the dropdown menu for Time, choose received, and specify when the message was received.
- Proceed to the More Choices tab.
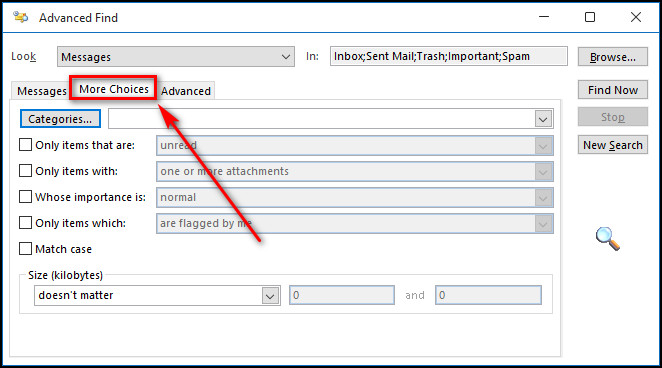
- Select Categories to find your messages based on certain types.

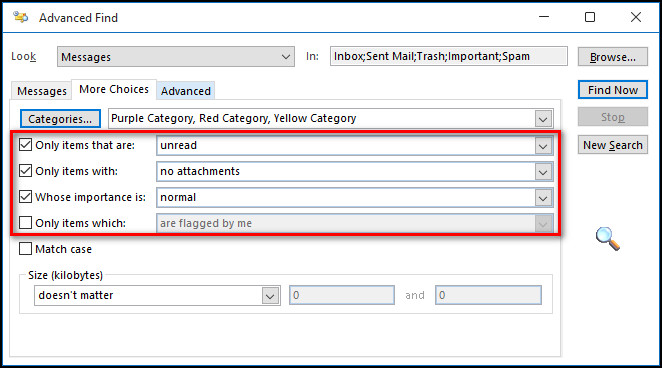
- Choose different tags, such as messages that are read or unread, items with or without attachments, message priority and other factors.
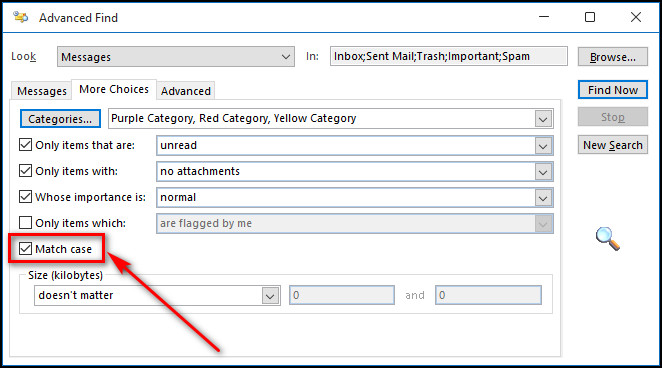
- Check the Match case to meet the search term you’ve entered.
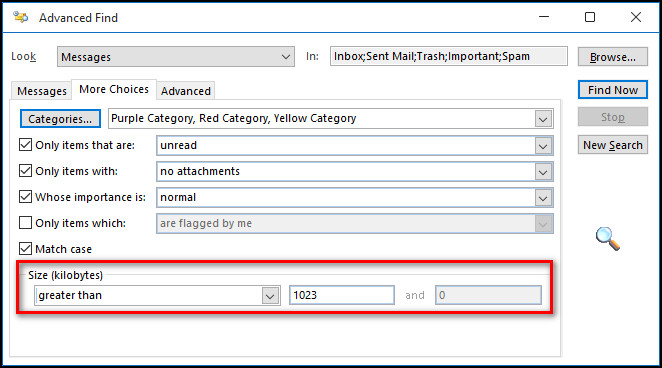
- Use the dropdown menu under Size to search for messages by size. It is helpful when you don’t remember anything about the message except that it has a pretty big file attached to it.
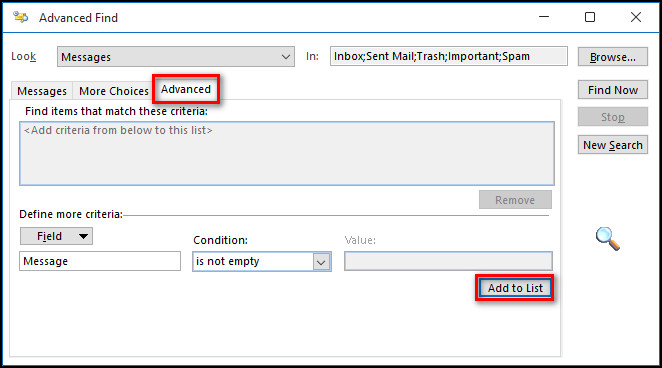
- Go to the Advanced tab and use the Field option to define more criteria.
- Click on Add to list.
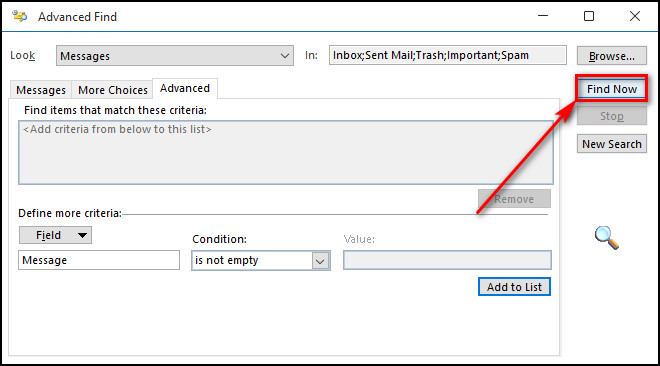
- Select Find Now when you’ve added all the conditions you wish, and the search results will appear below.
If you want to create a new advanced search after this, select New Search; otherwise, you can close the Advanced Find window.
But remember that whatever search condition you’ve just created will be erased once you exit the Advanced Find window.
Here’s a complete guide on how to add email signature in Outlook.
FAQs
How do I turn off advanced find in Outlook?
To turn off Advanced Find in Outlook, go to File > Options > General > check the Collapse the Microsoft Search Box by default box.
Why is Outlook Advanced Search Not Working?
Your Outlook Advanced Search is not working because of an outdated program or an indexing error. Updating or changing index locations and features can fix the issue. You can also use the built-in repair tool of Outlook to solve the problem.
What is the Advanced Find shortcut in Outlook?
Press and hold Ctrl + Shift + F to open Advanced Find in Outlook.
Final Thoughts
What makes Outlooks’ Advanced Find so advanced is that you have the ability to change, customize and add different conditions to find precisely what you are searching for.
And here, I’ve provided everything you need to do to correctly use the Advanced search in Outlook.
Leave a comment below if you have any issues with Outlook, and I’ll help you with the solution.