If you run out of storage in Google Drive, you can get the free space back by using a trick. Just delete the files you do not need anymore. It’s not a trick per se, but hey, anything that works to get the free storage back, we’re up for it.
But what if Google Drive does not acknowledge that you have cleared the space on your cloud drive? What should your next steps be?
Instead of searching endless websites for the workaround, check out the fixes I mentioned in this article and get your storage space back.
So, let’s start.
Why is Google Drive not Updating Storage?
Suppose you deleted some files from your Google Drive. Then the space that you freed should show up. So why exactly do you see something like this?
Now most of the time, it happens within seconds. But if both the client and Google servers experience technical downtimes, it may take some time before you see the cleared space.
The reason is that Google Drive is different from your traditional drive on your computer. The hard drives or SSD where the data is stored are present in a server farm. Google’s server communicates with the app on your phone or your browser when you upload any files or delete them. There is a delay between the events of you deleting some files and that action being registered by the server.
Another reason could be that you simply forgot to clear the Trash folder. While Google automatically deletes its contents every 30 days, it still takes up your space.
The same goes for Google Photos.
Photos share the same storage space with Google Drive on the same email address. So, all those pics and videos that you haven’t cleared from the Archive or the Trash folder, they still exist. Even worse, they are taking a share of the available space.
Now that we know what ails your Google Drive, let’s free up all the clutter that is present.
How to Fix Google Drive Not Updating Storage
If your Google Drive is not updating the storage space, clear the contents of the Trash folder. Next, head over to Google Photos and delete large photos and videos. When you have done all these, clear Google Drive’s cache on your phone. Finally, sign out of all devices, then check back if this fixes the issue.
Let’s now take a look at these in detail.
1. Remove Files from the Trash Folder
Inside the Trash folder, all deleted items are accumulated. Try clearing this up every once in a while to avoid running out of storage in Google Drive.
Follow these steps to clear the trash folder on your Google Drive:
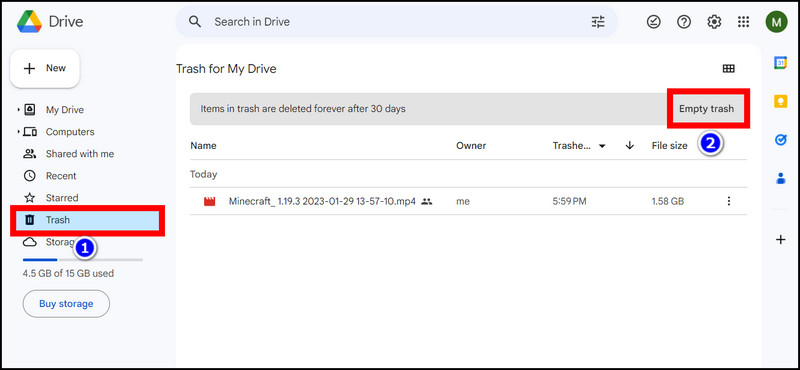
- Go to Google Drive from your browser and log in using your credentials.
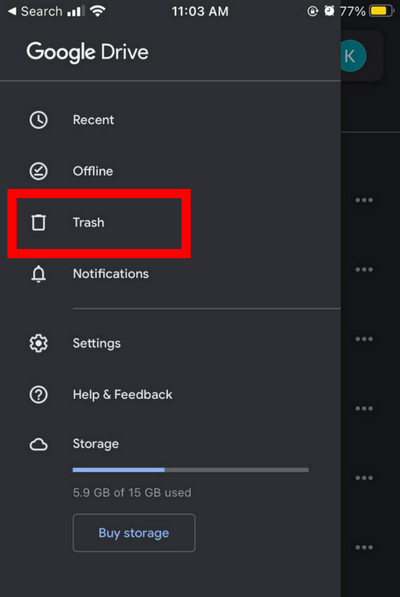
- Click on Trash in the left tab.
- Click the Empty Trash button.
If you are on Android and iOS, follow the steps below:
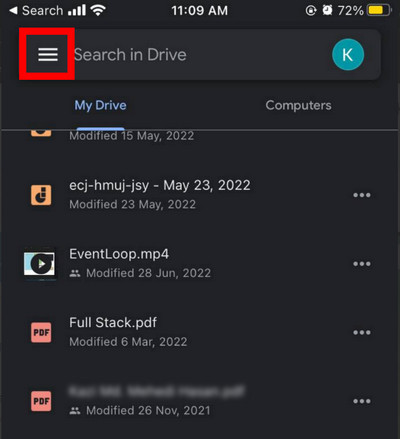
- Open Google Drive.
- Press the more option menu and tap on Trash.
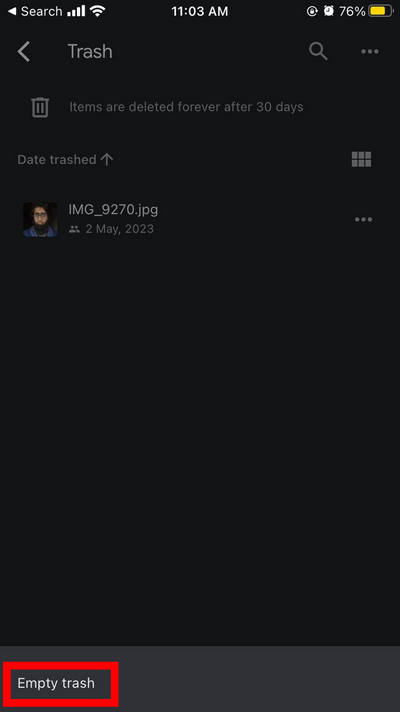
- Tap the three-dot icon at the top left.
- Press the Empty Trash button. If the app asks for confirmation, provide that.
Now go back to your drive and look at the storage situation now. A large chunk of space should free up immediately.
2. Delete Large Files
If you have files that are already backed up on a drive in your computer, there is no point in keeping them on the cloud. Deleting those will clear up your Google Drive.
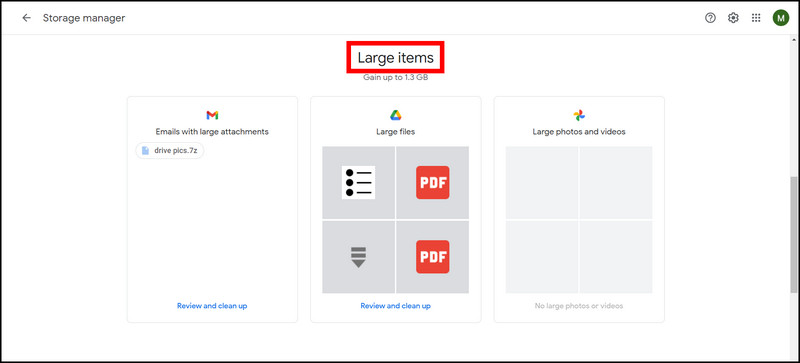
But if there are thousands of files on the cloud, you may find it difficult in locating the ones to delete. That is where Google One Storage Manager comes in to play.
You can see which files occupy the largest space there. It will also show the largest photos and videos on Google Photos too. From here, you can choose to keep or delete them.
These steps will delete largest files on Google Drive:
- Go to one.google.com/storage/management from your browser.
- Scroll down to Large Items. Choose either Files or Photos to delete. You can also delete old Email attachments, which also occupy unnecessary space.
- Select the files you wish to delete. To delete everything, tick the box near All items.
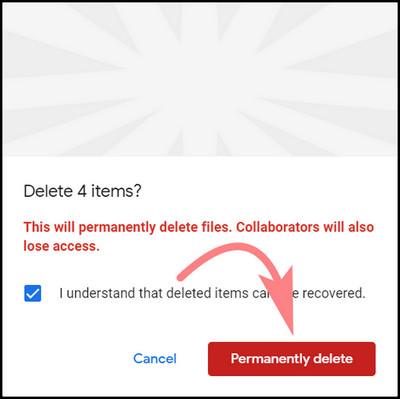
- Click on Delete. A new box should pop up.
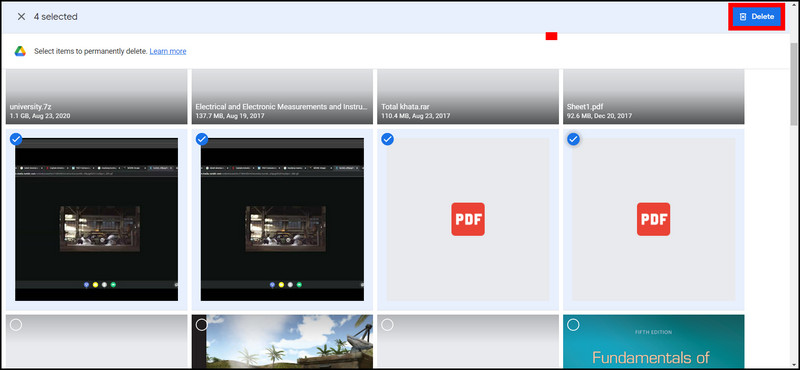
- For files, select Permanently Delete. For Photos, click on Move to Trash.
Now following the earlier steps, clear the Trash folder too. Reload Google Drive to see how much space you have freed up.
3. Clear the Google Drive App Cache
If you have deleted large files and photos and Google Drive still shows up as occupied space, then there may be a problem in the app.
Either there is a network issue between the server or the app is experiencing an issue. Sometimes waiting it out can fix this problem.
Another way you can fix this is by deleting the app cache of Google Drive’s Android app.
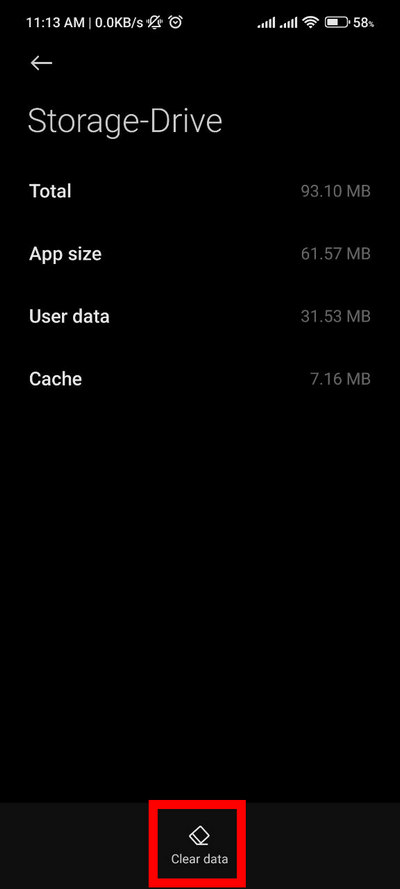
Follow these steps to clear the app cache of Google Drive:
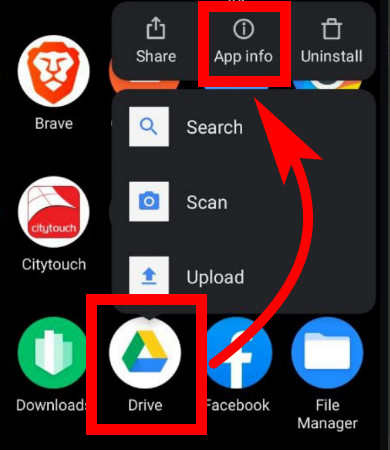
- Tap the Google Drive icon for 5s, bringing up more options.
- Press App Info.
- Scroll down and tap on Storage.
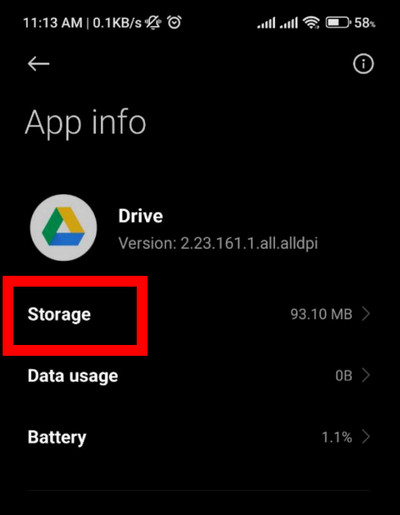
- Find Cache and press the Clear Cache button.
Now close the Google Drive app if it is opened. Re-open it and ensure you have a stable internet connection. If everything worked till this point, you should see the storage clear up.
4. Sign out from all devices
Sometimes it can take a while before the changes you made on Google Drive shows up as free space. In the meantime, you can try logging out of all your devices and then log in back.
Or you can use the Google Drive web app and log out of all your devices. This can save a lot of your time.
This is how you can do it.
These steps will log your Google account from all your devices:
- Open Google Drive from your browser.
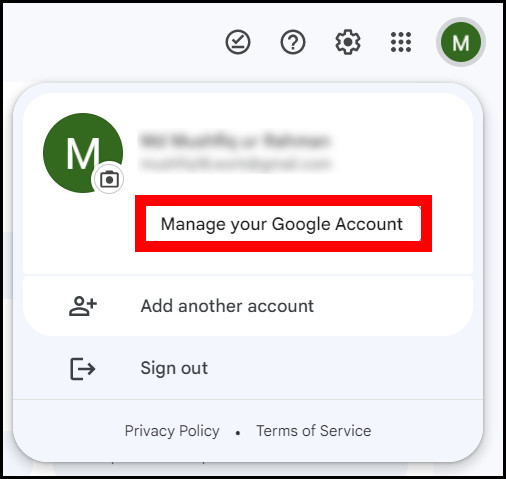
- Click on your Google Account profile.
- Press the Manage your Google Account button.
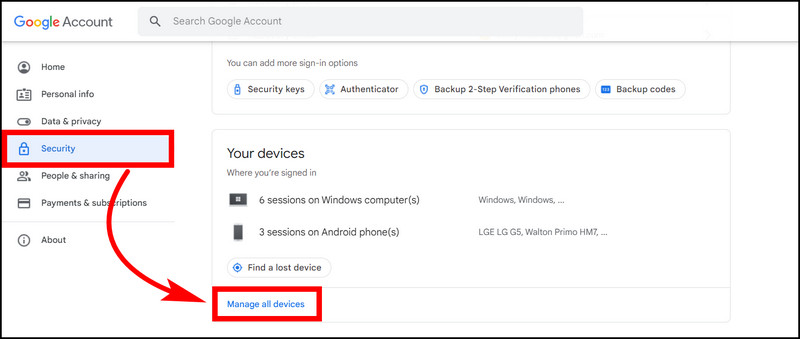
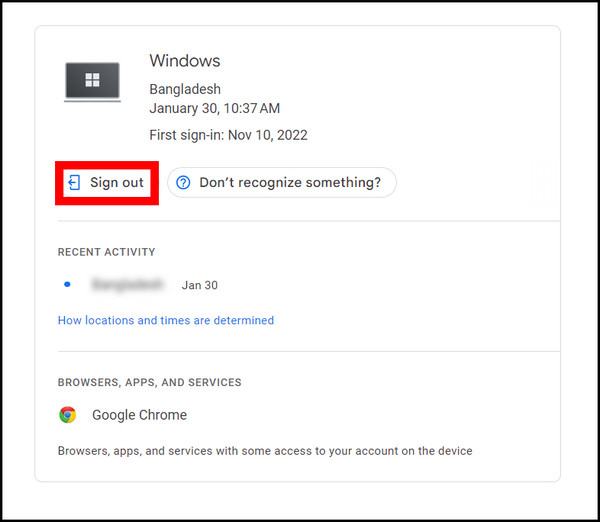
- Click Security > Manage all devices. Here you will see all devices where you have signed in.
- Click on the device you wish to sign out.
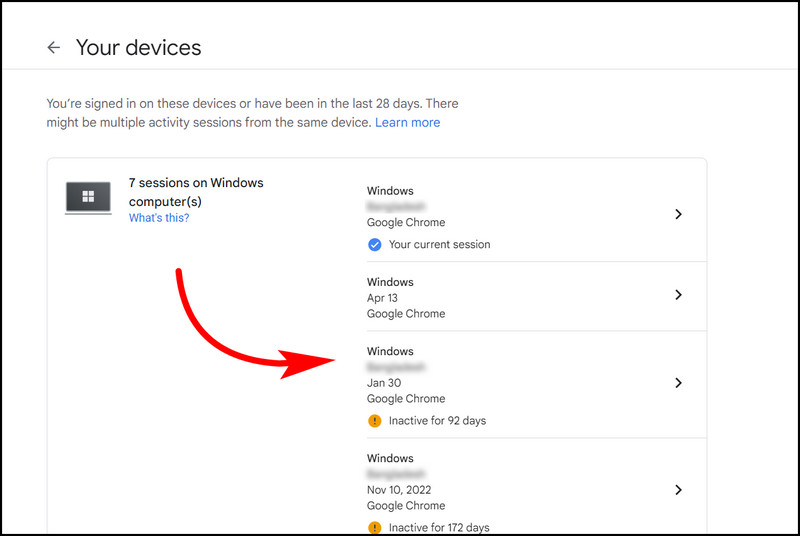
- Press the Sign out button.
Now repeat the same for all your devices. But remember, you need to sign back into all your devices when you want to use Google Drive.
(Bonus) Why is Google Drive Not Updating Storage After Purchasing it?
Your updated storage may not show up immediately after purchasing it. Maybe you are opening Google Drive immediately, and that is why it does not show up.
As per Google, it can take anywhere from a few minutes up to 24 hours before you see the upgraded storage space.
You may wonder why this happens.
This is mainly due to provisioning resources in the Google Cloud infrastructure. After you purchase a storage plan, Google’s server provisions an additional space for your cloud drive. This can take a while to process this request, depending on many factors such as server load, network connectivity, and so on.
Frequently Asked Questions
How long before Google Drive updates the storage?
It can take up to 24 hours for your new storage to show up on Google Drive.
Why is my Google storage not updating after deleting photos?
You may have deleted photos, but there are files in the Trash folder inside your Google Drive. This also counts towards your storage which is why the storage is full.
Final Thoughts
It is difficult to free storage space on Google Drive once you run out of space. For me, every single file appears to be critical when I start to clear out my drive.
That is why you should back up files to your local machine occasionally. That will ensure you do not run out of space on Google Drive anymore.
I hope this article helps you out.
Until next time, it is time to say goodbye.